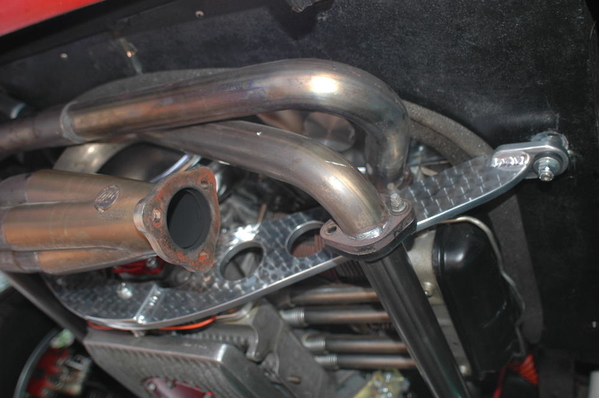
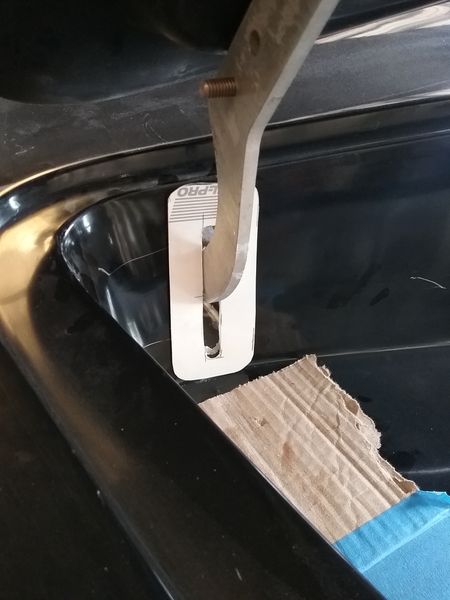
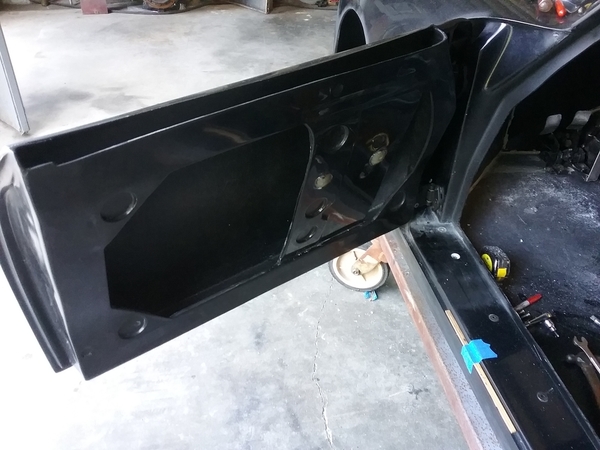
C shape because it actually inserts thru the firewall into the dash area inside......Bruce
Ray thats not a pic of the frunk its the engine lid.......Thanks though!
Bruce , yes exactly.
I will have to re-drill mine because if used like they are the back of the hinge by the bonnet digs into the firewall very quickly. Have to move them forward an inch.
Brock...Here is how I modified my engine lid hinge to be used as a "hood-holder-upper". Since you have them off, why not ! After seeing your work I know you can do it. It beats the crap out of hinge-pin way............Bruce
Attachments
Bruce , very nice also diggin the engine turned firewall!
Attachments
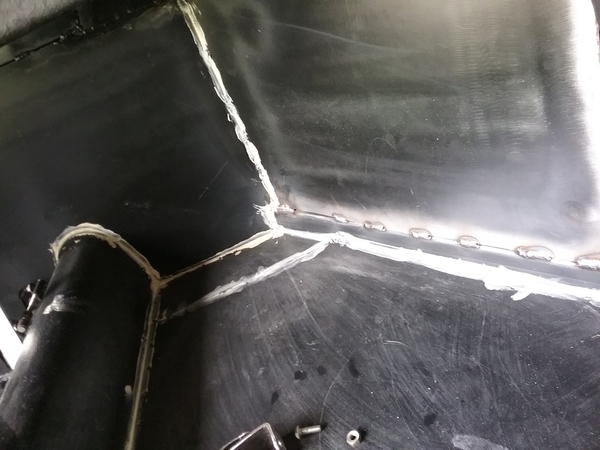
It works! Man what a pain this was and its not done yet. Didnt realize untill after i cut nice straight slots in the firewall for the hinges that they are NOT straight! So that means lots of filling with glass and cabosil to get them right.......
Attachments
Attachments
Nice!!!
Attachments
My Fiberfab has a thin square of rubber floor mat type material with a slit in it covering the holes where the hood hinges move through.
Think the build manual calls it black ribbed hall runner. I've seen some nice installs here with an aluminum trim around it. There is also a rectangular plastic beige box that gets installed and fiberglassed in under the dash around each hinge too.
Attachments
Jimmy sounds like what i had in minds after i true up the holes.
Wolfgang, never seen the box set up before.
The CMC hinge boxes were shipped separate (they were crudely made from some sort of hardened foam into a mold), but they were buried out of sight up under the dash and could be glued in with Bondo after the hinges were installed. The purpose was to minimize air leaks from the Frunk into the cockpit.
But by now you're probably asking; "Well, what if I want to remove the hood later on?"
The answer is, you have to remove the hood from the brackets because you can't get to the hinge pivot bolts.
I'm sure the CMC box is to keep water and air from infiltrating thru the frunk into the car. I added the cut for the hinge per the build manual.
Here's an example. Many then add a carpeted trunk liner.
Looking good, Brock. If I could give some (unsolicited) advice- drill some holes in the hinges before they are permanently installed, as they look heavy. Just sayin'...![]()
Gordon, yeah the boxes would make it hard to do.
Wolfgang, water in the frunk? Not supposed to be water in there is it? 😂😂
Btw what is the rubber seal around the lid from?
ALB, may do that also thought of engine turning them.
Can't see any drain hole.
Btw what is the rubber seal around the lid from?
Lowes/Home Depot - - Closed cell one side sticky tape foam for doors/windows. DrClock probably has a source for a better rubber gasket - I've seen D shaped rubber which looks better.
At speed, water and air get forced into the frunk with no place to go.
Engine turned trim plates would look good Brock. In the pic I posted of my engine turned firewall, you will see some similar plates around the rear deck lid hinges. Closes up the gaps nicely.......Bruce
Brock B posted:
ALB, may do that also thought of engine turning them.
Do the holes first. If you still have energy for it left, THEN engine turn them. Being aluminum there won't be very much weight loss, but they'll look waayyy cool!![]()
Bruce's drilled and engine turned rear mount; it could use a few more holes, but it's a start
Attachments
I use a combination of Home Depot 3/8" "D" shaped door weather strip from "Frost King" (Hardware aisle but beware - it comes in white only) as well as slightly larger 7/16" hollow, lipped "D" shaped stuff that was recommended by @MusbJim
I can't remember where I bought it from. Jim will know. Might have been McMaster-Carr. I needed two different heights because of differences in spacing between the hood and body at various points around the opening. If you get "D" rubber too thick you need an elephant to sit on the hood to close it. Too thin and it leaks.
The next time I seal mine I think I'll use a seal like this:
Here's what I'm using for the frunk and the door seals. $16 from Amazon prime: https://www.amazon.com/Support...=8-1-spons&psc=1
Attachments
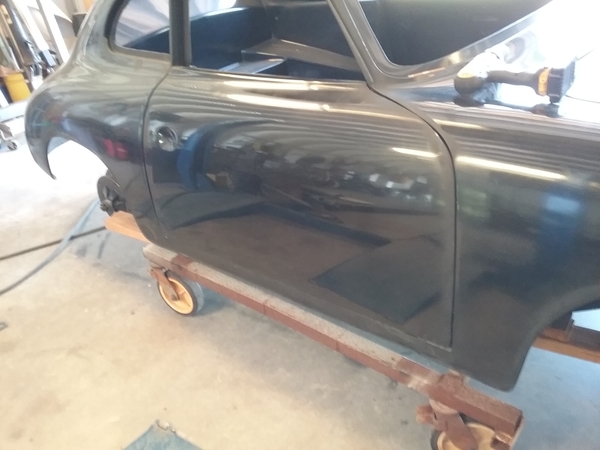
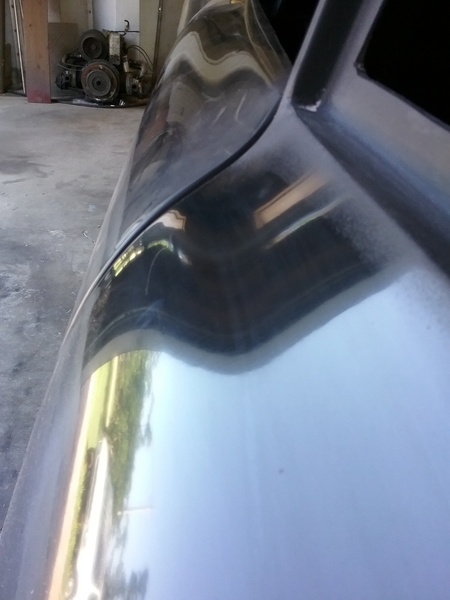
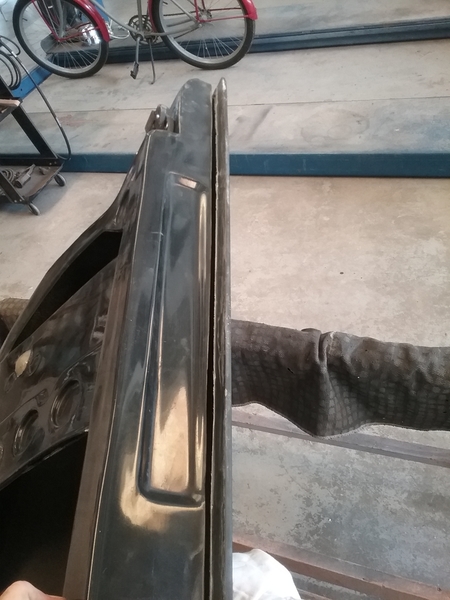
WOW! This made the hood hinges look like a cake walk! These things are just a bunch of guess work and measurements because the doors are already together. Still have to finnish this one and then doo the pass side........
Attachments
The doors I think are always fun to get the seams right
I had a body shop do the fine tuning on my doors. My doors were out of adjustment when I bought my Speedster from the guy who build it. I was afraid I would scratch up the paint while trying to get the door alignment and gap set correctly. The body shop guys did a wonderful job.
Jimmy, that was a smart move. Let the expert s do what they know. It was probably easy for them.
I saw Henry and Kevin at IM adjust a door it literally was a 5-10 min job for them. Impressive, most impressive. ![]()
Adjusting doors: Tape both the doors and door jamb edge with blue tape to avoid scratching the surfaces . Open door and while supporting it from the bottom sturdy cardboard box or a floor jack with a towel on the round plate. Loosen the hinge screws on the top and bottom hinges. Go back and lightly snug one top center and the bottom center screw you should be able to grab the door and move it slightly with enough " drag " on the hinges to keep it in place, if to lose snug the two screws a bit more. Check your margins and tighten the remaining hinge screws Lastly check that the door still hatches " two clicks " on the door latch.
I'm sure glad I'm not doing that job. It's a PIA ! I leave all that to someone else now.
If you've never tried it, you should at least once, then you'll appreciate what it takes to get it right. It has to be right too, or it will never look right. I applaud your skill and effort Brock...................Bruce
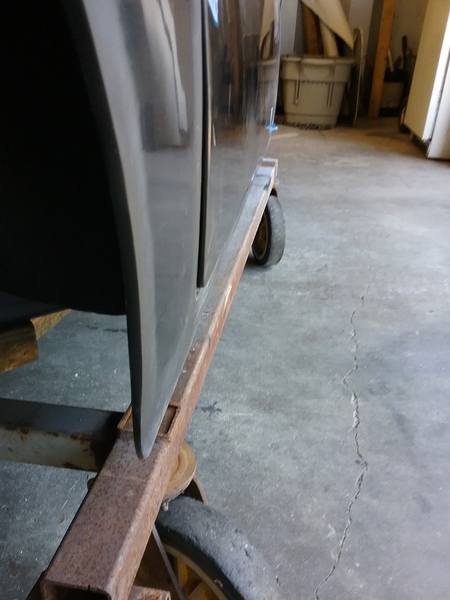
Bruce, a whole LOT of cussin and VERY hot work happened making these go on...something that could have been avoided by having a couple simple patterns be included with the body......
Attachments
Oh, that is too bad. Stuff happens at times doing any work.
Looks like a job for Loctite PL Fast Grab Premium!
Don't get any on yah.......
Ray, no thats good now the bottom of the door will line up to the rocker.
Gordon , never tried it but i already have it glued together with cabosil and a couple layers of glass ready to go inside.
Oh I did not understand what was happening.



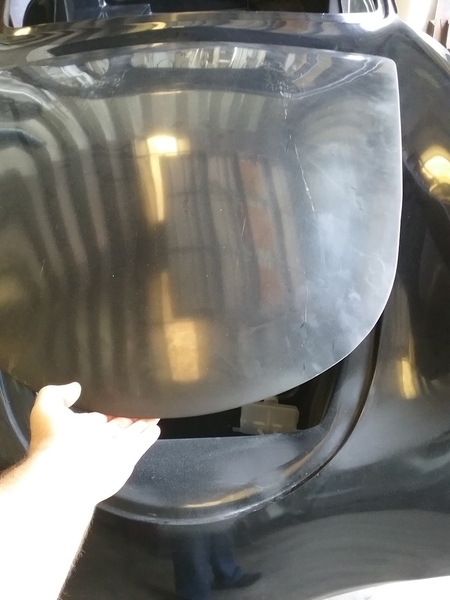

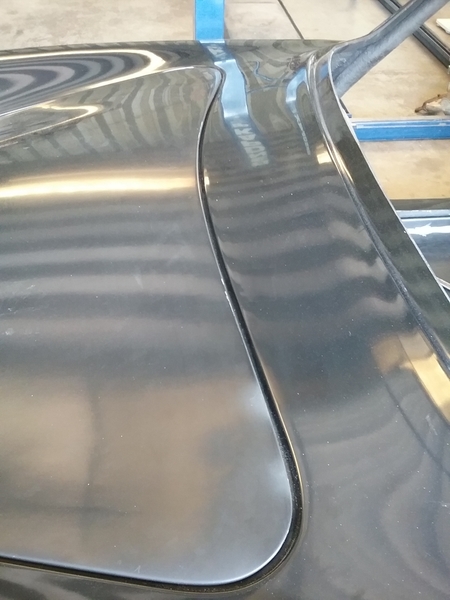

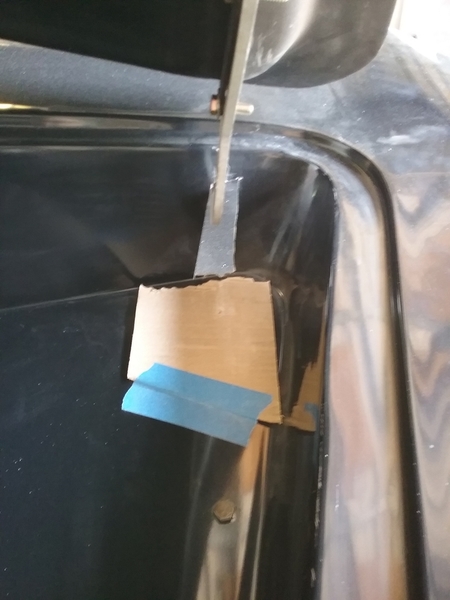


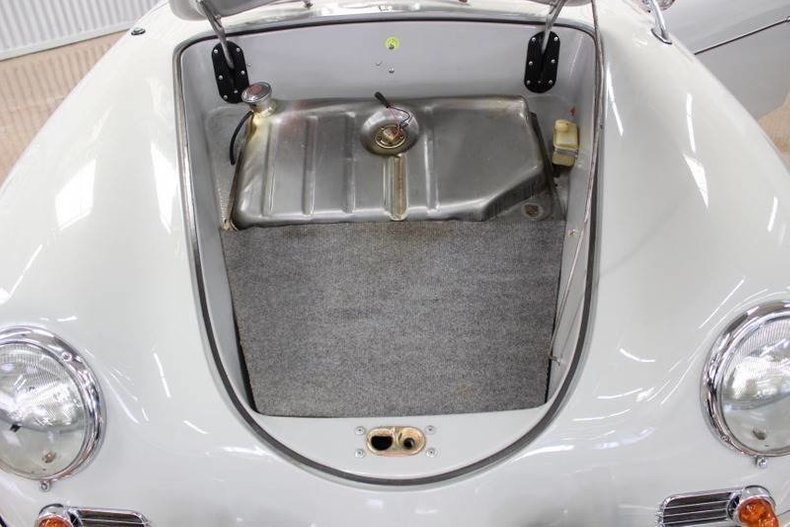
 You also need to have a small drain hole at least I have one at the low point unseen when the lid is closed for draining the water.


