While it's raining (which has been about a month so far in BC...), I have been working on details. Things that bugged me, and things that now they're done, are barely noticeable to almost anyone. So - I'll post pics and descriptions. At least on this site they'll be appreciated!

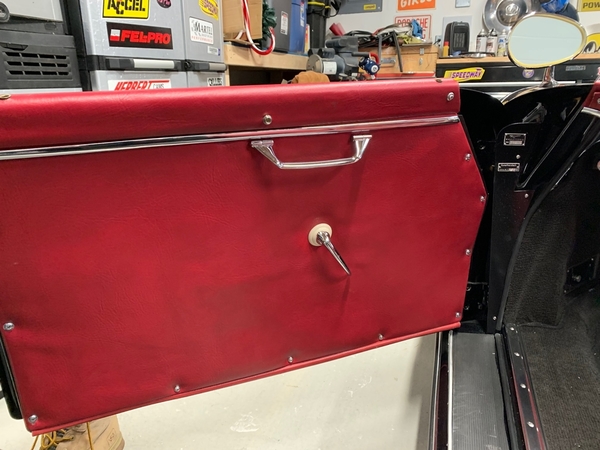
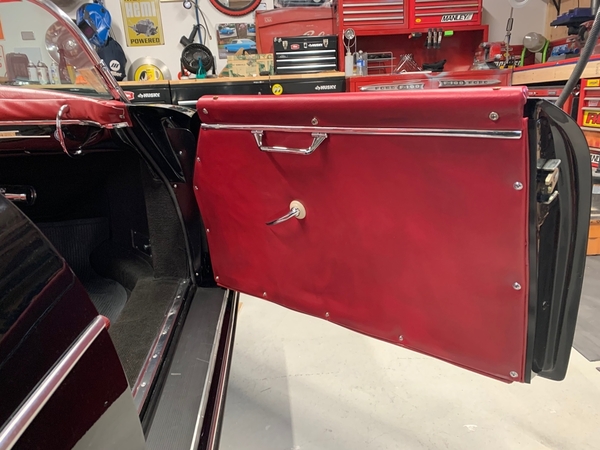
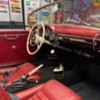
First is the doors. That VS elasticized pocket and stitching had to go, and reupholstering a flat panel with flat vinyl isn't hard. While I was at it, I added the piping around the trailing and bottom edges, and also added the rubber flap bit at the back. I also added the chrome strip (which is sometimes present, sometimes not on genuine cars), and added the door pulls. And while I was in there, I made some hinge covers, and added the Reutter badges (I stamped them with the word 'ERSATZ' so there's no debate over authenticity). Oh, and re-profiled the carpet edge and replaced the door handle escutcheons. And painted the aluminum door latch plate :-

driver door 2driver doorpassenger door

Still in the door area, I made up some caps to replace the square VS ones :-

door cap

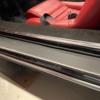
Moving on, but still door-based, I got the wide thresholds from Stoddards. I tried to make my own, but it just wasn't worth the effort! I did make the smaller aluminum profile parts from some scrap aluminum.. :-

threshold

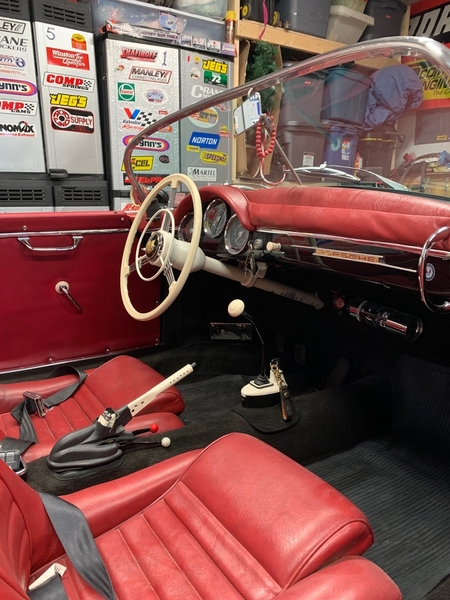
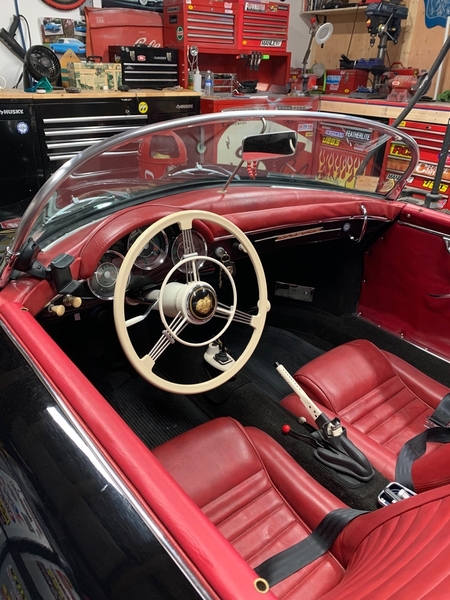
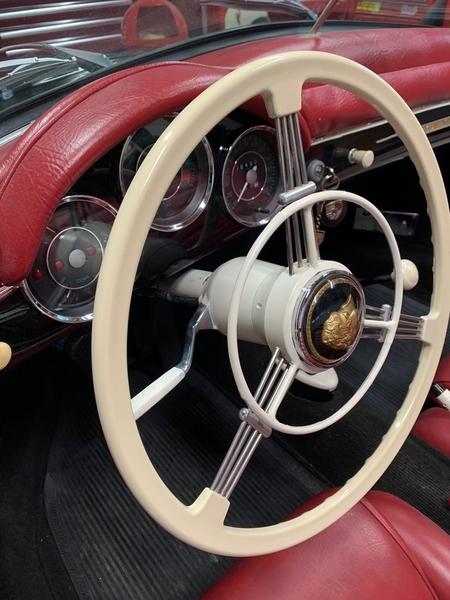
And, still focussing on what I can see and touch while driving, I detailed the signal stalk (easily done with a flap wheel on a Dremel, and then polished), and built a horn ring. No, it doesn't function, but it's there... I also painted the column and the steering wheel adapter boss thing (I wasn't keen on the polished aluminum). Also installed a cigar lighter (left of the light switch) which will power my phone & a speaker.

Oh yes - and made a dash pad nd put the grab handle where it should be. I'll redo the pad this weekend now that I know how to do it! :-

column and dashhorn ringturn signal

Moving on, I installed rear reflectors and relocated the license plate light into the 'proper' place (about 2 inches lower) :-

rear

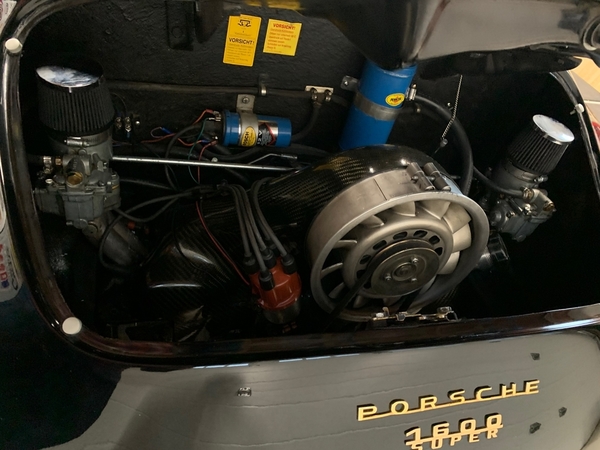
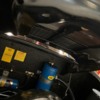
And then  replaced the engine compartment rubber seal with the correct buffers :-

buffer

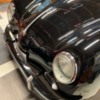
And made a louvered panel to go under the grille. This had been clearanced by the PO to accommodate the CSP shroud, and was completely open to the elements :-

lid louvres

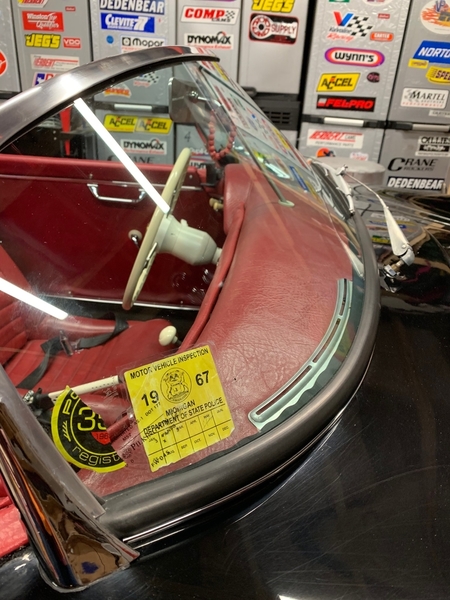
And - made up a front license plate mount and an inspection sticker :-inspection stickerlicense plate
Total cost is still under $500 Canadian, and I feel much better about it all now!

Attachments

Images (14)
  • driver door 2
  • driver door
  • passenger door
  • door cap
  • threshold
  • column and dash
  • horn ring
  • turn signal
  • rear
  • buffer
  • lid louvres
  • license plate
  • inspection sticker
  • license plate
Original Post

Replies sorted oldest to newest

In the late 80s I had a speedster replica. In those olden days it was SO easy. There were only a few references, so nobody knew whether a screw should be flat or pan headed. Now it seems that everyone knows everything! By the same token, VW engines used to be ultra-reliable and bulletproof. Now we have so much collective knowledge that they’ve become fragile and delicate! 
But - regardless, tinkering with details is a lot of fun while you’re not actually driving it!

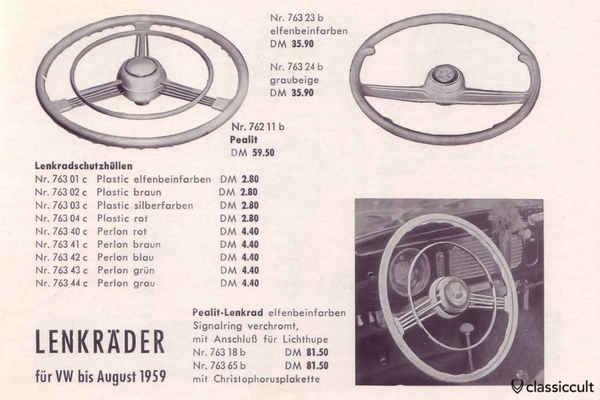
@edsnova - I almost daren’t reveal the origins of that horn ring... the idea came from a Petri wheel, but at $1000+ for the ring alone (59DM in 1959), I figured I could magyver something. So - $3 on a sieve from the thrift store and 3 pieces of steel rod, some cutting, spot welding, JB Weld, bondo, and paint and hey presto... it’s purely decorative!66E2BDA7-3132-482C-8B53-A9186433CED7

Attachments

Images (1)
  • 66E2BDA7-3132-482C-8B53-A9186433CED7

Thanks! Making the hinge covers was surprisingly easy.  Of course I knew the basic shape from images on google, so I made up the passenger one out of cardboard to make sure it would fit adequately. Transferred that to a sheet of aluminum, cut it out, drilled the holes, painted it, and that was basically it. 

A few points...

1. The door pocket/hinge area on a VS is a similar shape to the original. I'm not sure about IMs, CMCs, Becks... From some pictures I've seen, their structure looks different in there.

2. Despite the structure working OK, there is a definite difference from Driver to Passenger side. I couldn't use the same cardboard template on both sides. In truth, it only added 5 minutes to make a new one.. That alone is good enough reason to make them rather than buy a set! Once you've made the cardboard template, tape it into place to make sure the door still closes. Mine had plenty of room, but to save time, do test before you go any further...

3. The originals are folded over on their outer edge by about 1/4 inch. I don't have a shrinker/stretcher, so bending it around the curved upper edge was always going to be a challenge. I did try on an early mock-up, but gave up as it was way too much effort for way too little reward. What I did was to mimic the folded edge by filing it round...

4. If your carpet is like mine (ie goes up vertically from the door bottom to the dash), then you'll have to trim it back as it takes up the space that the hinge cover sits in. 

5. I finished the edge between the carpet and the cover with a self-adhesive weatherstrip.

And that's about it. I drilled the holes before I placed it in the car, as I figured the screws would show, and if they were placed 'correctly' for the car, they'd be 'incorrect' for the hinge cover itself. So, that meant that my bottom-most screw interfered with something structural behind the fiberglass. I simply used a shorter screw...

As my car is black, they kind of disappear really. That's a good and a bad thing!


Robert M posted:

Very nice Tony. Now, about that hand brake. Just kidding. The new details look very nice.

Tonyvan posted:

I know! That handbrake is killing me!! But, gradually gradually I’ll get round to all the elephants in the room..

Nothing wrong with that handbrake- it just needs bigger holes! Remember, if you go to the P style umbrella handbrake- no handbrake turns for you!

Tonyvan posted:

I’m kind of thinking of the E-Stopp brake. I put one on my old ‘49 F1 and it was easier than rerouting cables all over the place. 
or I could just drill some bigger holes..

Yeah, bigger holes will do it- 

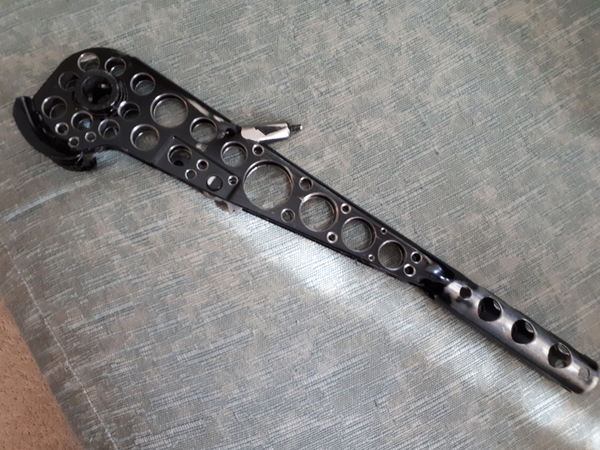
lightened handbrake- Al's


My late (shorter) handbrake went from 357- 237 grams; that's 33% lighter...

Attachments

Images (1)
  • lightened handbrake- Al's
ALB posted:
Tonyvan posted:

I’m kind of thinking of the E-Stopp brake. I put one on my old ‘49 F1 and it was easier than rerouting cables all over the place. 
or I could just drill some bigger holes..

Yeah, bigger holes will do it- 

lightened handbrake- Al's


My late (shorter) handbrake went from 357- 237 grams; that's 33% lighter...

Given that I've bent a non-drilled VW handbrake in half, I think I'll pass.

@Stan Galat wrote- "Given that I've bent a non-drilled VW handbrake in half, I think I'll pass.

This surprises me- I've done some asking around locally and no one I'd asked had bent one or ever heard of anyone else bending one. I didn't ask every VW owner I've met in the last little while, but thought I'd done enough of a sample that it was a non-issue. I'll run it and see how it goes.

PS- Stan, did you bend an early (long- 15 3/8") or later (short- 12½") handle?

Last edited by ALB

Mine actually needed straightening a little before I even drilled my puny holes, so someone must have pulled it sideways pretty hard at some point. It was pretty easy to straighten with the aid of a vice - not sure how easy it was while mounted in the car.

must have been some very spirited handbrake turning going on at some point.

Stan Galat posted:
ALB posted:
Tonyvan posted:

I’m kind of thinking of the E-Stopp brake. I put one on my old ‘49 F1 and it was easier than rerouting cables all over the place. 
or I could just drill some bigger holes..

Yeah, bigger holes will do it- 

lightened handbrake- Al's


My late (shorter) handbrake went from 357- 237 grams; that's 33% lighter...

Given that I've bent a non-drilled VW handbrake in half, I think I'll pass.

Listen Stan, none of us have that "Gorilla Grip" that you have.

Killer job on the hinge covers.

I am in your same world. I enjoy getting the details correct - it is literally relaxing for me. I am currently working on some fender liners for the front that hide the heater tubes and replicate the look of the factory wheel wells like the green and tan cars pictured below.

I also recently have spent bunch time on my interior (even replaced gauge needles) and on the carrera rear deck lid grill area. I am also recently on a dash knob crusade....

I have been slowly getting the parts together to move the ebrake to under the dash. Looking forward to getting that issue resolved.

I love this hobby - reminds me of building model kits as a kiddo.

Attachments

Images (6)
  • 6
  • DSC_1125w
  • 20180608_144619
  • new dash and door panel
  • 20190519_114948
  • 20190520_074751
Last edited by Scott S
Post Content
×
×
×
×
Link copied to your clipboard.
×
×