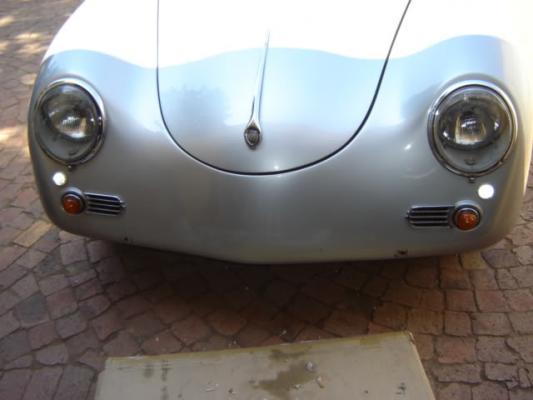
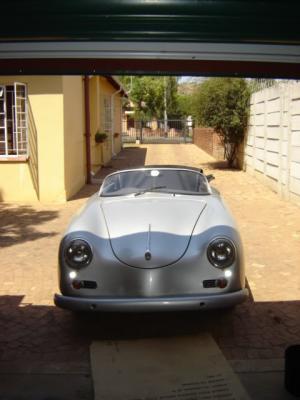
Good Morning

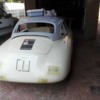
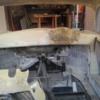
So didn’t have that much time to do things on Saterday, so I finally got down to start the fuel lines, fuel filter and fuel pump. I knew where it had to go, but getting it there would be a bit of a mission. In the end, the idea was pretty basic and I think it’ll work perfect.

Bending the lines however was another thing all together. I’m going to have to bend a new return line as I’m not happy with the way that I routed it. The main line from the tank also has to be changed from an 8mm to a 10mm line otherwise I know that I’m going to have issues with surging and the fuel pump. I  only thought of this right at the end as before I had a 10mm rubber hose going from the base of the fuel tank to the fuel pump. However with me moving the fuel pump, I had to rethink some of the diameter. Still if all goes well, I should have my new lines on Friday and Saterday I can finish this one off. I also have to change the 8mm p-clamps for the 10mm ones.

Plan after this is to pull off everything and give it a last coat of stone chip and then also paint the last of the underside of the pan and then refit everything and then the body can be flipped back onto the pan.

Finally making progress.  

I've been down for a while now because of surgery that I had to have done that I've been putting off for ages and now I had to just bite the bullet and get it done. That's meant that I have had pretty much zero time with Bernie and also that I haven't been able to do anything that involves any type of heavy work. I couldn't even bend fuel lines. I'll be like that until the stitches come out, so it's 2 weeks until I can get really stuck in. 

Anyway, I'm back on the mend and was able to get some work in this weekend and also have some really good news. But more on that later. 

Here's the list of things still to do before the body can go back on the pan.....................
- Nose needs to be repaired from where I cut (this is the big one)
- Last fuel line needs to be bent for the main line from the tank
- Body needs to be bolted down at the back to the frame
- water lines on the pan need to be cut and changed so that it doesn't mess with the new back seat arrangement
- New hole needs to be cut for the wiring harness as I'm redoing, both the EFi and the cars main harness. 
- Underside of the frame can now be painted
- frame to pan rubber needs to go on. 

Then after that, the body can go back on the pan. So......here goes with job #1.

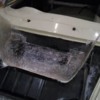
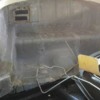
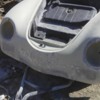
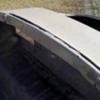
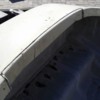
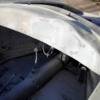
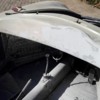
First job was to get some sort of frame made so that I could lay up some cottonflocks and then some glass. So I cut strips of clear plastic and hot glued the suckers into place. This allowed me to get a nice gradual bend for the nose and also to get the lines right. 
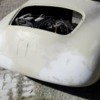
The plastic layer was then covered with masking tape and I then laid on some wax so that the whole lot could then pull apart. Here you can also see the nose section that I ground away so that I could get a nice solid join going there. The nose was probably down to 2mm by the time that I was finished cleaning it all off, so I decided to lay on at least 3-4 layers of chop on there. 

Because of the hot weather, the glass dried in about an hour and I was able to strip off the frame that I used as it had served its purpose. There are one or two high spots as one of the plastic rings broke loose, but Willem says we can just slice it down and then re-bond it. His main concern was the curve for the nose and he was actually pretty chuffed with my idea. 

So now for the good news. The car goes to a shop on Friday to have the water lines cut and moved and then that means that I'll be able to the last of the jobs next week Saterday and then the body will be able to go back on the pan. The plan it to have the body mounted by the end of the weekend. I still won't be able to lift or move anything, so I've roped in a mate who'll help with flipping the car. Stay tuned for pan updates. 
Good on you Gary....heal up and flip that baby over!

Following your progress is like reading a Hardy Boys Mystery from my childhood. I know they're going to solve the perplexing mystery, but it's an antsy wait to get into the next chapter to see what clues they uncover. 

So Willem's chuffed with your idea?. Is being 'chuffed' in SA a positive, approval response... or a negative skeptical one?

Carl Berry CT. posted:

Good on you Gary....heal up and flip that baby over!

Following your progress is like reading a Hardy Boys Mystery from my childhood. I know they're going to solve the perplexing mystery, but it's an antsy wait to get into the next chapter to see what clues they uncover. 

So Willem's chuffed with your idea?. Is being 'chuffed' in SA a positive, approval response... or a negative skeptical one?

It's a British saying and it means, "very pleased".

Last edited by Robert M

lmfao............Gord, The way I saw it was that I spend almost every weekend with the car doing something to it in one way or another.........so yeah, the car's name is Bernie as pretty much every weekend, I'm at his place, aka, the garage. 

no, don't kill the bandwith. Last night I has to deal with a 2mb line and that's an average night, at it's best we hit 6. 


I tried and tried, but I couldn't get the water pipes cut and changed in time, so I have to wait another week to get the body back on the pan. 

I have however done, pretty much everything that I need to do before flipping it over, the only job that didn't get done was bolting the rear frame to the body, which I can only do when the body is flipped again so that I can check for door gaps on the B-pillar. 

The whole underside was ground back and painted with a few coats of primer and top coat. The paint was drying in about 15 minutes because it was in the mid 30's most of the day. 

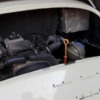
Then work started on the new 10mm line from the tank for the fuel pump. This has been changed from 8mm, because Willem said that we could and probably would get surge issues with the line being too small. It was never as issue before, because the fuel pump was almost right under the fuel tank. I also still have to take the tank to a specialist who is going to cut it upon and baffle it for me as well as weld on a new neck for the filler cap and a Mercedes truck set up that looks more vintage. More on that later once the body has been flipped. 

I took this chance to change the way the feed line met up to the fuel pump. 

Also changed the feed line from the fuel pump and filter to the engine so that it would follow the rear frame rail for a cleaner look and also to keep it out of the way. 

Then the last layer of stone chip started. I decided to stone chip over the lines to give them some protection against the elements and also to hide them. 

This Friday the pan is booked in with a chop to cut and change the water pipes and then I'll be ready to take the pan on Saterday and to flip the body back on it. New frame to pan gasket will be put in and then work can start on the flip side. 


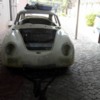
Oh crap I haven't been updating my thread about not updating my thread.....Well she's back on her wheels now as some may have seen on the FB page. This was about 2 weeks back.

First thing that I noticed though was that the body was sitting about 30mm too high up front and the pan wasn't lining up with the body. I shoved 4 bolts in the car and then took it home to worry about it on another day.

Last weekend I started rooting around and found the culprit. I built up the floor in the nose for the battery tray once I cut out the old rotten stuff and realised that I built up the floor 30mm too much. Oi vey. So I cut that out. 

The front has now been ground back and smoothed out and I can't wait until I can finish off the front and call this job done. 

It was a pity that all of this was looking so neat and then I just had to go ahead and hack up the floor. 

Still this was actually for the better as the bolts from the beam were going to hit the bottom of the battery, so I had to construct a false floor so that the bolts could be sunk in and also so that the battery could still be low enough so that it would sit under the spare wheel. So here's what I came up with. This is all fabbed up in corrugated plastic sheets and hot glued together and then I'll foil this and then shove a layer or 3 over it. 

This weekend I should be able to glass the new section in place as well as also make the mounts for the body tie down as well as the battery tie down. Tomorrow however I'm hoping to have the steel panel fabbed up that will allow me to box off the radiator and also have a removable panel that can be taken out if any work needs to be done on the radiator or anything else up front. 

My fuel tank goes in on friday to have another fuel return put in and have the 2 extra lines closed off. I've also asked them to block off the fuel out and to make me a new hold much lower in the tank. This was something that I thought that I'd have to do, but I didn't reaslise that so many changes would have to be made to get all of this junk in the trunk. Stay tuned. 

lol @skills..........heck no. I have zero skills, I pay as you go. I've made so many mistakes and c*#k ups with this car while I've been trying to find what works that I've lost count. But thanks for the well wishes....

The top is fiberglass that's come from a local supplier that I bought for about $80 (yup, dirt cheap) that I'm going to use for my own roof design for a removable hard-top, (Ruetter style). The roof section came from a mould from a 356 coupe. 

Once the car is up and running, then I'll start work on that before paint goes on. 


I believe the 'top' Gary (FlatFourFan) is referring to (and probably James too) was modified and tweaked into place by Oliver in Wales....I can't find the SOC thread that documents his efforts and result, but somewhere in cyberspace it exists.

He retained the 'ribbing' that runs front to rear and smoothly flaired it to the speedster body.....I've been expecting somebody to duplicate Oliver's top in fiberglass and market it in the madness pool we are all paddling in !   

The past 2 sessions on the car have been spent making the cowling for the radiator cover. Because I knew that the cooling worked on the car, the plan for all of this was to make it neater, cleaner and also to finish off the car to a very high standard, as it was a test mule for a lot of new things that haven’t been done locally.

The cowling in itself had to allow the battery to be fitted in the nose as well as the spare wheel on top of it. It also had to be able to be easily removed so that I could have access to all of the pipe work for the radiator as well as to the duct work.

It was made in 3 sections and then in the end it was all joined together. It will be held in place with duzz it fasteners that I got from my US buddy Cory Drake who drives the silver and orange hoopty speedster. 

This weekend will be laying up one last layer of glass in the nose of the car and the tank should be finished as well. Friday my supplies are arriving, so Saterday we can officially start the body work and if all goes well and weather permitting, I should be able to get the first coat of spray filler on the car. The body work is actually very minimal. 

Stay tuned....

Attachments

Images (4)
  • 19598827_10158956244180357_1460328104880977554_n
  • 19656913_10158956244515357_2530777884537959776_n
  • 20031668_10159049572525357_6934767680541230688_n
  • 20155902_10159049572730357_6942985695958553210_n

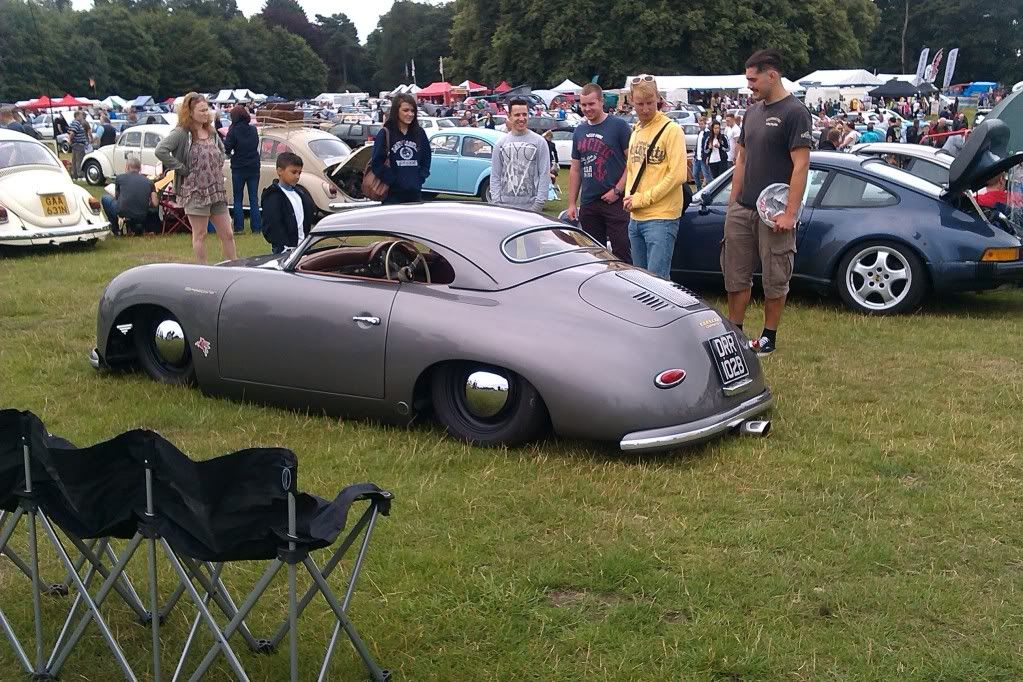
So where do we stand........? Here's an update of sorts. 

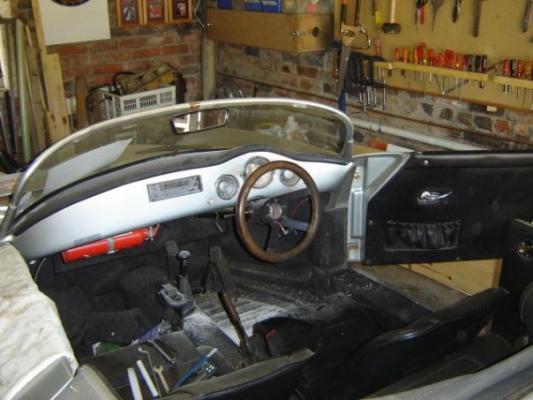
As the car sits, it's pretty much been totally gutted. There is no wiring, no electrical of any sorts, no water pipes (that work). 

The plan of action is to start the body work this weekend:

- Repaired lower nose needs to be smoothed over and a skim layer applied
- Repared front indicator locations need the same treatment as well as front bumper mount locations.
- Dashboard needs the same
- Rear light location as well as bumper holes need the same

Once that has been done, which in all honesty shouldn't take me longer than 2 weekends, the car can be spray filled with the first coat. Once I have the worst of the worst done I can actually start with reassembly. ( I want the whole car fitted back together with all the extras that I have boxed away and also have all the holes cut drilled and items placed).

I also had to make a location for my ECU and that meant cutting into the firewall area, still once it's done and cleaned up and chipped, then it'll be hidden behind the overflow tank and the air filter box.

I'm going to be modifying my 73 steering column to mimic an early 60's one for the proper look as buying one locally is stupid expensive. The wiring will all be refitted and the ECU for the EFI hooked up so that the car can move under it's own power again, the whole time still being in primer. Once this is done, work on the hard-top will start and I have no idea how long that will take, but I don't want to do final paint and then risk scratching the car. So final paint will only happen right at the end. 

I 've set a date for the completion of Bernie..........24th December 2017. Time should be good........I'm just hoping that the money lasts long enough. I did the sums and I'm in the car for all of about $8500 and that includes buying it, the water-cooled conversion, all of the parts and all of the work so far. That price also includes all the paint and materials to get her to the finished state. I do however need to buy 5 of the beehive lights if I can't make my DIY option work, if not then, I'm going to have to poop out $340 plus shipping for these babies. 

http://www.sierramadrecollecti...-356A-T1-p18242.html

More news on that one later. 


Attachments

Images (5)
  • 19642432_10159053917740357_4434616533106772629_n
  • 20046357_10159053914800357_604093388906935812_n
  • 20046762_10159053914050357_8191706399669733373_n
  • 20106688_10159053917695357_4478396366819795868_n
  • 20228443_10159053917580357_2607858087181553547_n
Last edited by flatfourfan
WNGD posted:

I'm guessing most of the earlier photos in this thread have disappeared due to Photobucket's new extortion policy?

I noticed that a while ago most of my pictures on here and on the local South African page are gone. What I’m doing this side is actually making a new thread from the day that I got the car to the where I am now, the plan of action is  to do something similar here where the pictures will be uploaded to the site and not an external hosting site. I checked last night and I have about 5000 pictures of everything that I’ve done to the car and I plan on uploading all of them.

I'll upload the last of the pictures tonight when I'm home. I have a quick gap, so I thought that I'd give a rundown on what we did. 

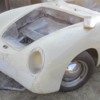
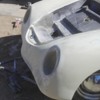
I knew that I was in for a bit of work with the nose as I had the repairs where the previous hole was for the radiator opening as well as some work that I thought was done badly. Man was i mistaken. The car had some poor repairs done a while back and we had to take it down much further than I wanted to. What you're seeing here is 5 hours work on the nose and the back to get it to the point where I could put the first skim of filler on. 

I also trimmed the cowling cover for the battery and radiator and damn it looks great and fits like a bomb. I'll trim it for the battery this week. I'm happy to say that I literally have about 4-5 more jobs with the glass and then I can call that one quits until I start the hardtop. 

The whole front has received it's final layer of glass to reinforce where I flipped everything around, so that job is now done. 

Saterday will be sanding down the nose and back and lay another skim of mud. I also skimmed the dash with a layer which can now be sanded. I've also made the decision to fill all of the convertible top holes and I'll make some fresh ones when I have the money to buy the right fasteners. 

Willem did some calculations this weekend and he reckons at my current pace, I can start reassembly in less than a month, so I need to get my ass into wiring mode. Remember final paint will only be going on when we hit spring, which is in another 2 months. 

Stay tuned...........I'll update the rest tonight as we did a lot. 


Attachments

Images (3)
  • 20229024_10159082730380357_7979825597973841705_n
  • 20229143_10159082730580357_5570028591462508319_n
  • 20233036_10159083462770357_7993330843750555071_o

So here is where we are standing. The back is pretty much done, it's smooth and is ready for a layer of spray filler, after that I'll put on a guide coat and then we can start smooth sanding. I actually may just take it to spray filler and hold off on the guide coat until I'm ready to spray. 

The rear cowling has been cut and chopped and moved and filled. I'll still have to grind and glass this part over the weekend, but I'm getting there. 

The dash is pretty much done and I'm not that far away from cutting new holes in there for new gauges. :-)

The nose: Bit more work needed here, the nose has been skimmed again and will need to be sanded again and then probably skim and sanded AGAIN after that. 

If all goes well, then this weekend could mean the last of the rough stuff. I'm already in negotiations with someone to re-wire the entire car as I really don't see myself doing it to the standard that I want and that I'll know will be safe. 

Attachments

Images (9)
  • 20525529_10159133234275357_1830016716093238292_n
  • 20597101_10159133234770357_1416800133507018531_n
  • 20294508_10159124246215357_5340182995241759539_n
  • 20374221_10159124247230357_1051406269926000622_n
  • 20375633_10159124247065357_1518755692737820175_n
  • 20429791_10159133233820357_7958576128515409235_n
  • 20429793_10159124246650357_8426934953553336533_n
  • 20476458_10159133234430357_7503622925020005135_n
  • 20525324_10159133233465357_929071661888706783_n

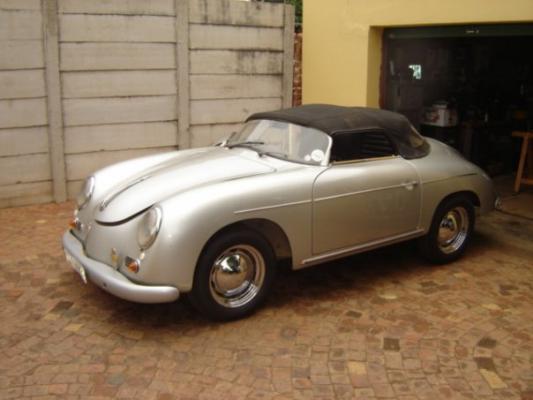
I thought that I'd update and show where I'm come from as it seems that all of my original pictures are gone online, I have them all saved at home and have a few thousand to be honest, so where I'm doing some specific details, I'll update with some old pictures as well so that you guys have a better idea. 

March 2007......so yup, that's the better part of 10 and a half years that I've been tinkering. 

Very plain, no trim, missing a lot of stuff, crap stance, etc etc etc. I bought this for about $2500.00

141910341_20144535356_2373_n1910341_20144540356_2667_ngary005gary010

Attachments

Images (6)
  • 1
  • 4
  • 1910341_20144535356_2373_n
  • 1910341_20144540356_2667_n
  • gary005
  • gary010
Last edited by flatfourfan

Had an awesome day yesterday, managed to sand the whole nose down again and fill in some small marks here and there, also managed to sand down the dash and also get a good head start on the rear area. I touched briefly on the steering wheel and column as I'm getting to the point of where other things have to get done as I'm getting ever closer to putting it back together. 

The back seat area is almost done, this has been sectioned, trimmed and fitted in with cotton flocks, a lot of sanding has been going on back there to make it look presentable. Next move here will be using microballs and resin to fill in the gaps and also to get the rear lip that the back area has to have. Then I can mark if off and do the final cut as it's about 5mm too big all the way around. 

20375633_10159124247065357_1518755692737820175_n

20374221_10159124247230357_1051406269926000622_n

20620783_10159159921290357_2614147213308119120_n

Attachments

Images (3)
  • 20374221_10159124247230357_1051406269926000622_n
  • 20375633_10159124247065357_1518755692737820175_n
  • 20620783_10159159921290357_2614147213308119120_n

Add Reply

Post Content
×
×
×
×
Link copied to your clipboard.
×
×