Okay gang - this was so much simpler than I'd have guessed. I'll walk through the high points.
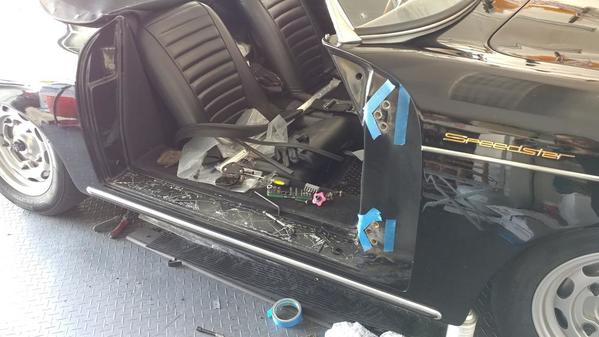
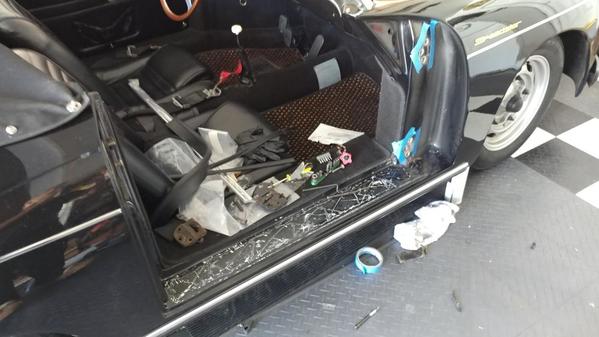
Here is where we started: Note the bottom corner of the door. It sticks out a wee bit more than the top. The top was super snug and it would rattle / hit the body so much that it actually cracked the thin top corner of the door. (boo!)
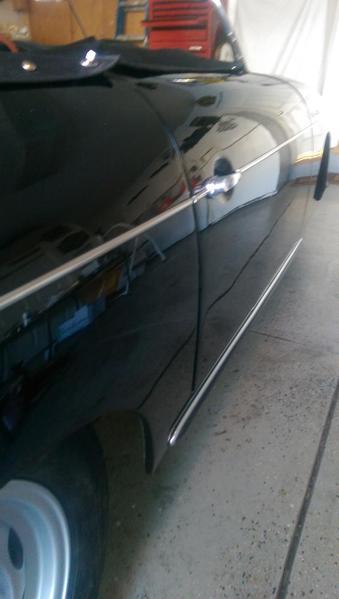
Here is where I ended up after about an hour and 20 minutes of work:
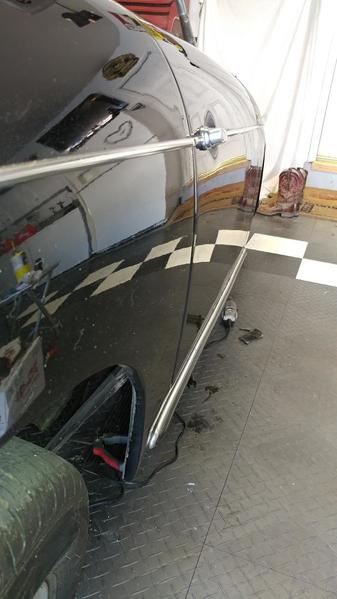
So the first thing I did was mark the location of the old hinges so that the door would be easy to align later. Blue tape - SOC's official sponsor. In hindsight this was not necessary as these holes are not adjustable.
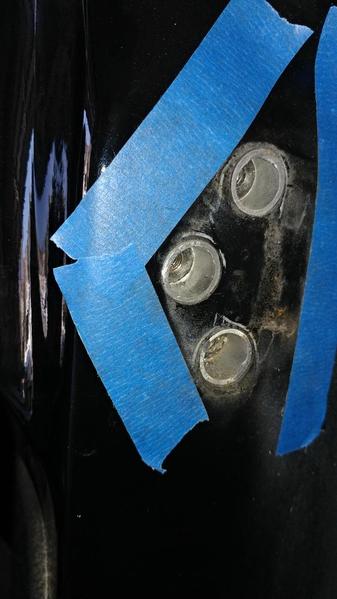
Next thing I did was check the little aluminum spacers (silver inserts above). The bottom of the door stuck out more than the top. So I first looked at the bottom hinge spacers. Sure enough a few of them were a bit 'proud' of the door jamb. I removed each of them and sanded/filed them until they were flush with the body/door jamb. They were only 1/32'nd proud... so I knew that wouldn't be enough to fix what I was seeing. So I moved to the TOP hinge and did the same thing. Those spacers looked good. Needed more space on top.
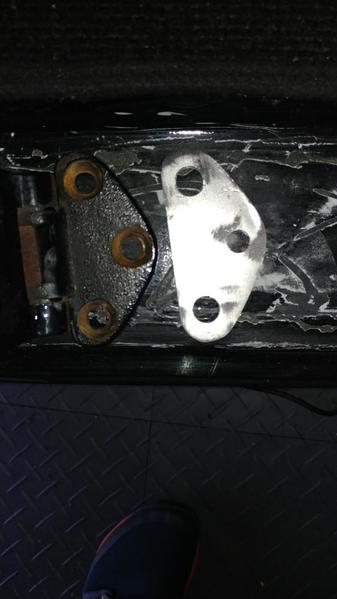
Alan mentioned that I might need to shim the door hinge a bit. If the bottom rear sticks out... you need to shim the top front. So I took some aluminum flashing that I had lying around the shop. I traced the profile of the BODY side of the hinge. Use the drill press to punch out some holes to match the hinge holes.
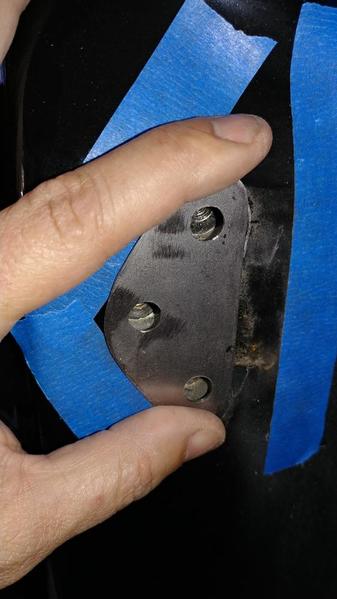
Trial fit. Looks good! Paint it up and start reassembly.
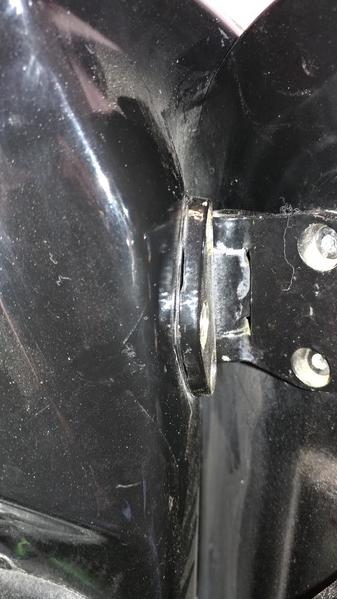
Okay - first off... that's a piece of lint on the hinge, not a crack...
As I said earlier - the body to hinge bolts are fixed - they don't adjust up/down/in/out. All adjustments for up/down etc are done on the door side bolts.
The photo above is after I assembled the hinges on the door first and then tried to fit the door/hinges to the body. I had to undo that and fit the hinges to the body first and THEN attach the door. That was frustrating. The body bolts were too long to get a socket in there to tighten things down with the hinges on the door. It was tricky to do this by myself. Two people would help here. It would have helped me from dropping the door. (more on that later...)
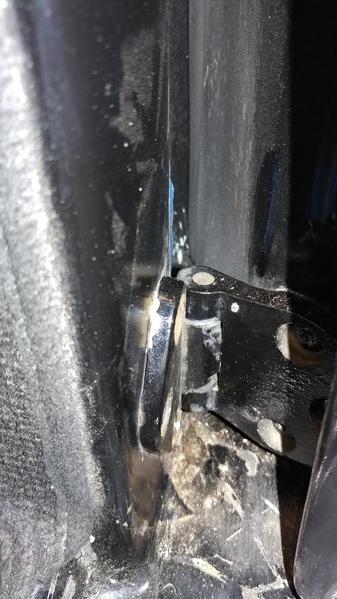
In the two photos above you'll see the top hinge and the spacer and the bottom hinge and how snug it fits to the body without spacers. I eyed up the hinges on the door and body as close as I could... close enough. ( I used the dirt on the door so I could easily see where the hinges used to fit.) I SLOWLY started to close the door to see how it fit. I didn't want to chip and paint or crack anything. A few times of loosening the DOOR bolts and adjusting the spacing... tightening... and slow closes later. Looks... close. Too close.
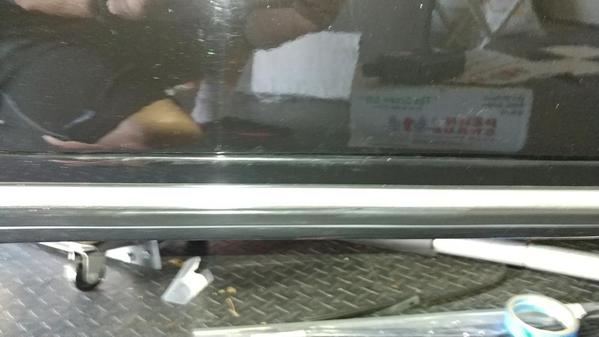
The lower gap was WAY to tight. Back to the door hinges to adjust.
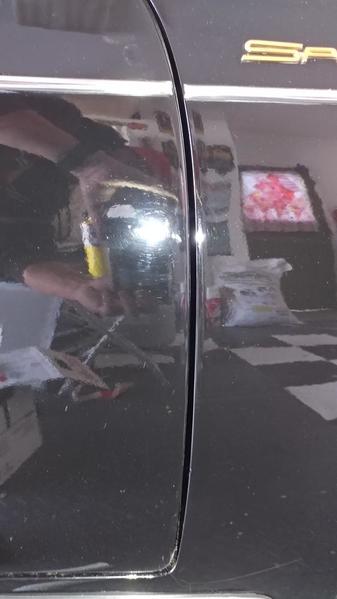
Front looks good... little tight on the bottom. Too much more and I'll really screw up the belt trim alignment. The doors should have been aligned better before the belt trim was applied. My 25+ year old body has a few cracks in the gel coat. 
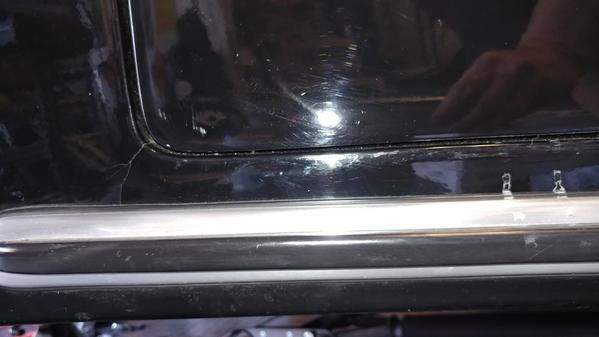
A few more adjustments. I just loosened the bolts a tiny bit and pulled up on the bottom of the door with some force. Once I felt it move... I'd close the door... test again. I got it where I think I liked it. More gel coat cracks. (I should have spent that 5 speed money on a paint job.  )
)
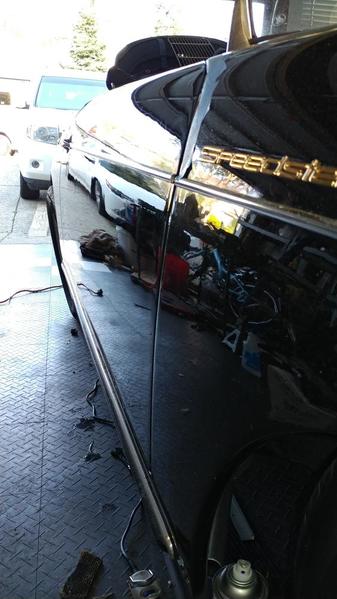
Eyeballing down the body... looks close enough.
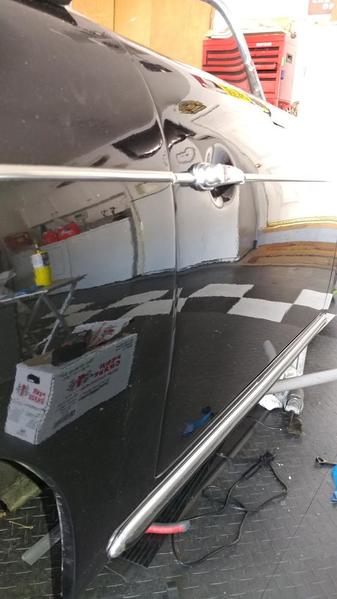
Looks good... cut. print. check the gate.
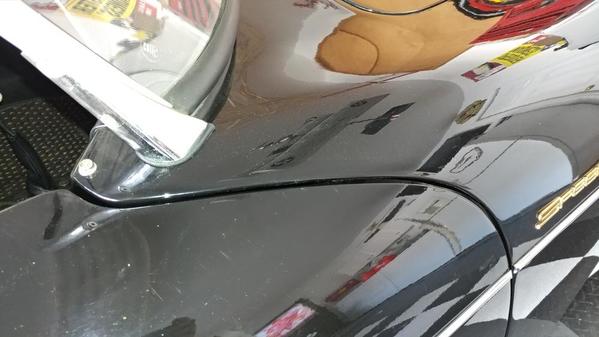
Looks good... except for the dirt and scratches in the door from where it slipped and fell over. If you look close you can see a bunch of vertical scratches in the 'crown' of the door. I'll color sand that out and buff it up. Now that this is all complete I can get in there and clean up the door jambs and hinge area.
-----
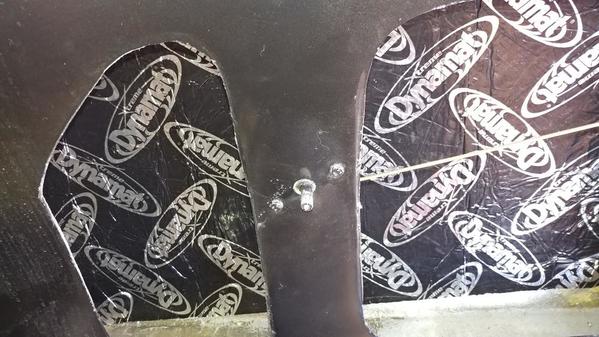
The shot below is for @Former Member. Once sheet of dynamat delux on the interior of the door. Super quiet and added some mass to the otherwise hollow sounding doors.


.JPG)
