
TRP posted:


OH! and ... how many of you have doors that rattle when you hit bumps? Man... going down a back road sounds like I'm driving a covered wagon! I need to fix that. The doors shut well... it's just that they clatter and rattle on bumps. How do I fix that?!

I used dyno-matt on the inside of my doors and also stuffed polyester filling (a lot)  to sound proof it even more - all prior to installing the door panel. Food for thought...

New, (thicker) door weather stripping will certainly help your door rattles.  Put stuff in that has to compress 1/2 the thickness when the door is closed.  I use 2 or 3 different types depending on where it's used on the door and how much of a gap I need to fill (CMC body - I live for door gaps).  

The last resort is a new rubber bumper on the door latch striker (the part on the body) if it's worn.  I have no idea where you can get those (Bug City?) but they are replaceable.

Last edited by Gordon Nichols

I noticed my door rattling a little after I got her and I adjusted the receiver end (the part on the door itself). I loosened everything and moved it out toward the outside edge of the door. This way the door closed a little tighter. Thicker weather stripping would also help keep the body panels from rubbing together which could be a source of the noise.

Whoa. It's been a while.

Things have taken longer than I'd have expected but that's what happens sometimes in this hobby.   The donor trans I had sent the builder was pretty spent. We chatted about what we could do to gather up some used stuff but at this point there really was no reason to go half-assed on it. I went with all new parts for nearly everything inside the transmission. I think we only used a handful of used stuff. 

Customer service thus far with the builder has been top notch. No complaints what so ever. I'm confident I'll have the gearbox I was originally looking for when I started this quest. 

Do any of you fine gents happen to know where I can find the information necessary to install a Gene Berg 5 speed onto/into a 1967 Sedan Pan? I will be pulling the motor and trans in the next week or so to prep for the pending delivery of the finished gear box. 

Thanks,
Ted

Ted, "It's been a long time"  that's par for the course of building and then installing a Berg 5. being a swing axle it's a bit challenging.  here it is, the once over=

  • install a berg trans mount to your chassis before removing your 4 speed, weld the mounts in place then remove the trans
  • as for the axle position on the spring plates you will need to set the toe when your done. no sense to mark them since you have different axle tubes.
  • remove your 4 speed
  • place your five speed in the car. having the berg cradle mount will help aligning the trans. you will notice the new trans nose cone contacts the axle tube.
  • use a marker, white paint, scribe or anything that works for you to mark the contact areas.
  • remove the trans and begin to cut out the area you marked. after doing several of these I am not shy cutting the torsion tube.  This process for a newbie will require several installs of the trans.
  • you should have gotten the berg 5 mount that has an adapter plate to mount to the stock welded in mount on the pan and connects with two rubber mounts with a stud sticking out. TAKE THOSE RUBBER MOUNTS AND THROW THEM IN YOUR NEIGHBORS POOL!!!!!, Order the alum spacers. don't ask why just get them!
  • After several fits you should have clearance the torsion tube enough. Next mount the cover in place, install the trans again and make sure it has clearance.  then remove the trans.
  • Next you can order the berg piece of metal, fit it in place, tack it in place and install the trans again. if there is not enough clearance go back to grinding on the torsion tube.   Instead of the Berg metal cover I found it to be easier to get some thin steel cut it out larger than the hole in the T-Tube and use a body hammer or round end of a ballpinne  hammer and shape to fit the hole.,trim it and tack it in place, apply silicone to keep out the mositure. paint it.
  • now install the trans. Route the breather hose and secure it. 
  • secure the axle tubes, berg mounts and cradle mount.
  • Next install the coupler on the trans. install the shifter.
  • go back to installing the brakes and clutch cable.
  • fill trans with the proper gear oil- BRAD PENN
  • Install engine.
  • start motor and let the trans be out of gear. the trans will rotate moving the gear oil around. shut off engine. adjust shifter and then restart the engine.
  • test each gear and reverse. 
  • If you have a problem rethink the process and what you missed before calling your tranny builder. He won't be able to diagnose it over the phone.
  • Most of all, Keep telling yourself it's all worth it when I am done!
Last edited by Anthony


Anthony posted:
 
...Most of all, Keep telling yourself it's all worth it when I am done!.....


Ted, I can tell you that it was all worth it when Tony was done.

There's absolutely nothing more satisfying than knowing the job was done by someone who knew what they were doing.

BTW, if your current tranny mount has any rubber in it, you'll hear and feel the difference with this mount. There's more noise, but the powertrain is now more directly connected to your butt, so you're more aware of what engine and tranny are doing as you drive. In time, I think you'll see this as a good thing.

And if you're using Weddle gears, those are noisier, too. Comes with the territory. If you like closing your eyes and playing at being Hans Herrmann at the Targa Florio, you really won't mind this, either.


Hey Tony & Terry
Thanks for the info. I appreciate it. Sounds very straight forward. If you were closer I'd drop the car off at your shop and just have it all done by you guys.   Maybe I drive up on a Friday and drop the car off and drive home with the new 5 speed on Monday.  (kidding... sort of.) Can't wait to get this project wrapped up. I was looking back at this thread and I had forgotten how long this has taken. The financial commitment is nothing when you consider how much time you invest in this upgrade. 

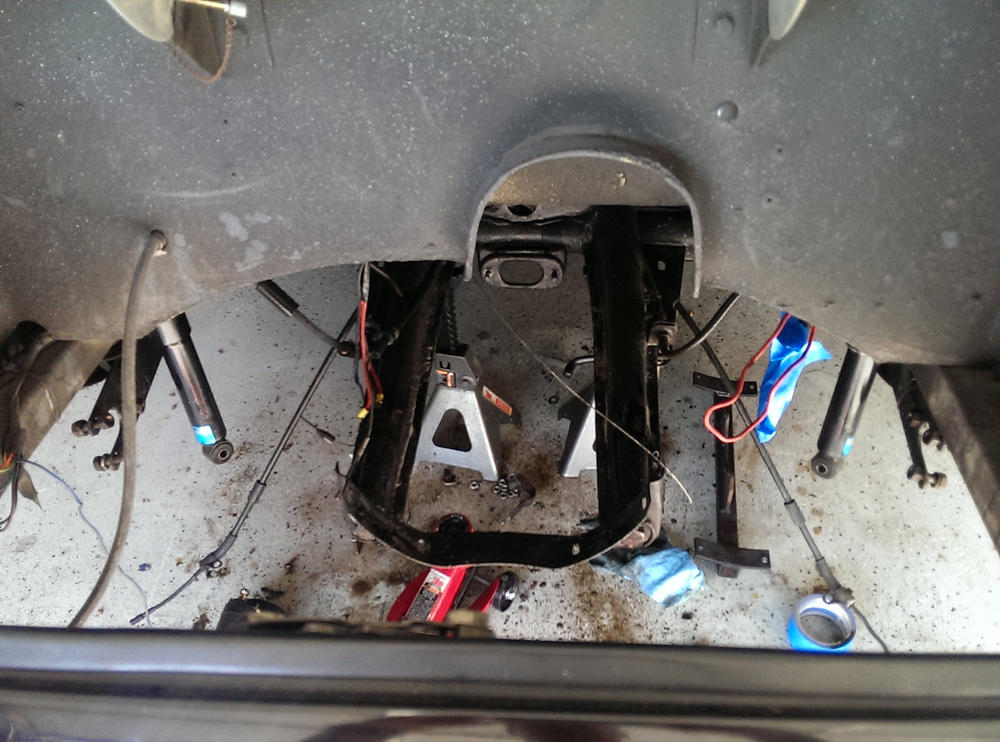
About the existing setup:
The car already has a mid mount so I'm guessing those tabs will have to come out first (assuming they won't work for the Berg mount).  Not a huge deal I have a cutting wheel.  I already have Rhino trans mounts and a solid mid-mount. I'm used to the magic fingers from the 4 speed. 

Regarding this step: 
TAKE THOSE RUBBER MOUNTS AND THROW THEM IN YOUR NEIGHBORS POOL!!!!!, Order the alum spacers. don't ask why just get them!  Okay, that's done. Eric (my neighbor) won't suspect a thing.  Where do I get the aluminum spacers? I checked their site and I couldn't locate them.

While the motor is out I'll be swapping to full stainless fuel lines, relocating the oil cooler with the mount @coolryde built for me a while back, some new spring plate bushings/retainers and wiring up a relay 'cut out' for the cooler fan while the motor is cranking.

Thanks for checkin' in...


Last edited by TRP

Oh! I think I found them...

Is this what I'm looking for: 
http://www.geneberg.com/produc...amp;products_id=3246

 Or is it a pair of these?
http://www.geneberg.com/produc...amp;products_id=1071

I think it's the latter of the two. The first example appears to be for the front nose cone mount. I'm not sure that I'll be using the front mount. I think that also goes in the pool next door, right?


Last edited by TRP
Anthony posted:

order the ones for the front mount[first photo]. do not order ones for the cradle mount as in the second photo.      If you have a berg mid mount in place you do not need to cut the ears for the five speed mount. I think that's what your post was describing.  Call me if you want to bring it up for me to do it.


I have a different mid mount in place now, not a Berg. The one I have now was on the car when I bought it. I have no idea who made it.  I looked through my old thread here and found a photo of 'it' from November of 2015.  You can see the mount below on the right partially occluded by the red generator wire. 

You can see how the existing mid mount uses large I shaped tabs compared to the smaller (yet more robust) mounts of the Berg mount I'll be installing. I'll get under there and see what lines up and what doesn't. 

Thanks for the info on the bushings. I will order two of the first style today. 


I don't think I've ever seen a mid-mount like that, Ted. Usually it's the Berg (or copy thereof) or the Mendeola/Coolrydes/Joel Mohr (I don't know who made it first) style with the red polyurethane pads that bump up against (instead of bolt to) the frame horns. Could be home made? Al

PS- Too bad you had to spring for more new trans guts. I undestand that's fairly common, though; so many transaxles have been rebuilt numerous times and are just plain worn out. Up here where cars have more of a shelf life (winter/salt/rust/death) it's not unusual to find a trans that someone took out of a rusty car and put it away. The trans that my friends gave me so I could pirate the case (and side cover) for the 5 speed was out of a 1978 convertible, had never been apart, and the gear stack (and ring & pinion) look so good that it doesn't need to be rebuilt. 

Last edited by ALB
ALB posted:

I don't think I've ever seen a mid-mount like that, Ted. Usually it's the Berg (or copy thereof) or the Mendeola/Coolrydes/Joel Mohr (I don't know who made it first) style with the red polyurethane pads that bump up against (instead of bolt to) the frame horns. Could be home made? Al

I'm guessing it's homemade. It uses a pair of rear transmission rubber mounts to sandwich between the mid mount and the tabs which are welded on frame horns. 

I mean the two mounts when placed (side by side) appear to do the exact same thing.  They take a bunch of pressure off the nose cone by mounting the mid point of the transmission securely to the frame horns.  *shrug*.


Last edited by TRP

Add Reply

Post Content
×
×
×
×
Link copied to your clipboard.
×
×