si signor, bellissima ![]()
Ok, bringing it back to a build thread ![]()
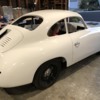
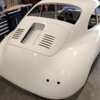
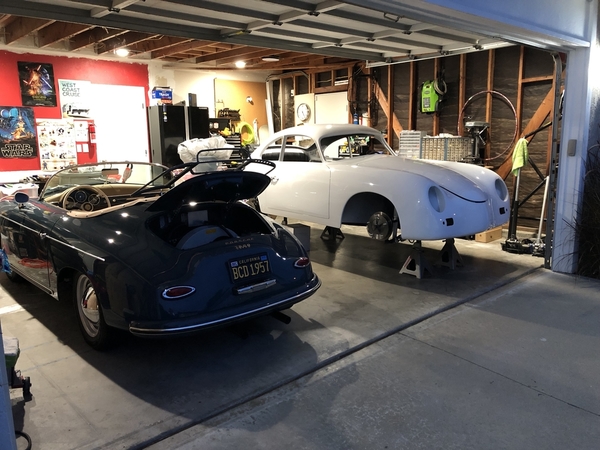
After three weeks in Czech, bought a house while abroad (came home Wednesday, final walk-through Thursday, signed loans docs and got keys Friday), moved the following weekend, jumped on a plane to Utah for two days this past week... Greg an I finally caught up... Coupe is getting painted this weekend!
My goal is to have the coupe body mounted and back in my garage by the end of this month. I should have the garage finally organized and ready to continue building the outlaw coupe for the wifey...
On a side note... a HUGE THANK YOU to @MusbJim for helping me out. He took some time over Labor Day weekend to help trailer my coupes rolling chassis to the new house. It was also a nice little road test to make sure nothing fell off or broke... LOL!
Attachments
On another side note...
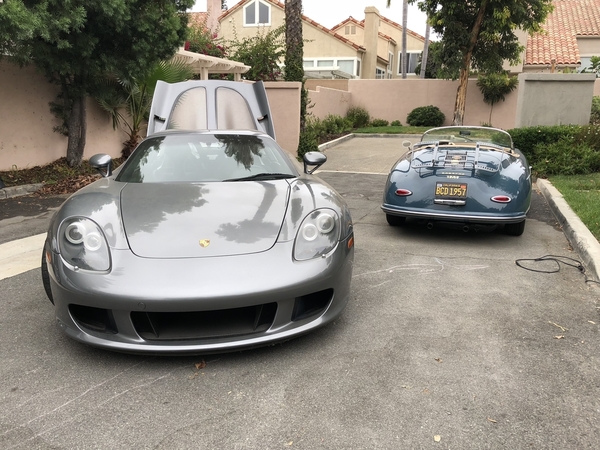
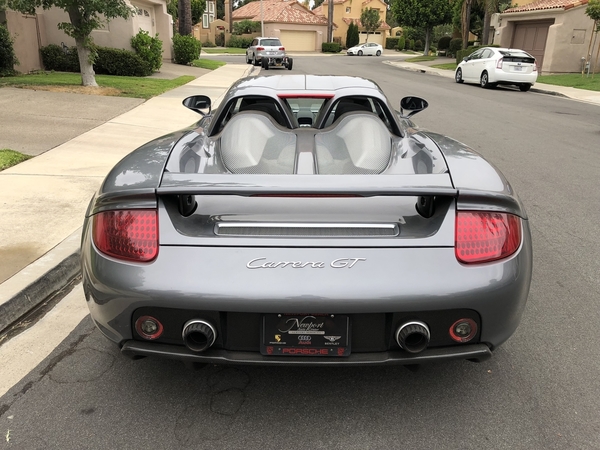
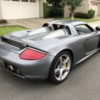
I have a bucket list of cars I would like to drive. The #1 on the list is a Carrera GT. Well, I got to drive one. I'm amazed on the amount of power it has. So. much. fun.
Attachments
Very nice!
What was like in the cockpit of that thing?
Jethro posted:Very nice!
What was like in the cockpit of that thing?
Everything felt where it should be... aside from terrible blind spots, it was a dream to drive!
Attachments
Really nice. Now you’re cooking!
That’s awesome!
I approve of this paint color! PPPPFFFFFFFTTTTTTT Stan!
Looking forward to seeing the build Brian!
Update... update... update...
A HUGE shot out to @MusbJim - he is the man. Period. He is the coolest of cool cats. On a moments notice, he was able to swing by the house this morning and help hitch the completed rolling chassis to Greg at Vintage Motorcars for the well waited joining of the body and chassis. Finally!!! Greg and I have a solid plan for the carpet, headliner, interior, etc... It will be nice to have Whitewalker home and spend time in my garage working on it...
It has been a few months since I have stopped by and talked to Greg. He is SUPER busy, but the quality of work at his shop is amazing. He has made some amazing improvements - the little details that mean the most (at least to my OCD).
Side note: It was nice to see the rolling chassis handle some speed on the freeway and not have any issues/problems. Guess I am getting good at this "building" thing. I'm certainly not a Greg or Dr. Clock, but I learned from both and several more on this forum ![]()
@LongFella I admire YOUR super detailed build skills !
Update: The merging of my chassis and body is about complete. I hope to have White Walker back in the home garage Monday or Tuesday to start my round of work. Once that is complete, back to carpet guy to get the carpet custom cut to the car (I learned not to order just a general kit)/door panels/seats/headliner... and last stop to Greg for all the glass install...
No pics to share yet ![]()
Welcome home Whitewalker. Welcome home!
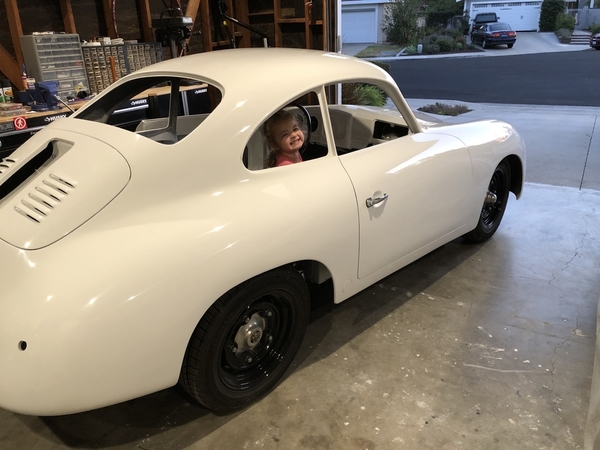
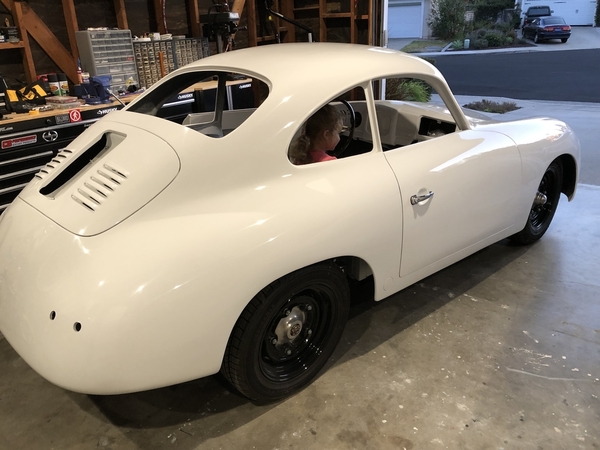
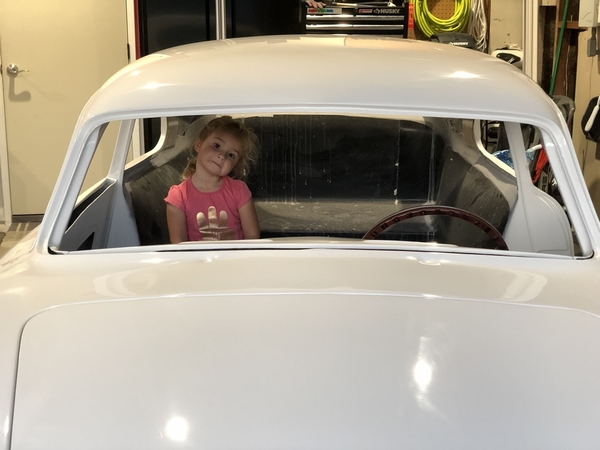
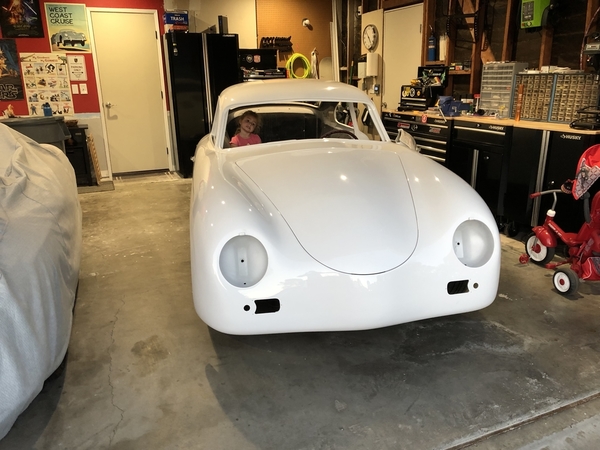
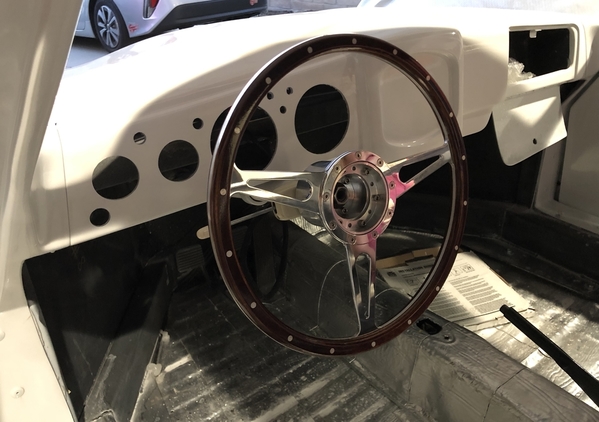
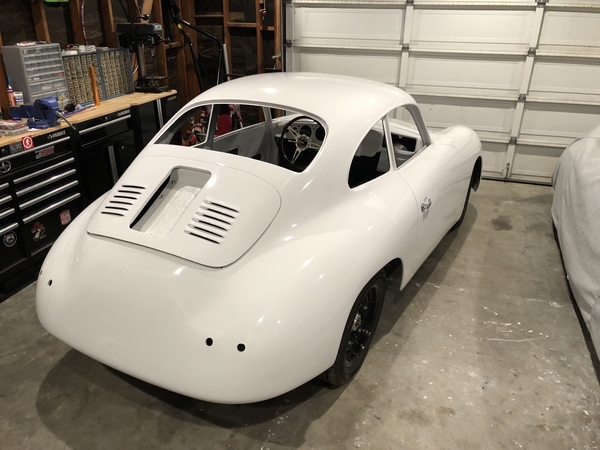
FINALLY! ! ! ! Greg and the guys at Vintage Motorcars Inc did a wonder job mounting the body. Even got a nice custom steering wheel and hub from Greg. My wifey is going to have one bada@@ coupe when I am done with it!
Let the building begin!
Attachments
Beautiful, and agreed - your steering wheel is bada**. I’d love to have one of those. It fits the VW spline pattern?
Looks awesome LFella. Sounds like you are in the O.C area? Hopefully be able to see it in person someday ...
Brian in Murrieta
Looking pretty sharp, Brian!
Looks great Brian! I see your daughter has already claimed her spot. Look forward to following your build. Mine is on the truck to FL now. Waiting on message from the driver.
30West posted:Beautiful, and agreed - your steering wheel is bada**. I’d love to have one of those. It fits the VW spline pattern?
Yes, it fits the VW spline. Greg at Vintage Motorcars Inc makes a custom hub for this wheel. It is gorgeous in person...
Got a big box of parts yesterday from Greg. Always great seeing his shop and Team plugging away.
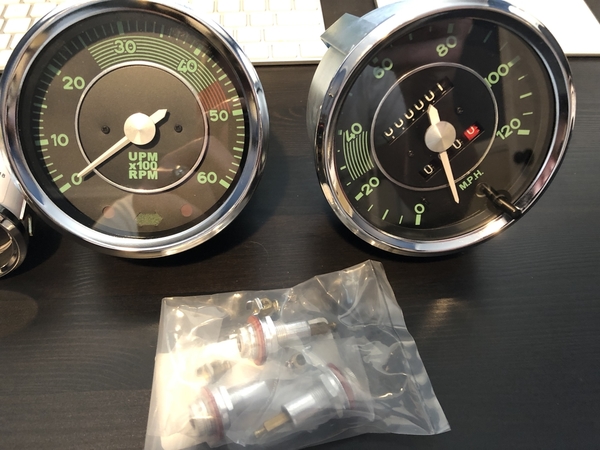
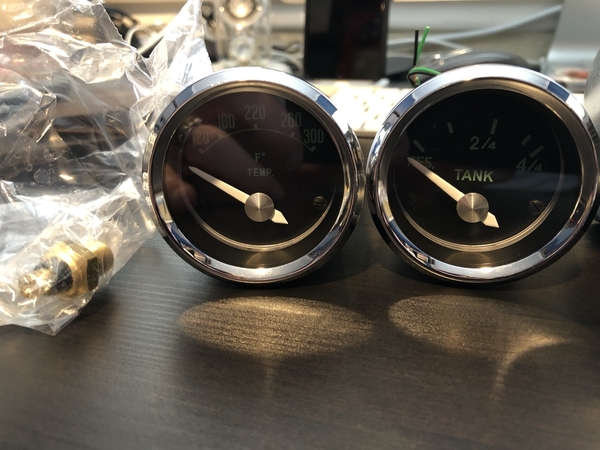
Pics of the gauges... these are Greg's new ones... even the small gauges are his design/custom for him... they are gorgeous!!
Once I finish sound deadening the interior, all electrical will be run, lights, battery, frunk and engine painted like my Speedster... year end goals...
After that, it will head to have the carpet custom cut and installed. Then I get all the interior pieces... finally stage is engine choice and fuel pump...
I am really hoping my wifey is driving this Coupe up to SLO in 2019 ![]()
Attachments
Are they VDO guages? I wonder how the lighting is at night.
IaM-Ray posted:Are they VDO guages? I wonder how the lighting is at night.
Not sure. I'd have to ask Greg - they are his design/build - not sure where he sources them from.
The smaller gauges have LED lights. The larger ones don't have the little lights in them, but I will likely go LED like the smaller ones.
I have the Beck gauges in my Speedster. I like them, but the regular lights are too dim at night... so I will replace those with LED too.
I have the Beck/IM guages as well and yes they are a bit dim... Marty has LED's green and very bright.
I believe there are incadescent bulbs you can get now, that are brighter and will allow your rheostat to work and dim the instruments.
The LED's are usually undimmable for the most part with the standard rheostat, unless you have more electricity skills.
Brian, are they exactly the same size of guage?
IaM-Ray posted:Brian, are they exactly the same size of guage?
Which ones? The tach and speedo are the standard Porsche size. The fuel and oil temp are smaller. Is that what you are asking?
Yes I was mostly concerned about the Tach and Speedo.
I often look at this setup, pict below, it just keeps all the guages in one spot. I am a bit nervous about doing this myself on my set up but it would be nice to have some auxiliary guages at times with a bit more precision than the standard temp guage.
Oil temp would be nice, as well as water temp in my case.
I just added Cruise Control and it is awesome on the 4 lane highways.
I often think of building a coupe but I need to experience on first then I can deal with getting it north of the border. Another challenge. Keep going your cars look awesome.

Attachments
Attachments
Man, I can’t wait to see it all come together!
You have mentioned that you and Greg have a ‘solid plan’ for the interior, headliner, etc. Can you divulge any secrets - colors, other details? Inquiring minds want to know!
I’m super excited and anxious to see the finished product, and it’s not even my car!! Like a kid in a candy shop . . . . . . it’s going to be beautiful!
Brian have you looked at Wilhoit's site he has come nice coupes that are redone with the same dash as yours... it might give you some ideas.
@*LongFella I don't know if you're interested in this, but I have attached the dimensions for an original 1955 Pre-A speedster dash that lives about a mile from me. Maybe they will give you some ideas of layout and spacing so you can go from there. They are the same photos that Bob Carley used on his IM-6, as well as Gary Bloom and Manny and a few others outside of the 'states. Happy Building! gn
Attachments
Looking sharp Brian! I just sent Anna an email to get a coupe parts order going as well. The gauges are on my list. Keep the details and photos coming.
I'm waiting on a few boxes from "Anna-Claus" too !
Alan Merklin posted:I'm waiting on a few boxes from "Anna-Claus" too !
She’s holds the shop together. Trust me ![]()
Brian,
I see you notched the back above the shift coupler. Wasn't there a 2x2 steel horizontal tube running across there in the coupe?
Stephen
AllnuttS posted:Brian,
I see you notched the back above the shift coupler. Wasn't there a 2x2 steel horizontal tube running across there in the coupe?
Stephen
There is a 2x2, but it is not that far into the interior. I notch that spot, add a hinge, and stop so that I can access the coupler later on (if needed). I do that same where the opening is on the opposite side of the pedal assembly...
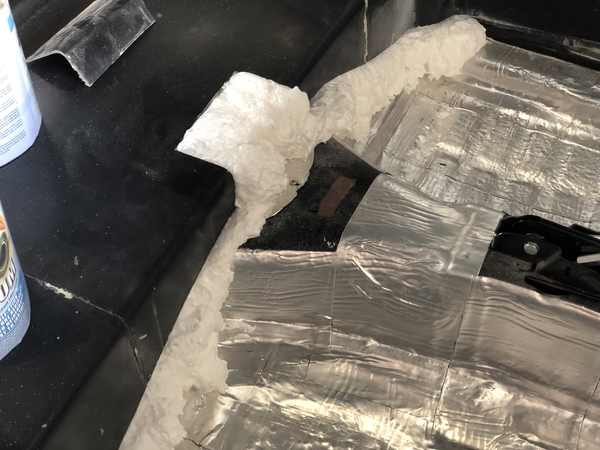
Once the foam insulation is cured, I will clean it up and cover it all with the sound deadening material. Like my Speedster, it seals the sh#$ out of the interior so that nothing from outside can get in. I also use an adhesive caulking (think liquid nails on crack) on the exterior seams where the body was attached to the pan. I then use the truck bed liner stuff and paint roll over it. The entire underside (including the body) will have the truck bed liner. It takes forever, but it looks great and seals everything nicely. It is the same stuff I used to cover the entire pan before the body was installed...
*LongFella posted:AllnuttS posted:Brian,
I see you notched the back above the shift coupler. Wasn't there a 2x2 steel horizontal tube running across there in the coupe?
Stephen
There is a 2x2, but it is not that far into the interior. I notch that spot, add a hinge, and stop so that I can access the coupler later on (if needed). I do that same where the opening is on the opposite side of the pedal assembly...
Do you have (or can you take) a good pic of that, Brian? I have that issue with my car and before the trans goes back in I'd like to do something there. I have an adjustable coupler on the end of the shift rod and getting that all undone to pull the trans out was a bear. I have an idea for a solution but it involves welding so I'd like to see what you did. Thanks in advance. Al
I made the same cut-out over the shift coupler in my car. But, rather than hinging the original piece I took a thin piece of aluminum sheet metal and cut it the appropriate size to overlap the cut-out by about 1/2 inch on all sides. Then I bent the flat aluminum sheet metal to fit over the cut-out. I used the front edge of the area adjacent to the cut-out to bend the piece with the correct radius. I secured the sheet metal over the opening using the same tape that you’re using for your sound deadening. It makes a tight and waterproof seal.
I chose not to hinge because this access will only be used occasionally (hopefully) and once the tape is cut around the edges, the piece can be completely removed for maximum access to the coupler.
Just a suggestion.
Mine looks just like what James describes, and rather than hinging it and all that goes with THAT decision I just screwed it right to the fiberglass and flopped the carpet back over it. Done.
Someone also mentioned having a service access panel on the other side of the tunnel across from the pedal cluster. I did that, too, and it makes servicing the clutch cable super-easy.......Whenever I remember that the panel is there. Old habits die slowly.


