Looking good! Being able to see the finish line gets even more exciting. ![]()
Great build and great documentation.
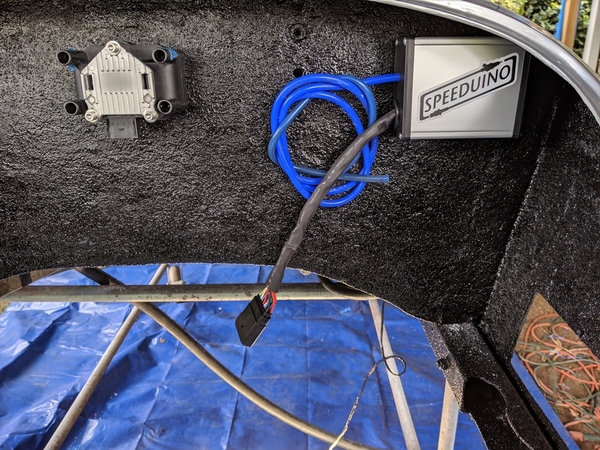
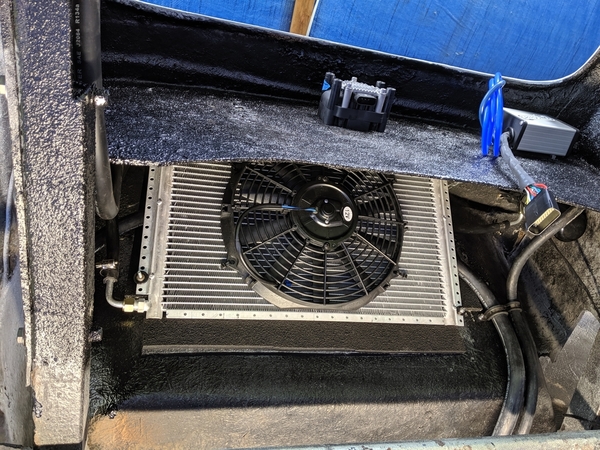
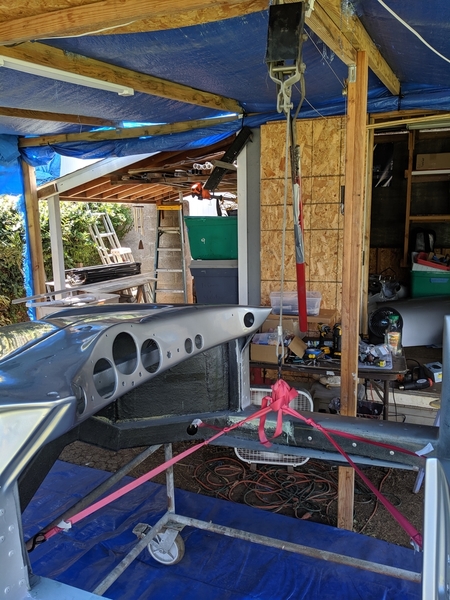
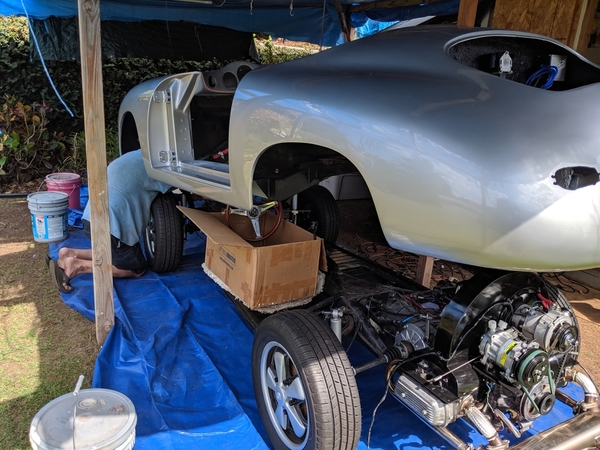
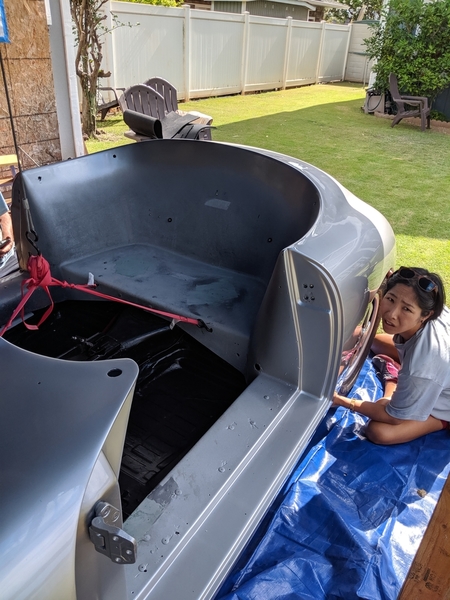
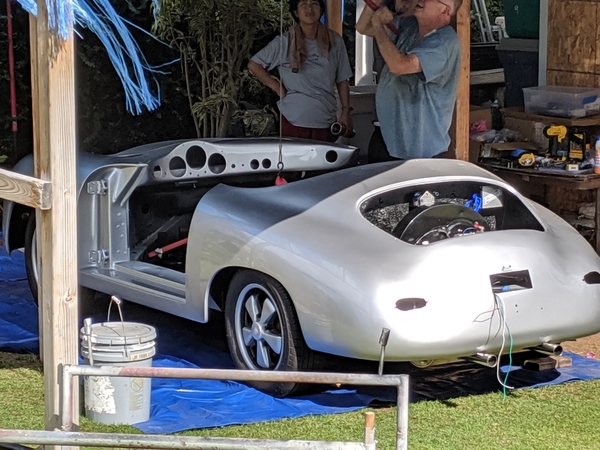
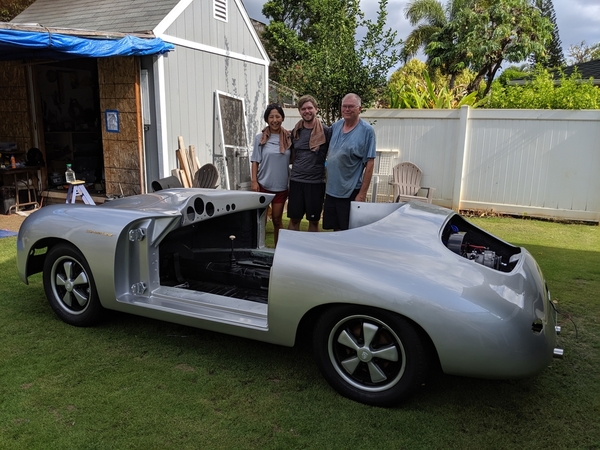
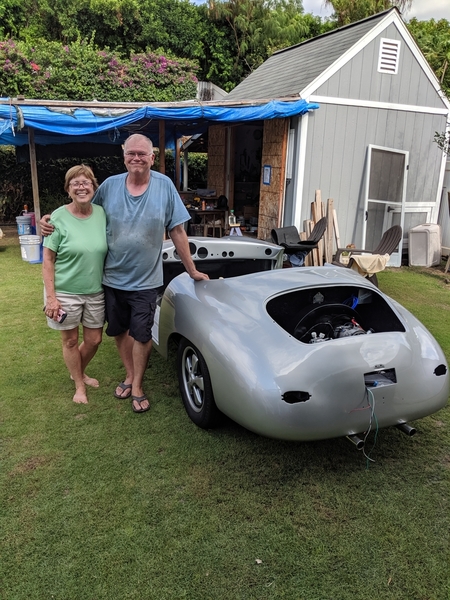
Big day. With the help of Marianne, Kanako and David, we got the body attached to the chassis. Lots of prep work involving the AC condenser, fan, AC dryer, electrical lines and hoses in the space behind the firewall that's pretty inaccessible after the body is on.
Much to my surprise, that involved pretty much all of the AC parts except for the compressor to get the right hose orientations and lengths.
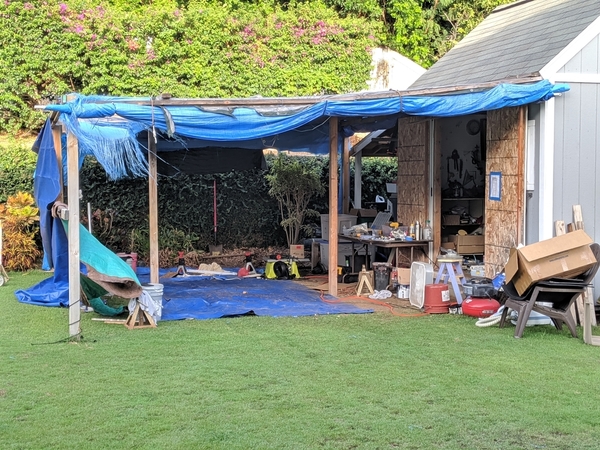
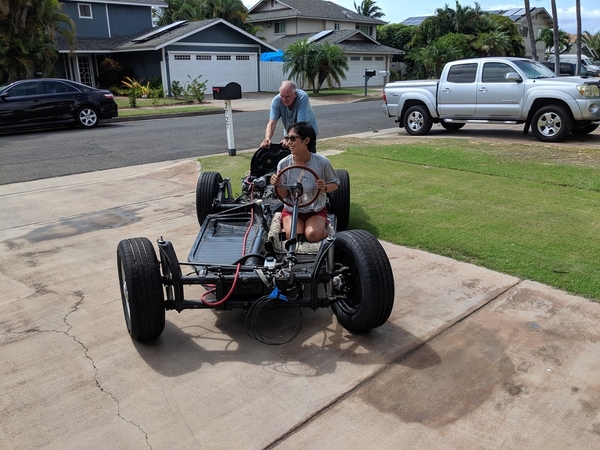
Kana took off the manifolds and carbs and drove to the house of tarp while David and I pushed. I ran the modified come-along while they bolted the corners. It's been just a little more than a year since the car arrived. Being totally honest, I think I've got more than 80 hours in the rebuild already and I haven't even torqued the wheel lugs yet. Who'd have thought?
By the way, the come-along is bolted to a reinforced 2x6 and I welded a 3 ft long 1-1/2" pipe over the short handle to get the leverage I wanted. And painted it red so I wouldn't hit my head on it more than 2 or 3 times.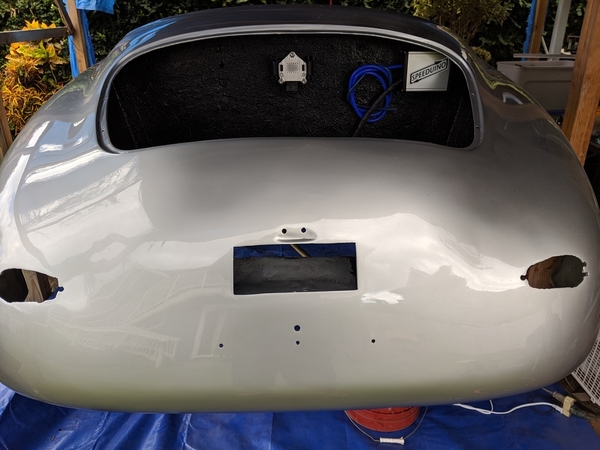


Attachments
Absolutely excellent! Congratulations.
Looking good, Mike!
Very nice! ![]() Should be on the road by, oh, Wednesday?
Should be on the road by, oh, Wednesday?
Very impressive! You are doing a fantastic job!
ALB posted:Looking good, Mike!
To further the comment above, I do love Speedsters wearing alloys!
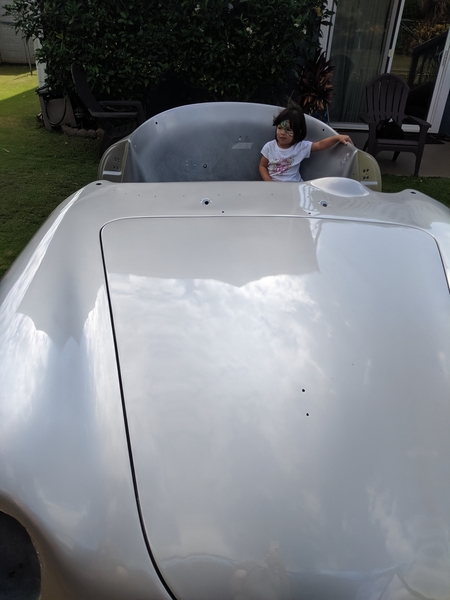
So did you all get face painted to celebrate the occasion, or just the little one?
Gordon Nichols posted:So did you all get face painted to celebrate the occasion, or just the little one?
Mine was painted with truck bed liner. Boy, that stuff is hard to scrub off!
This morning I decided to read the whole build. MIke, Impressive, most impressive.
The House of Tarp is empty and Marianne says it's ready for tear down! Fuel pump, AC hoses, compressor, condenser, fan wiring, pan sealing, seat belt installation etc, etc. It starts and runs and was driven from the back yard to the garage for final assembly. Marianne guided me past the clothes lines, house and gates with millimeters to spare. Huzzah!
Now the rest of the parts can be installed in air conditioned comfort...
Ready for tear down!
Link to yard driving video:
https://photos.app.goo.gl/qBAitJBC1pVDvAm97
Attachments
Looking good. Now the home stretch begins and the end of this journey is near where a new one will begin.
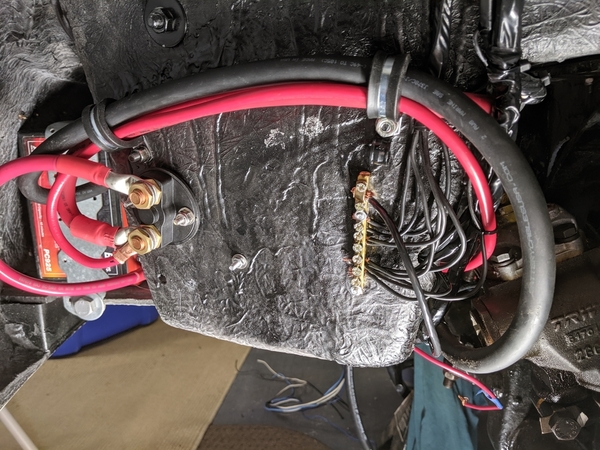
Other than disassembling the house of tarp, I've been working in air conditioned comfort for the last couple of weeks. Lots of time setting up the plumbing for the fuel system and the air conditioning. Lots of time fitting and modifying the "new" 15 year old wiring harness that the PO had Henry build for him.
Lots of time setting up 2 additional fuse/relay area (one in the repurposed battery box and one on the engine firewall). Then just hours and hours of crimping, soldering and heat shrink, cutting some things back out and getting it right the second time.
Oh yeah, I've got a battery cutoff switch and some honking big primary, ground wires and grounding buss.
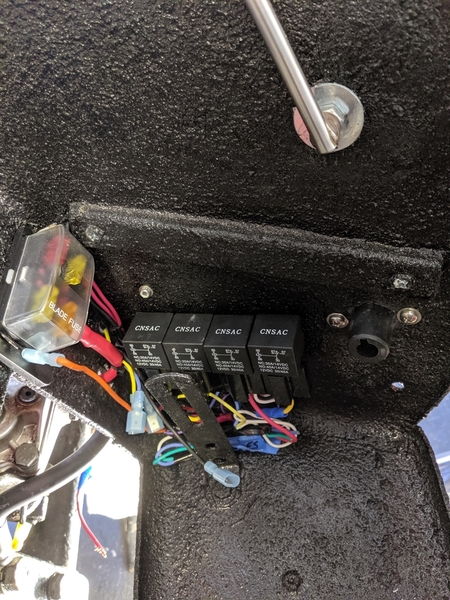
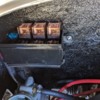
Small fuse and relay area on the side of the AC box (old battery box). These feed the fuel pump, driving lights, windshield washer and +Vs for the radio and phone chargers. You can see the other side of the battery cutoff switch (sans key) on the right. Spare wires from the engine area and the cabin are stored below the relays.
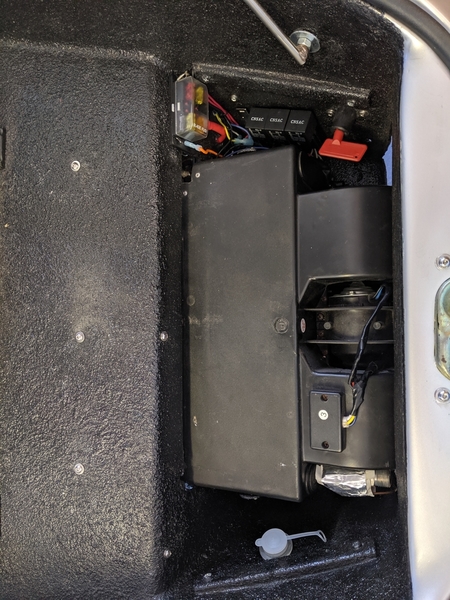
Battery box with the AC evaporator installed. Blower hoses run from here into the dash and footwells. Windshield washer filler neck can be seen on the passenger side of box. The bag and pump are attached on the other side in the wheel well.
The rear wiring is complete, the dash is 85% the front end is complete, but my parking lights pulse in time with the fuel pump. I'm going to see if adding an additional ground wire improves the brightness. Everything but the alternator light is an LED so things should be pretty darn bright.
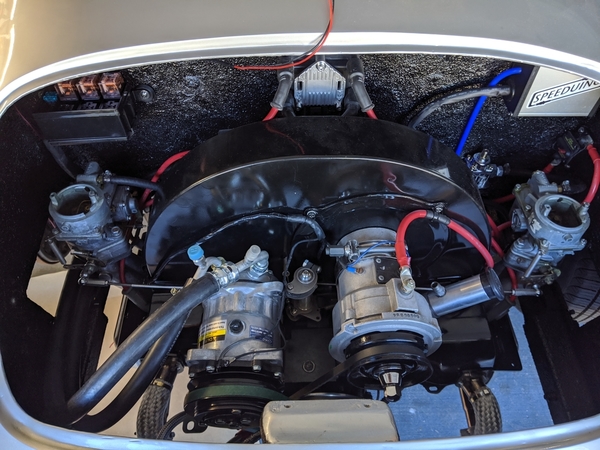
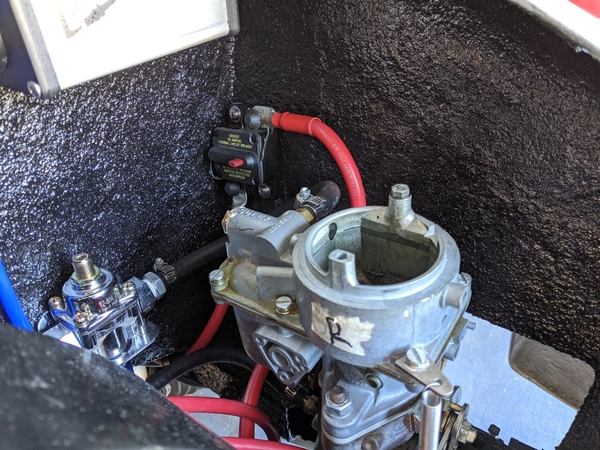
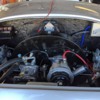
Fuse/relay box for Speeduino, coils, AC condenser fan, AC clutch and oil cooler fan is in upper left corner. Circuit breaker on feed from the alternator is on bottom right, below the Speeduino box.
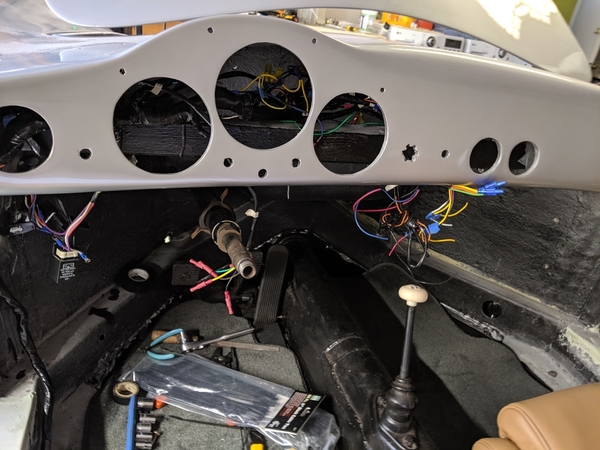
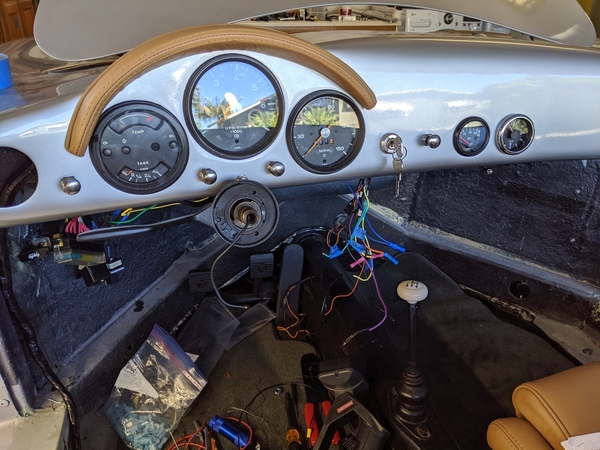
Nearly done with the dash. I'll add the gauge trim rings at the end.
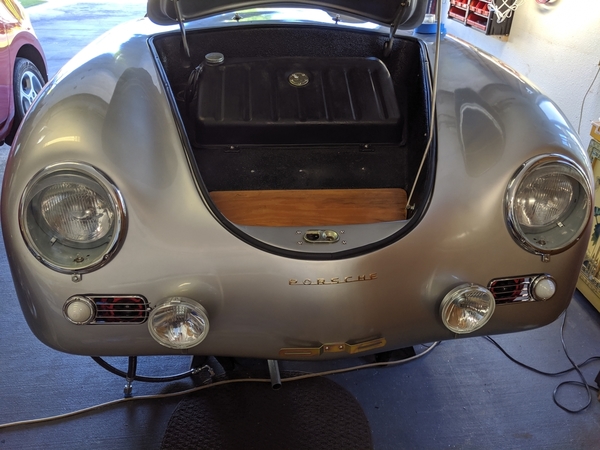
Driving lights automatically come on when ignition is on and switch off if just the ACC switch is on. Battery is tucked way up in the nose.
My biggest sticking point was the flasher relay. Totally unresponsive and then it popped a 15 amp fuse. At first I suspected the new fangled LED flasher relay, but it turned out to be a miss-wired relay socket. I'd complain to Henry, but I suspect that the tech who built the harness 15 years ago may have escaped justice. Fortunately, once I got the socket straight, turn signals and emergency flashers worked fine.
I had a stupifying experience trying to get the horn wiring set up. Turned out that even a shiny copper tab on the steering column won't conduct if the tab rivets and column underneath the rivets are corroded. Oh yeah, 14 years sitting outside on the edge of the beach... I just drilled a new tab mount and stuck a self-tapping stainless screw in it. Beep beep!
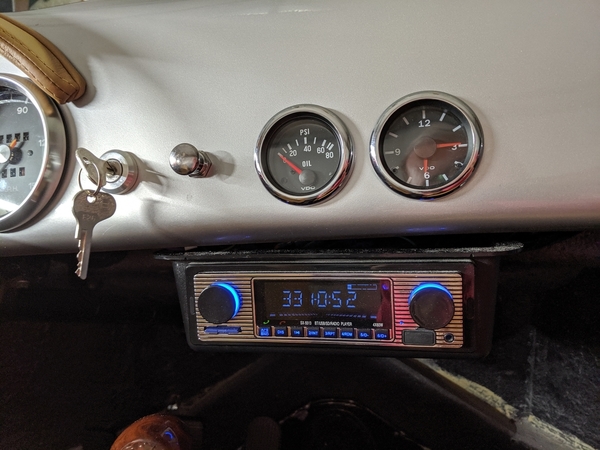
Finishing up the radio box which also houses my fast phone charger, USB charger, AC cabin temperature switch and the circuit that flips on the 'low gas' light when there's two gallons of gas left in the tank. Oh, and it also has a $10 radio. That'll be finished tomorrow and then I'll start on the doors, mirrors, decklid and windshield.
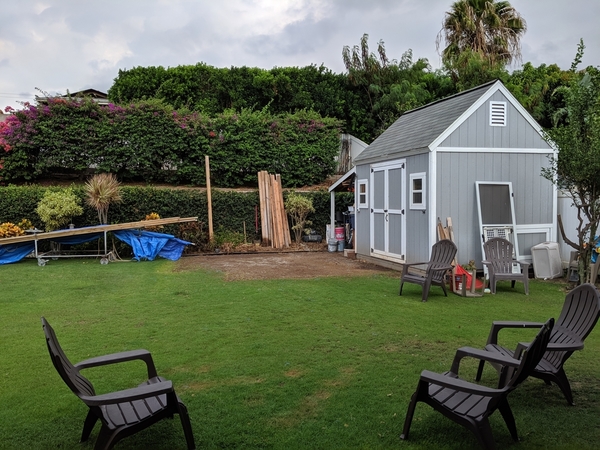
The car started from turning a key in the dashboard switch for the first time in over 15 years. I know I'm getting excited! PS, Marianne is pretty happy that the house of tarp is just a fond memory. We're now having a conversation about when the grass will be back..
Mike
Attachments
Looking good for sure. You might want to run a few extra runs of wiring. Just saying... with all the projects I ended up doing I must have nearly 20 extra wires fed from under the rear seat to under the dash. etc etc
IaM-Ray posted:Looking good for sure. You might want to run a few extra runs of wiring. Just saying... with all the projects I ended up doing I must have nearly 20 extra wires fed from under the rear seat to under the dash. etc etc
I wondering ... nah, it never rains were you are ![]() Intermittent wipers needed...Nah.
Intermittent wipers needed...Nah.
Awesome job & I definitely feel you on the wiring-takes-ridiculous-amounts-of-time-and-wtf?-this-pre-wired-thing-is-actually-wired-wrong trip.
Solid build for sure Mike. That is looking like the most wired up Speedster I've seen. Who knew you could have so many relays and fuses. Probably the way they should all be built.
Actually owning an IM, IMO there is always room to increase and seperate circuits for easier trouble shooting as time goes on. So feel free to seperate some and add a few. Better now than later. H4 headlights for example. etc .
You got ahead of my realization that you might install a radio. I have a Car radio in “attic stock” with a built-in 8-track player that would have been the bomb in there.... ![]()
Gordon Nichols posted:You got ahead of my realization that you might install a radio. I have a Car radio in “attic stock” with a built-in 8-track player that would have been the bomb in there....
Thanks, but the 10 buck wonder was installed first thing this morning. I got tunes. Mostly I listen to jazz, country, rock, blues, classical, gospel, a wee bit of folk, and oldies. But only the good stuff.
Gee, I could have been cruisin' down the road to my old Steppenwolf or Fifth Dimension tapes, darn it.
mppickett posted:Gordon Nichols posted:You got ahead of my realization that you might install a radio. I have a Car radio in “attic stock” with a built-in 8-track player that would have been the bomb in there....
Thanks, but the 10 buck wonder was installed first thing this morning. I got tunes. Mostly I listen to jazz, country, rock, blues, classical, gospel, a wee bit of folk, and oldies. But only the good stuff.
Gee, I could have been cruisin' down the road to my old Steppenwolf or Fifth Dimension tapes, darn it.
Thought you were going to say you were cruising down the road trying to loosen your load and you had seven women on your mind. Take it easy anyway.
Short update. Wiring is done and things flash, honk and make light. TACH-ADAPT converts ECU tach signal into something that makes sense to the 914 tachometer. Windshield installed (thanks @Alan Merklin and @Gordon Nichols), decklid installed, doors hung. $10 buck radio works!
Trying to finish up the safety things today so the county inspection guys can come over to take pictures. My brother is coming to visit next week and I'd love to be able to take him for a ride.
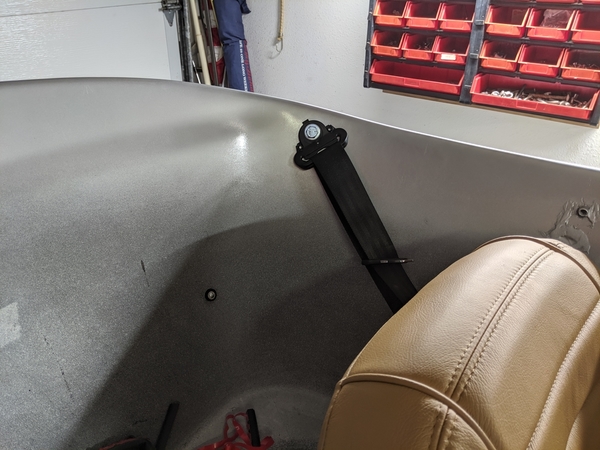
So, installing the door innards, adjusting headlights and finishing up the shoulder harness installation. Still tons of things on the list for after registration, but it's looking real faux sure!
Attachments
Mike If you should have questions that need prompt answers call me, I'll message you my cell number.
I have a question concerning the shoulder harness mounting point. Is it attached to anything else other than the fiberglass body with maybe a large washer on the back side? Thanks in advance for your answer.
Alan Merklin posted:Mike If you should have questions that need prompt answers call me, I'll message you my cell number.
Thanks so much, Alan. You've been essential to this build and I really appreciate it.
Jimmy V. posted:I have a question concerning the shoulder harness mounting point. Is it attached to anything else other than the fiberglass body with maybe a large washer on the back side? Thanks in advance for your answer.
Hey Jimmy, I fabricated brackets that extend upwards from the chassis and terminate in large plates that curve behind the fiberglass. The bolts pass through the fiberglass and the plate.
Here's a link to some pics and more explanation: https://www.speedsterowners.co...4#590585064152345514
Mike
That is perfect. Thanks for the info. I am looking at doing something similar to mount a narrowed Miata double hoop roll bar. I want it to be connected to the metal frame to make it safer and strong enough to handle the weight being put on it as it is used as an aid to get in and out of the car.
Shoulder harness can be attached to the seat back if the seat is a roadster seat and it is below your shoulder. You see some after market sports seat and Porsche seats have a bracket there for the belt to go through.. just saying.
@Alan Merklin - Is the Miata roll bar robust enough to hold things up in a roll-over?
Curious minds want to know........ ![]()
Gordon Nichols posted:@Alan Merklin - Is the Miata roll bar robust enough to hold things up in a roll-over?
Curious minds want to know........
No , I bolt it to the fiberglass tub wall only, it's a cosmetic show bar. David Bayne used a Stainless steel Miata double hoop bar and had it reconfigured into a stout roll bar to his Metal-Craft speedster chassis
I need some advice. The good news is the county director inspections dropped by and said the build looked good. I'll be taking it through the inspection/registration process next week.
The bad news is I'm having engine problems. It runs lean at a low rough idle and after running for a minute or two it starves for fuel and stops (I've got a wide band O2 and can see what's going on). Since the time it was running great, I've added a new inline filter, 10 feet of fuel line, a fuel pressure regulator (1.5 psi) and new fuel lines to the carbs. I have also sprayed brake cleaner (flammable) around the intakes and vacuum balance lines and seen no change.
I've checked the feed line from the tank, the filter before the pump, the filter after the pump and seen fuel come out of the carbs when the carb filter caps are removed. I've tried taking the fuel tank cap off to make sure it wasn't creating a vacuum. I've opened up the pressure regulator and nothing changed. At the end of the day, I decided to pick up a new fuel pump to see if it was weak. I'll test it tomorrow (Pacific time). Wish me good luck and let me know if you have any ideas.
One other thing I noticed, when I turn the steering wheel it feels a little crunchy as it turns. It's a "new" (sitting 15 years) steering box. The steering column is old, old, old so maybe bearings there? Needs lube? It turns just fine but it feels like it needs some attention.
Thanks!
Mike
I think you want about 3 lbs fuel pressure?
I would look at the fuel pressure as well. What brand of regulator do you have? It could be restricting fuel volume and not keeping your bowls filled. It is always the simplest thing in my experience. Good luck and nice job on your car it is very nice.
If you have Kadrons, then 1.5# fuel pressure.
If you have Weber/Dellorto/Solex, then 3# pressure.
Back out of your fuel system "upgrades" one step at a time: Kinked hose/line somewhere? It sounds like a clogged fuel filter so you're not getting full flow - can you by-pass the filter with a short piece of hose one at a time to see if that helps? Do that for the fuel pressure regulator, too. If you have a single filter before the pump, that's all you'll need - one after the pump isn't necessary. I doubt that it's the pump, as it had been working OK before the changes, so I would suspect one of the upgrades. One of the upgrades was that 10' of hose, which is cheap. Get another 10', make sure it has no obstructions and re-install. That's all I've got.
If you can feel the scratchiness in the steering wheel, then I would suspect the bearing at the top of the column, right under the steering wheel. What is in there depends on the year of the VW donor column. 54 - 67, 68 - 70 or 71 - 79 all have different top bearings and different spacers. Long way to ship, but this might show you different ones to get something closer:
What Gordon said about fuel pressure. If you suspect it's the steering box-
http://cal-look.no/lounge/inde...p/topic,19621.0.html
read all of Hotrodsurplus's posts, starting about half way down the first page.
" Crunchy As Gordon said possibly the upper bearing behind the steering wheel, also check to see if the inner shaft is making with the column tube i.e. a rubbing contact forward of the firewall
Fueling problem solved. It was a relay problem. I got fancy and wired the fuel pump relay to turn off if the alternator light was on (fire safety). Something in my setup was wrong and it was taking out the fuel pump relay even if the light wasn't visible. I just simplified it for now and everything works. Tricky problem, but shooting myself in my own foot isn't a novel occurance. I just wish I had thought of it earlier.
It happens, Mike.
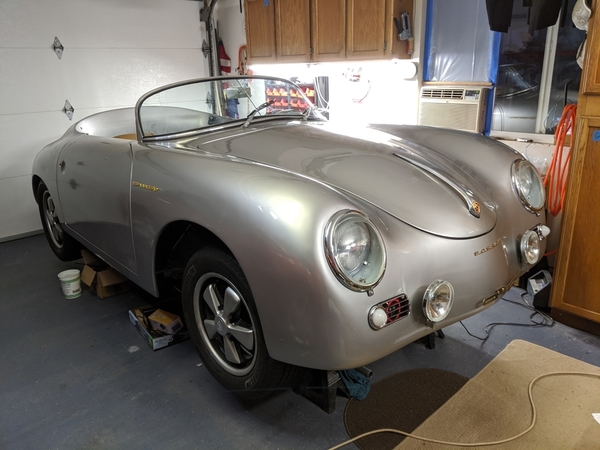
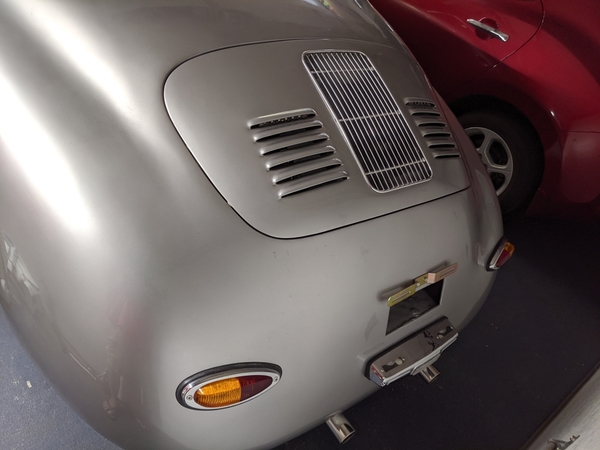
Ok, the DMV gods have smiled upon me. After 15 years, this speedster is back on the road, legally. Still some interior work to be done, but we're legal and enjoying the fruits of our labor. Took a long drive South to the shoreline past Wailea. Beautiful place and fun driving! Of course, it sports a PCCA rally badge.
Mike


