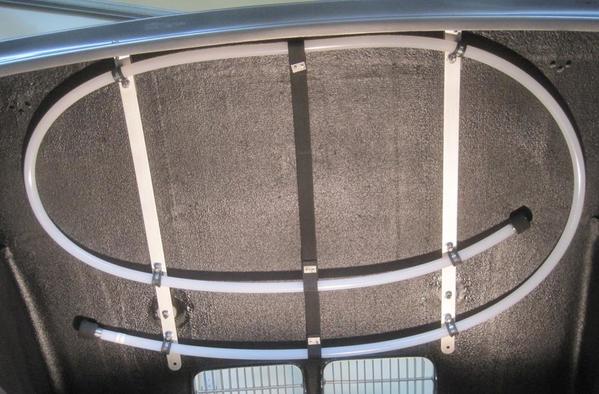
It wraps around the top of the engine and carbs, following the fuel line.

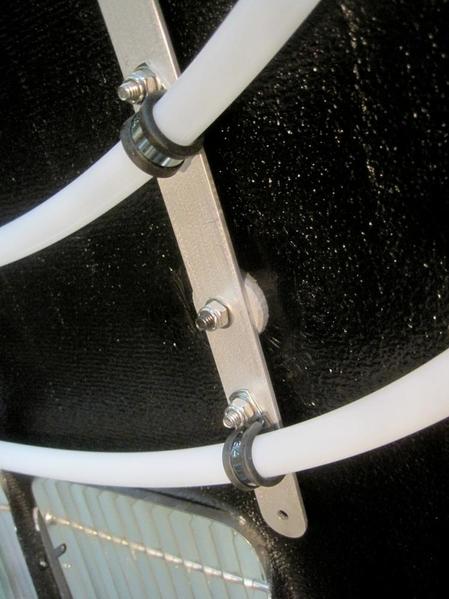
I figured to minimize attachment points on the engine lid, I'd mount it to two aluminum strips. The two strips would only need two epoxied hard points and two holes drilled, to install.

The Blaze Cut tubing is pretty stiff, and I didn't want to kink it in any way, so I used as many points of attachment as I could on the two strips. 

The strap is to flatten the tendency for the tube to curve.

061016 1 039s

I used a high density foam in between the lid and strips to dampen the whole setup and keep the strips off of the fiberglass. This is a 9' unit and it has some weight to it. I was surprised.

061016 1 041s

061016 1 043s

I was going to paint it, but any evidence of wear would be easier to see as is.

I might get jiggy and cut some holes in the aluminum strips to make them a little more stylish. The aluminum is just brushed, like my additional brake light bracket.


CG

Attachments

Images (3)
  • 061016 1 039s
  • 061016 1 041s
  • 061016 1 043s
Original Post

Replies sorted oldest to newest

Thanks.


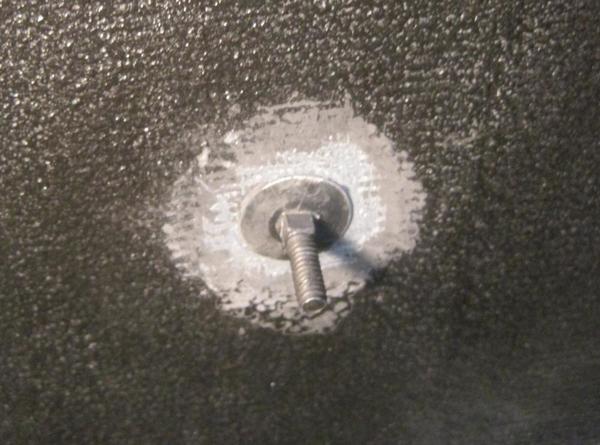
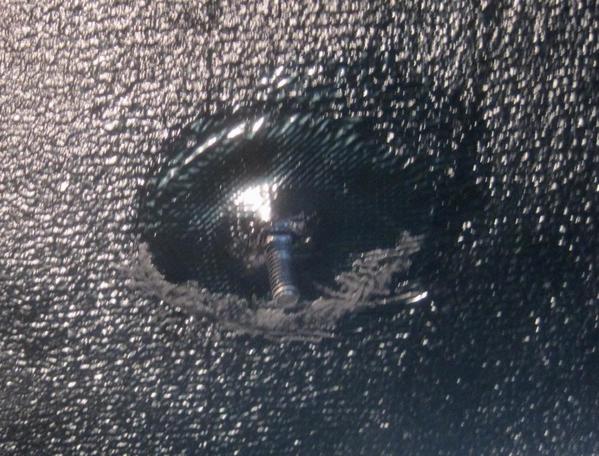
The two epoxied attachment points are elevator bolts. They have to be bent to fit the curve of the engine lid. After I found where they should be, I sanded the coating off of the engine lid to reveal fiberglass. I then epoxied the bolts and used tape to hold them until they set.

061016 072s

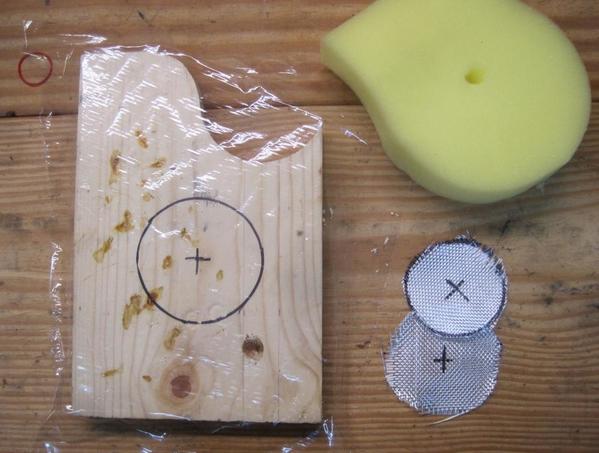
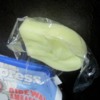
I wanted to reinforce this bond even further with some fiber glass. I drew a circle with a center point on a scrap piece of wood, covered it with some plastic wrap,  cut out some fiberglass circles, and cut holes in two pieces of a sponge.

061016 077s

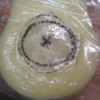
I painted some epoxy onto the plastic wrap, staying in the circle, and added the two layers of fiberglass circles I cut out, saturating both in epoxy. Keeping all the circles centered, I used a sharp knife to cut an X in the center. I then centered this epoxy band aid onto the sponge, keeping the X center on the hole.

061016 080s

Next paint some epoxy onto the bolt base and push the sponge onto the bolt and press firmly. Make sure to tape the threads on the bolt before applying. I used a board with a stick against the frame of the car to keep the pressure on until it set.

061016 081s

After it sets, pull the sponge and plastic off and clean it up with some sandpaper and give it a shot of paint.

061016 089s

Just in case anyone was wondering.


CG


Attachments

Images (5)
  • 061016 072s
  • 061016 077s
  • 061016 081s
  • 061016 089s
  • 061016 080s
Post Content
×
×
×
×
Link copied to your clipboard.
×
×