i couldn't get it to fit snug, so i cut it an welded in two turn-buckles on each side (4 in total).
worked pretty good but looked pretty half-assed IMO
---
now that i am itching for some fabrication-work to keep my hands busy - i decided to build my own scissor frame. but with just pictures, it was too tricky, so i bought one from Mexico. it came (i think it took ~1.5 months to arrive.
i did this to save time, but i was not thrilled with the fit or quality. i guess i have high expectations.
so i cut and welded two round turn buckles in the middle of each bow.
It fit better, but i wanted it to fit like a glove and that would require more fabrication.
at this point, i decided to start with my own design and make one to my standards, but use the one i have as a working example.
really take my time and make it look sweet - you know
...
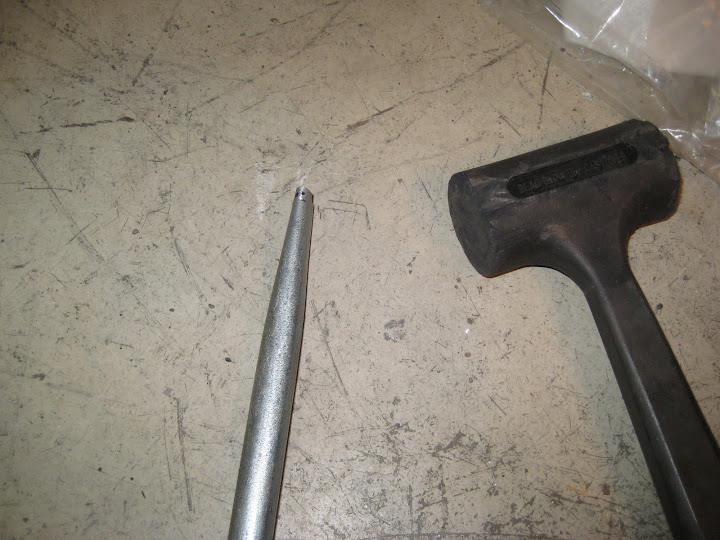
anyway - here are the pics of the frame i bought:


can't find any pictures with the buckles welded in - so you'll need to believe me.
also - i'll be documenting the same pictures on my website:
http://www.mangosmoothie.ca/convertible-frame