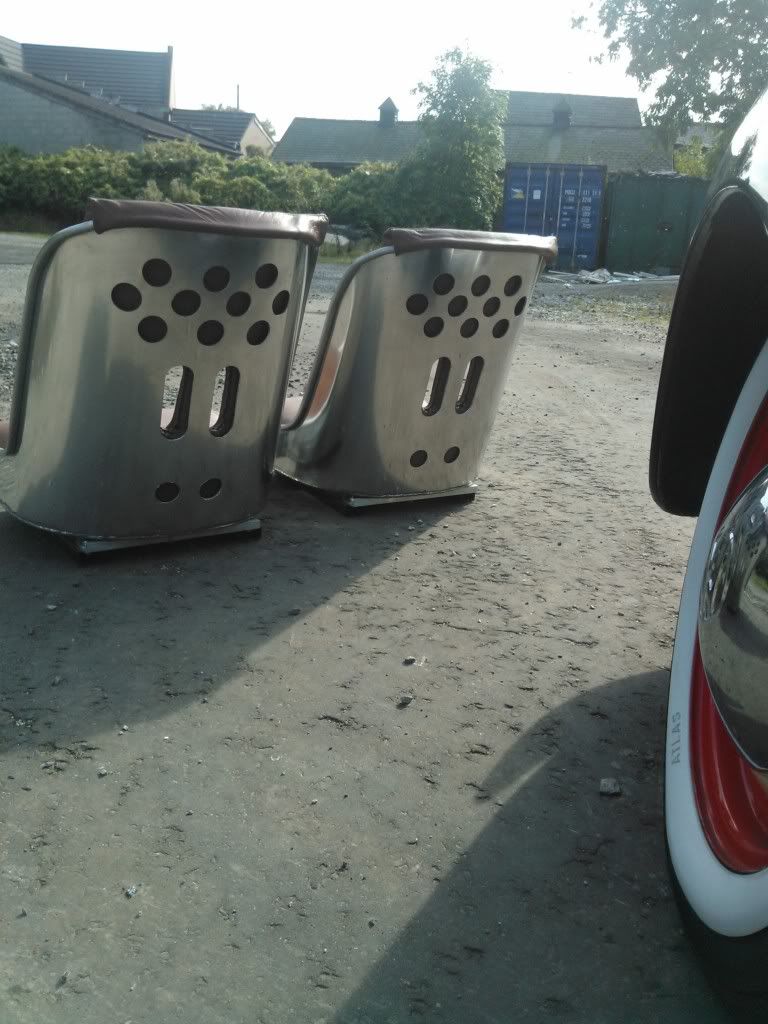
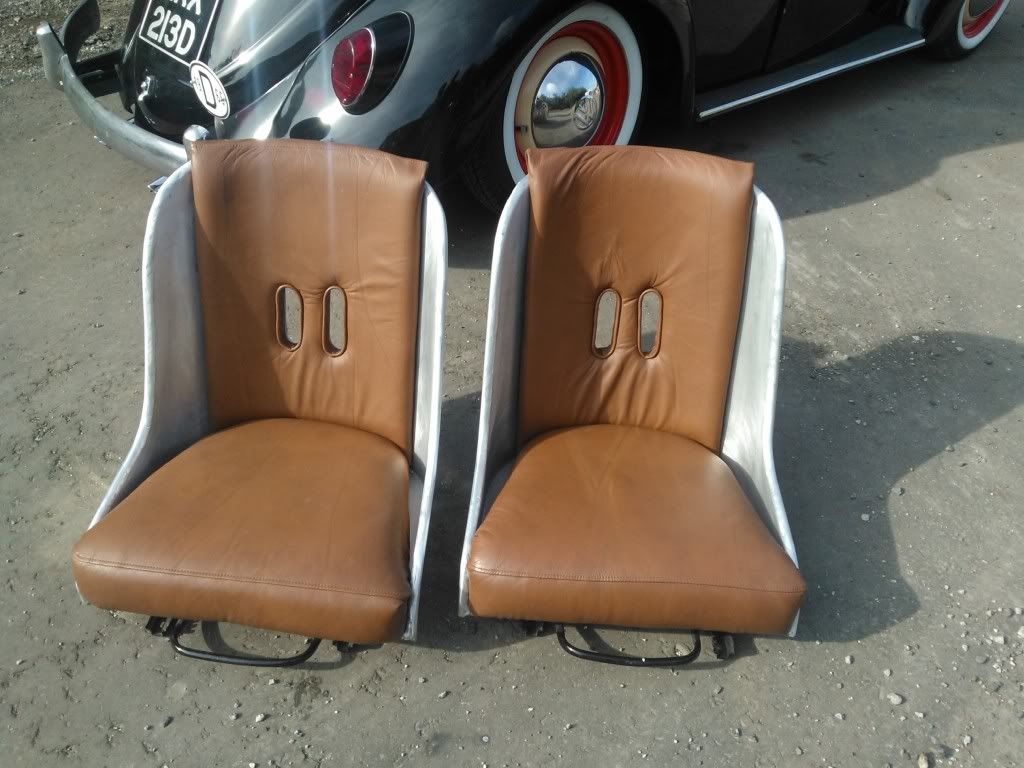
I am continually amazed at the fabrication skills of some folks on this site. Very nice work!![]()
I'll second that! ![]()
Ollie: Those seats are truly sweet.
You know......decent fabrication skills can come in handy in other things. My daughter and son-in-law are buying a new house and I found a really decent (wicked cheap) lawn tractor for them but it was missing the headlight lens, which is a simple, full-width thingie but is unique to that particular tractor, curves around the sides of the hood and costs over $70 to replace. I had an extra piece of 1/8" clear Polycarbonate left over from making a pair of side windows for Pearl, made a paper template to fit, transferred it to the acrylic, cut it out (with a sabre saw with a 24 tpi blade) and bent it to fit with my heat gun. Kathy wandered in when I was finishing it and said: "I thought you said you couldn't get a new lens to fit?"
BRILLIANT!
Makin' ****'s cool.
thanks guys ,good ideas Gordon ! I did struggle a bit,only had my daughter's lil pink sewing machine lol
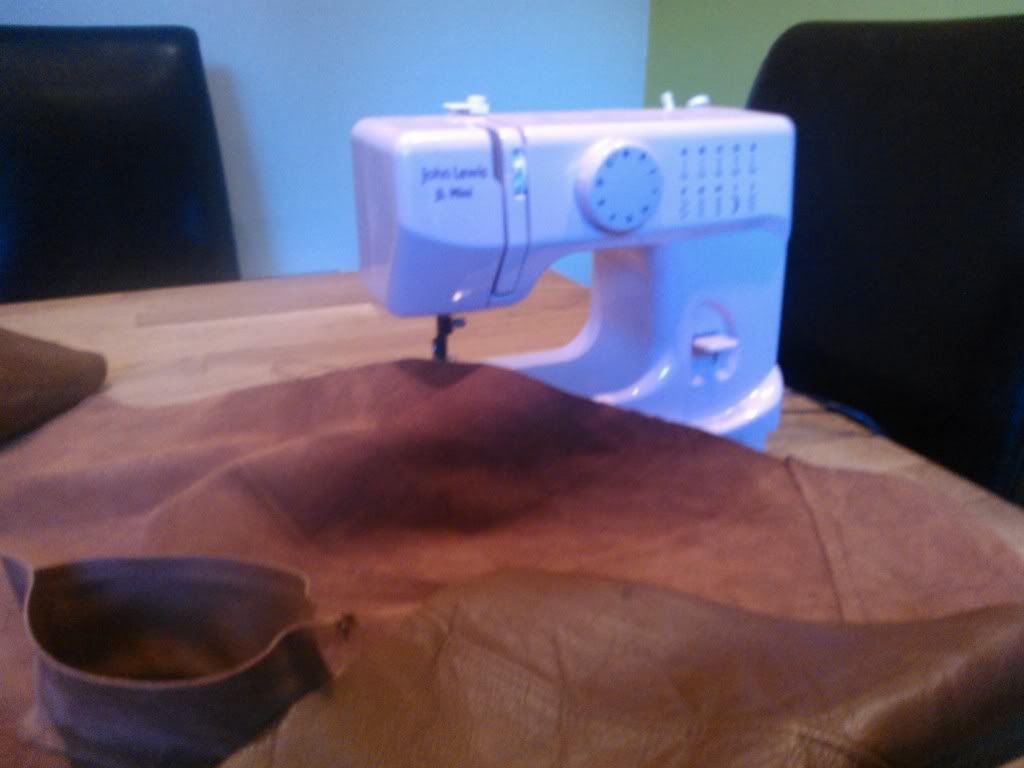
Gerry: I have one of my wife's cast-off Viking machines, just to do upholstery on. She won't let me near her Brother Embroidery/Quilting machine (and at $6K a pop, I can guess why) and I'm still constantly looking for a used Pfaff commercial machine, but I remember when she went off for a two-week business trip 35 years ago and returned to find that I had stitched a diamond-tuft, front seat for my 1946 Ford Business coupe on her sewing machine - in the living room (at least I went out and bought some vinyl needles).
Some day, I swear, I'm gonna find a way to get over to Scotland and meet you.
Gordon
The Speedstah Guy from Grafton
Sweet ride!
cooooool
any side shots with that top?
i love 'em low! Are you planning on running a skid plate? i'm about to pull my motor for something to do this winter and notice my $$$ header has seen it's share of scrapes. it makes me think about a skid plate - and you, sir, are lower ![]()
Gordon,
1/8" clear polycarbonent heated with a heat gun for shaping...
Couldn't that technique be used to conform a curtin window edge to the curve of the winshield frame?
Mango Smoothly x 2!!
Is that a metal beetle roof section to be mated to a fibreglass body?
You're sure to be acclaimed the George Barris of the speedster community.
FIRST:
Ollie; That is gonna be one wicked sweet ride!! Have you developed the necessary body contortions to get you into and out of the cockpit (or, perhaps you're a lot younger than me....I'm jus' sayin.....)
Carl: Yup, I used a heat gun to shape the lower forward corner of my side windows to curve in slightly to match the shape of the windshield. Works great.
yup its a beetle roof Mr Soothie & will get some pics of side view soon, Gordon I think your right about getting in & out ! good ideas with windows mate
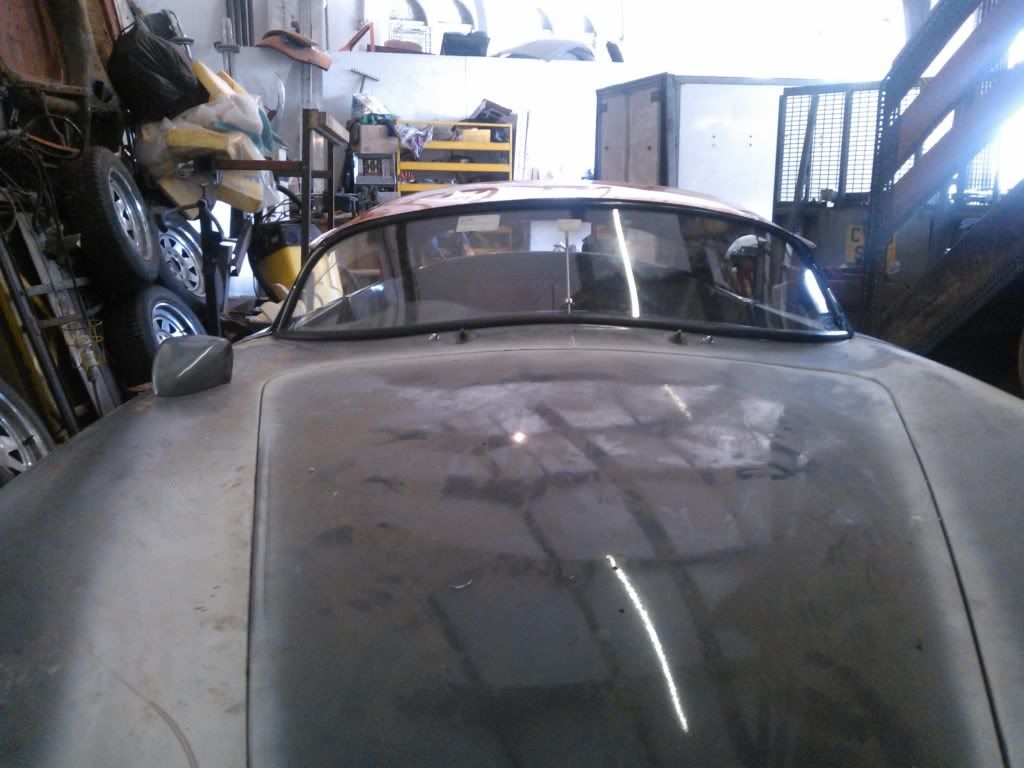
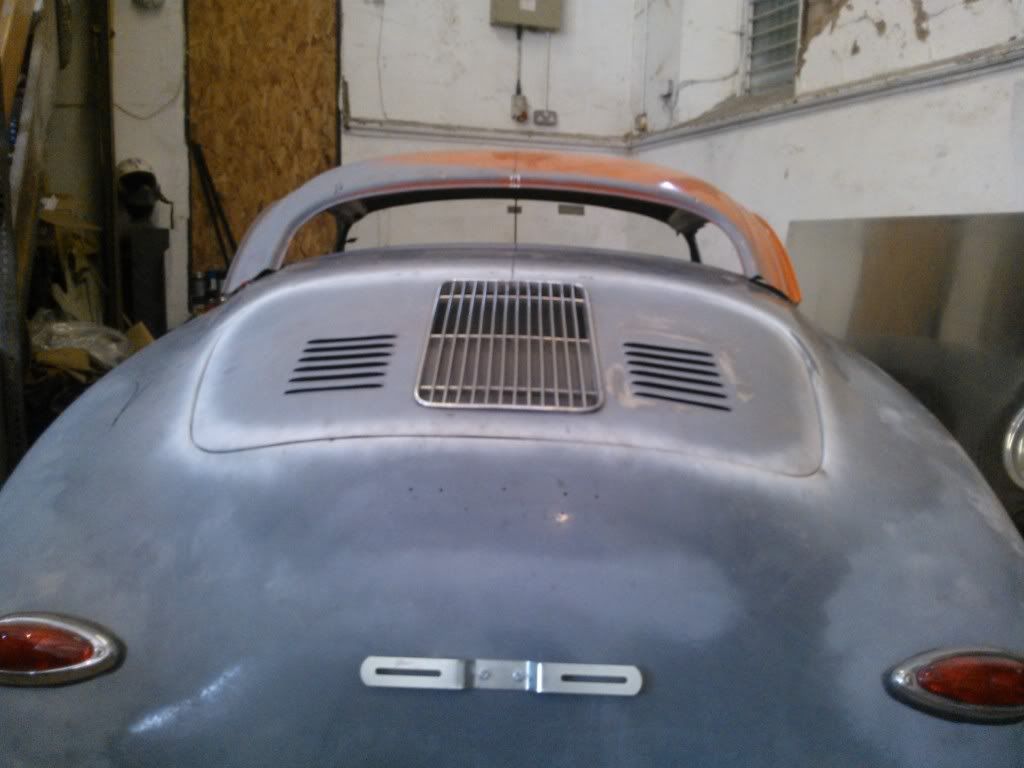
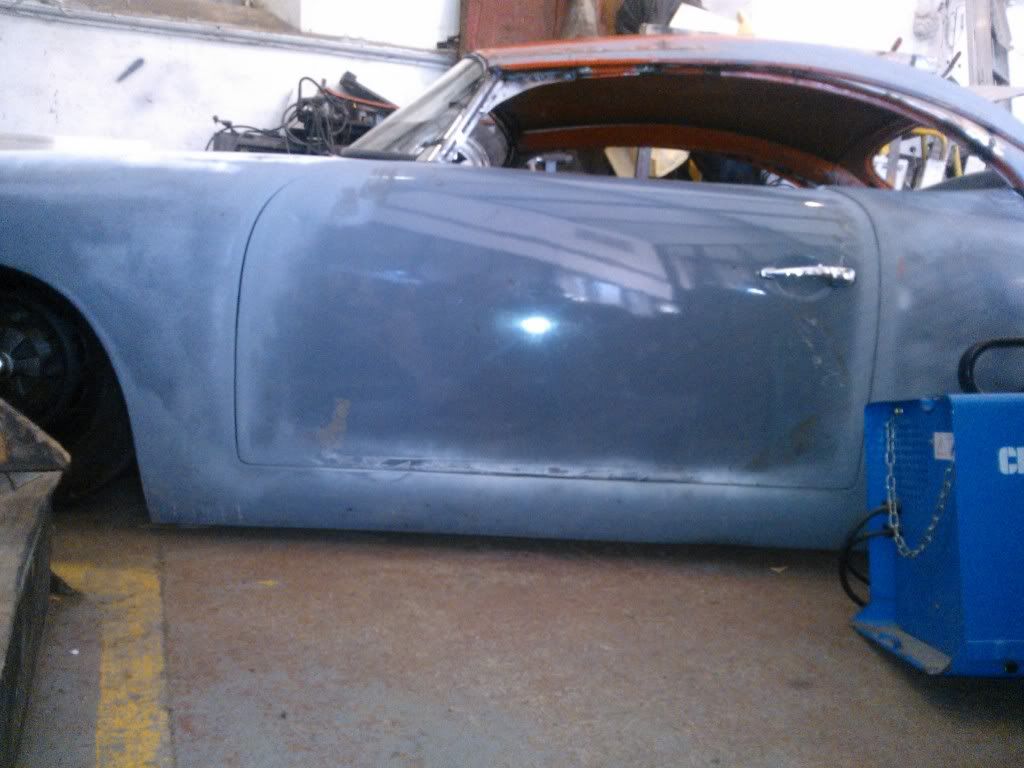
few pics of how the roofs comin on
so very very bad ass! i love it!
did you narrow it? the windshield curve is nearly perfect.
your idea got me playing around with photoshop and thinking....
if i lived near you, i'd be at your garage with a case of beer and my welding gear. Looks like fun. ![]()
Oliver, can't you go a bit lower? ![]()
Mr Smoothie I did have to play about a lil with the front fit but happy with the fit ! no need for any latches on screen as it fits like a glove just bolts into rear seat belt mounts, so light aswell ! Ron mate I wish I could be the exhaust sits on floor ! hahaha
Oliver, question on your engine lid louvers.
They don't appear to be 'curved' conforming to the curve of the lid itself...nor do they seem to be of fibreglass thickness.
Are they a metal fabrication spliced into the lid?
Ye Carl they are ally louvers grafted in ! I know they should be slightly bigger & curved but they'll do ! studied many louvered 356 lids & found some smaller & some with 5 or 6 louvers ????
..."should be slightly bigger & curved but they'll do"
They'll do??...an understatement of modesty Olive. They'll do beautifully...especially since you saved between 1,000 and 1,400 Euros. Nicely done indeed.
I'm trying to imagine your grafting steps:
1. Cutting an opening in the lid that will butt fit the shape of the
louver panel .
2. Lap welding dog leg tabs (at a depth to duplicate the fibreglass
thickness) to the bottom edges of the panel
3. Fibreglassing in the tabs from the underside
4. Then finally Filling in the surface seams with a filler
5. Standing back and admirering your work without having depleted
your checkbook!!... George Barris would be proud
My hat's off to you.
This is getting more interesting as time goes on. I can't wait to see the finished product.
Oliver - WOW! That car is going to be the most bad-ass Speedster in your hemisphere!
In my dream world, that car in its finished state would be a Stone-Gray exterior, Palomino interior and Fuchs (polished on black).
Looking forward to seeing the finished product! ![]()
Oliver, have you given any thought to 'flashing' that top for a fiberglass mould...knocking out duplicates in your spare time...making a whole lot of money from salivating replica owners... and then come paying us Colonials a visit in your ocean going yacht?
WOW ! I salute your Beetle to Speedster roof design.... it's a work of art ! ~Alan
great ideaz guys
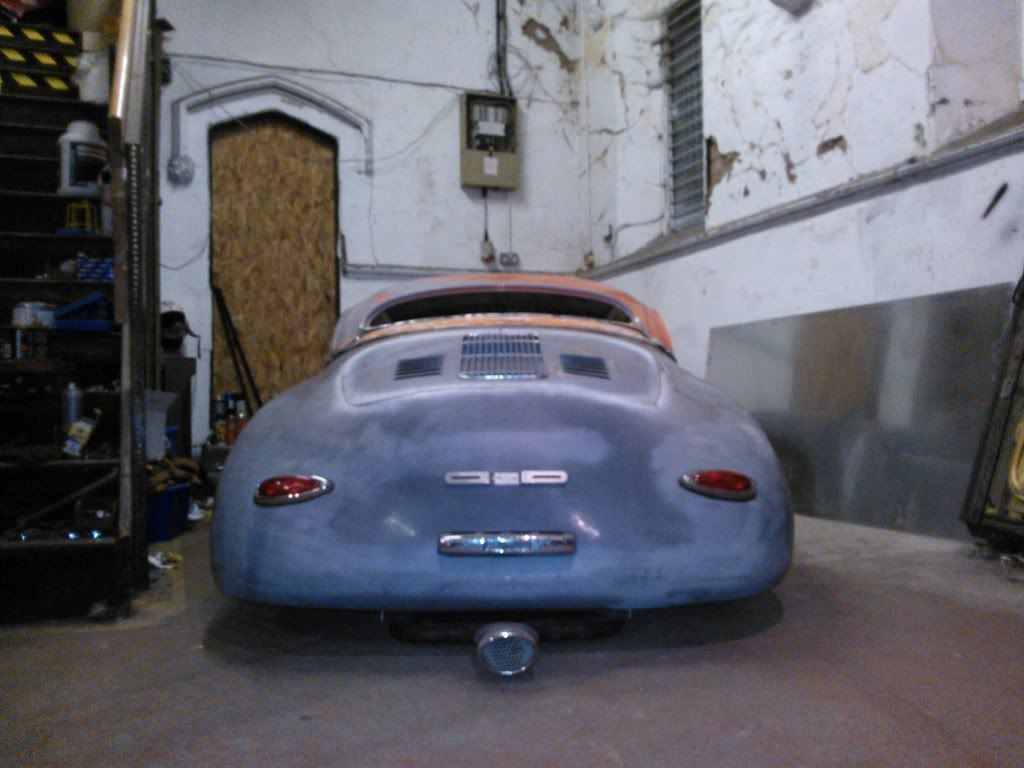
holy rocking horse poo. That looks great, I never thought for 1 moment to use a chopped beetle roof. I thought that the lines and fitment would be too far off.
kudos to you for being unique.
Oliver,
If it's an option I'll order my hard top with a sunroof.
That top is bad-ass!
That car, in that garage....it all looks like something out of a Science-fiction movie. Very futuristic/Gothic.
AWESOME!
Another fan here.
That is more than cool...
Well that's interesting Oliver...a weathered 'patina' look!
Did you use a translucent Maple wood stain?, or an Ash Blond kitchen cabinet stain?
haa ye Carl ! it look like that don it ! its good what you can do on photobucket![]()
That's pretty cool (I think I say that a lot?![]() ). I especially like the "green" taillights! And I gather you're a stickler for detail, but doing the whole shop wasn't necessary....
). I especially like the "green" taillights! And I gather you're a stickler for detail, but doing the whole shop wasn't necessary....
but doing the whole shop wasn't necessary....
![]()
Access to this requires a premium membership.
Supporting members have donated about $4.00 a month ($49.00 US per year) paid annually.
AUTO RENEW: You membership will auto-renew after 12 months. If you prefer not to auto-renew, you can cancel your premium membership at any time and it will remain in effect until the end of the 12 months. To cancel, sign in at SpeedsterOwners.com and navigate to: (Your User Name) > Premium Membership.
PLEASE NOTE: Your credit card will receive a charge from CROWDSTACK PAY, the payment processor, not SpeedsterOwners.com.