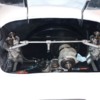
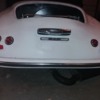
Cut the holes and installed the gauges. Came out nice. I think.
Yes. Yes it does!
I agree with Danny- it looks great!
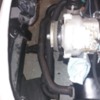
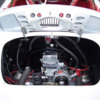
Installed the motor. Had two guys tell me the exhaust wasn't going to fit. Said it was going to hit the inside. Well it Fits nice, i like it. one deck lid hinge is hitting the fan shroud and the bottom of the deck lid is also hitting the fan shroud. So that needs a little more work.
Attachments
TJ Ward posted:Installed the motor. Had two guys tell me the exhaust wasn't going to fit. Said it was going to hit the inside. Well it Fits nice, i like it. one deck lid hinge is hitting the fan shroud and the bottom of the deck lid is also hitting the fan shroud. So that needs a little more work.
I didn't look at my hinges but if you swap the left and right it should push the hinge arm out further so you get more clearance.
I had to swap hinges side to side on mine to gain shroud clearance (I have the square OEM '71 shroud) - the extra 1" gained either side is just enough.
WOLFGANG posted:I had to swap hinges side to side on mine to gain shroud clearance (I have the square OEM '71 shroud) - the extra 1" gained either side is just enough.
i swapped them and it didn't work. i just grind it down to fit.
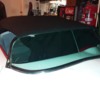
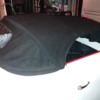
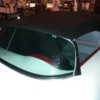
would someone be kinda to take a picture of there tops bar where you cut the excess off? not sure what it should look like cant find any pictures online.
I don't have a picture available, but I cut the material in the bottom, center of the rounded groove that fits over the windshield. Then I used a "D" shaped weather stripping (same that I used around the doors) to cover the same area in the groove.
Hope this makes sense.
James posted:I don't have a picture available, but I cut the material in the bottom, center of the rounded groove that fits over the windshield. Then I used a "D" shaped weather stripping (same that I used around the doors) to cover the same area in the groove.
Hope this makes sense.
where did you buy the "D" shaped rubber?
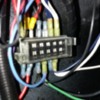
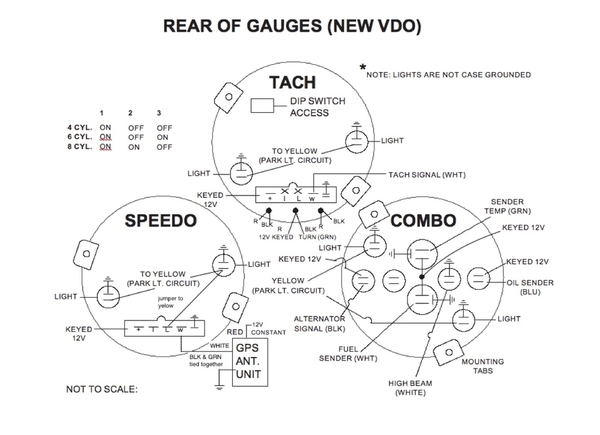
You should be OK with 15 or 20 amp all the way across.
Judging by the colors, the blue and white on the far right are the High and Low beam headlights. I believe the wiper is green and the coil/ignition is black. The red ones are the headlight switch and brake light power, and key switch power. I think the first 2 or 3 are always on.
Rule of thumb: 15 amp for 14 gauge wire, 20 amp for 12, and 30 amp for 10 gauge. This ensures that the fuse blows WELL before the wire.
Danny is spot on ….Also if you have an extra grey wire it's for a cooler fan or other optional ….BTW I flatten the harness and tape it in place ( carpet tape work sticks well to the fiberglass) as it goes up the kick panel so it doesn't show against the back of the carpet.
lol yeah thats what i did. not sure the beck gauges are the same as the diagram i got from vintage.
Attachments
Wires in my 2013 VS show same color coding as yours.
Left to right, the six fuses are:
15-20-15-20-15-20
15's are usually blue, 20's yellow.
i didn't do that bad, just had to move two wires, G is for green not ground. temp and fuel was fuel when i turn the key. all good now. The light switch i got off the samba is junk, 57 and 58b not working. $25 down the drain.
The Chinese repop headlight switches are JUNK. I went through 3, they kept burning out internally.
Then I bought one, yes, one, early 6 volt Bug headlight switch at a swap meet. It works and works VERY well. Old, durable, heavy brass inside. And the best thing is with a 12 volt system, you are are running HALF the designed current through it. So it should last twice as long, maybe?
If you have flash to pass, that won't work anymore without some extra relay gymnastics. That is the only caveat to using this switch.
I have no idea if this new one is any good, but mine looks like this one:
I wish I had known about the flatten the harness under carpet idea. That is a great suggestion.
It only took me a couple of dozen wire harness's to finally have a bell go off and figure it out, finding tape that would stick to the FG was an issue.
How much rain do you want to fall on the engine? It's called a rain shield. Are you cutting it out because you have a single carb with oversized air filter?
Do not cut any hole there ! You will have water intrusion. I did open the center on this one because of the center Weber air cleaner .. not shown is the cover I made to go over the top of the air cleaner. On the underside of the lid there should be elongated openings on the L & R sides like this ( I added the round vent holes) 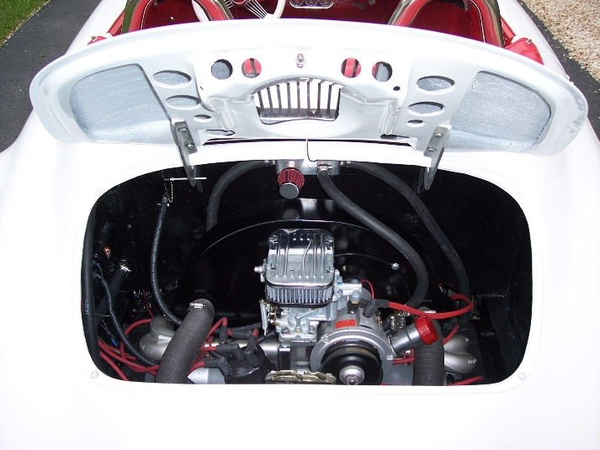
Attachments
my fan shroud hits it a little.
I had a past project speedster that had the same issue as yours, considered cutting a hole but you end up with, a hole. Decided to carefully cut out the needed area to allow the lid to close, figured a way to have the lid re-glassed reusing and placing the cut out section into the lid.
TJ: Welcome to the world of “We’re not sure what we’re doin is right, but we’re doin it anyway and see what happens!”
Yah done good, TJ!
I type this while remembering some of the stuff I did on my builds!!!!
Regarding the "rain shield". I've driven through some pretty biblical thunderstorms. If it REALLY rains, that little bitty rain shield accomplishes nothing but keeping a bit of water off the alternator. The water still pours into the engine compartment.
If I were doing it again: I'd take it out, put in some stainless mesh, and never look back.
I agree. Rain shields on the carbs are great. That's really the only place I'd worry about water. If, and I say if, you ever have a spark/water/distributor problem, a little WD-40 and you're good to go. In fact, it's the only thing I'd ever use WD for....
I believe that is what WD-40 was created for. I think WD stands for Water Displacement.
Yup. Made from fish oil, I believe.
TJ ...Looks good FYI black " Chip Guard " in a rattle can hides multitude of sin ~
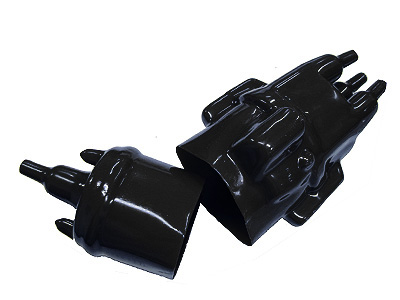
There are rubber boots for distributors and coils. It doesn't take much water to kill spark needed.

Attachments
Michael McKelvey posted:I believe that is what WD-40 was created for. I think WD stands for Water Displacement.
The first work van I was ever issued was a 1978 Ford E250. The van was about 8 yrs old with 150k mi. when I got it.
It had a distributor. Every time it rained (or misted, or the relative humidity was above 80%) - the thing did not want to start.
Part of the morning ritual was popping the distributor cap, wiping it out with a rag, and spraying everything in sight with WD-40. A shot of ether down the carb throat, a quick jump into the driver seat, and with luck it would catch and light. It took about 15 minutes every morning to get that stupid truck running.
Had an old cab over truck. I ran a piece of heater hose from the air cleaner into the cab on cold mornings I would shoot either into the hose and crank the diesel until it fired
^ That’s brilliant! That’s why you’re the Dr.


