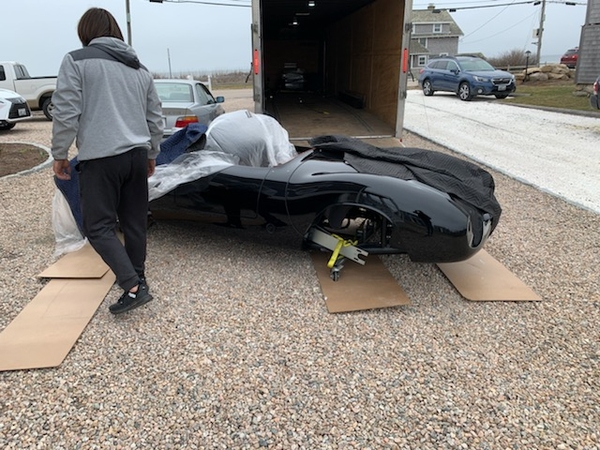
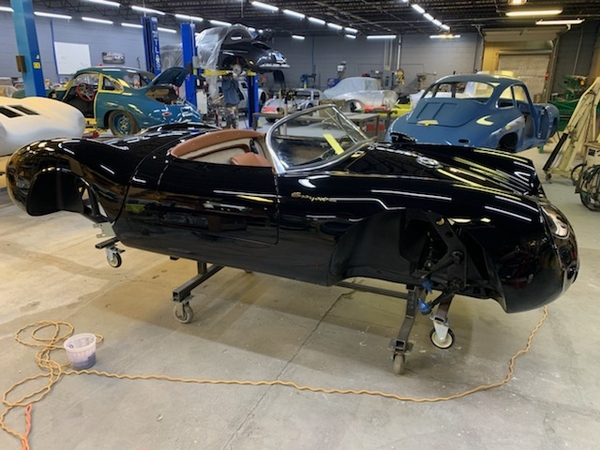
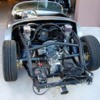
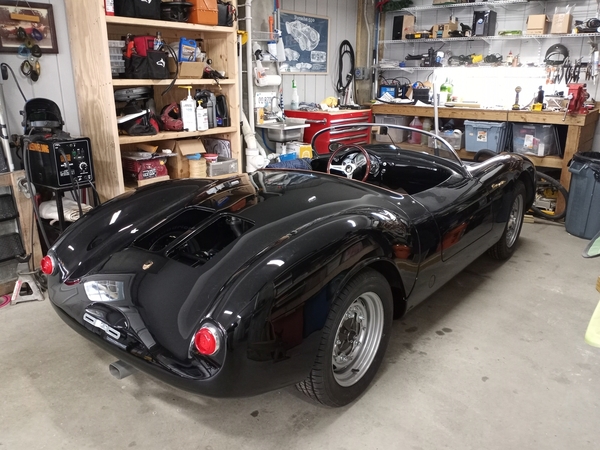
My Spyder project started in earnest this week.  The guys at Special Editions wrapped up my Basic Body Package along with some additional parts packages and shipped them to me last week. 

Working with the Special Edition guys has been a pleasure, timely responses and detailed answers to my questions.  I initially placed the order with Kevin, Brad handled most of the contract stuff and communication, Carey provided the technical support.

I've just started putting it together, but so far the completeness of the parts packages has been impressive.  Nicely organized hardware packages with everything I've needed so far, saving a lot of trips to the hardware store.

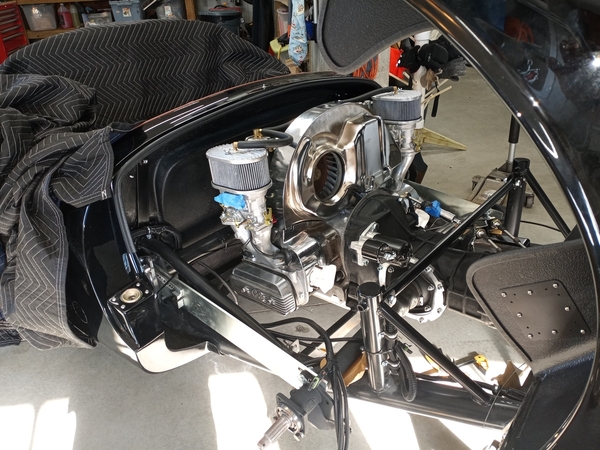
I have a 2165 VW engine that I assembled from a CB Builder's Choice package.  I broke it in on my Sand Rail last summer.  I also have a new Rancho transmission that has no time on it yet.  I'm planning on getting the engine and transmission installed over the next couple of weeks.  My first goal is to get it rolling.

I'm sure that I'm going to have questions.  From what I've seen watching this forum over the last few months, group support is generous and prompt, thank you in advance.

TomIMG_7124IMG_7928       

Attachments

Images (2)
  • IMG_7124
  • IMG_7928
Original Post

Replies sorted oldest to newest

Thanks for all the positive feedback, I'll provides updates as I progress.  Hope to wrap up the assembly of the front end this week and add heat to my garage space.  The weather is cold and windy this week so I should have time to make some progress.

I do have a couple of questions.

Should I list my build questions here or start a new topicsVRoZB8FSSRqYbeOoKBXTaQ?  I'm thinking that I will post project updates here.

Access to the top of the steering box?  Working on my Sand Rail has me spoiled.  Once I lift off the body everything is right there to work on.  On the Spyder, the top of the steering box is within 1/4" of the bottom of the frunk.  Should I add an access panel there?

Tom

Attachments

Images (1)
  • VRoZB8FSSRqYbeOoKBXTaQ

Access to the top of the steering box?  Working on my Sand Rail has me spoiled.  Once I lift off the body everything is right there to work on.  On the Spyder, the top of the steering box is within 1/4" of the bottom of the frunk.  Should I add an access panel there?

Tom

You can just reach it with a right angle screwdriver and open-end 13mm, although an access panel makes it MUCH easier. You shouldn't have to mess with it often.

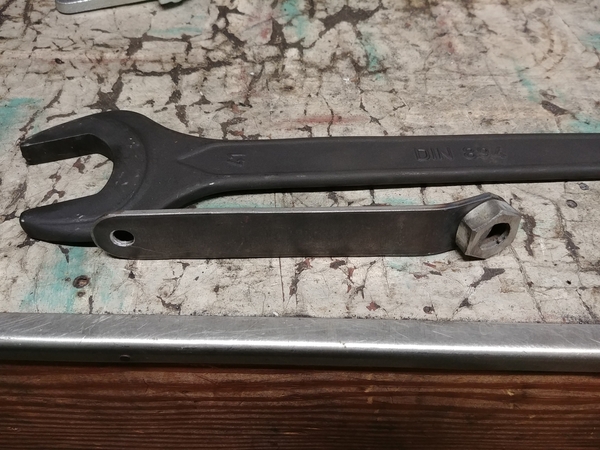
The front adjustment can also be reached with a custom hex wrench and a 41mm open-end. The pictures are on here somewhere of the tool I made. The custom wrench consists of a cut-down 7/8"(22mm) nut welded to a bent(30 degrees or so) piece of 1/8" x 1" flat steel.

Key point: the box should only be adjusted when the box and pitman arm are dead-centered. Also, the pitman arm should be REALLY tight, 1/16 of a turn can make the difference between good and crappy handling/feel.

Cheers.

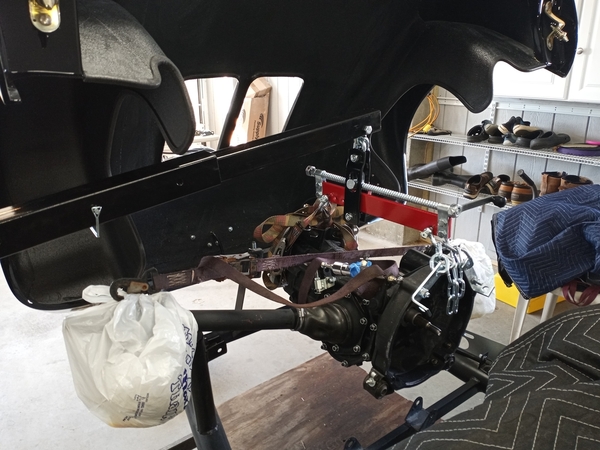
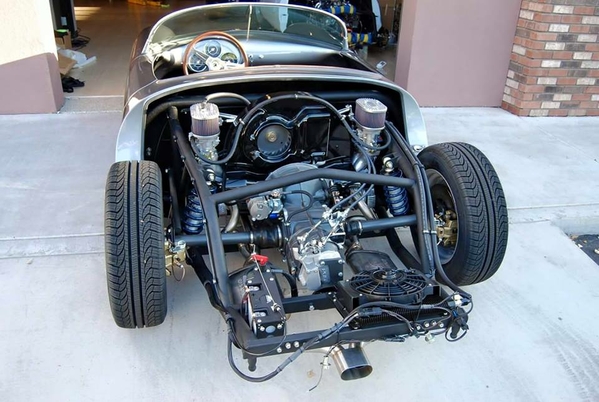
I got the front end roughed in last week.  Spindles, brakes and shocks installed.  I still need to mount a fuel filter and fuel pump up front, but turned my attention to the back of the car this week.  Worked on a jury rigged engine hoist and a small set of spreaders for the engine over the week end.  Repurposed the casters and 2 x 1 tubing that Special Editions used as a cradle to ship the car on.

Put the transmission in today.  A lot more fiddling around with the hoist and jack stands than you would think.  The weather is good this week, I'll be struggling to put time on the project.

20210405_14204820210405_150745

Attachments

Images (2)
  • 20210405_142048
  • 20210405_150745

Thanks for the positive feedback.  For now I'm going to leave the access to the steering box as is, and move on to other tasks.  I'm pretty sure I'll get back a lot of these issues as winter projects.

I'm going to work on the fuel system today.  Securing the a filter and fuel pump up front is the first task.  Right now I'm looking at adding a bracket to the back side of the front beam.   I'd love to hear how other have handled this.

I have not developed any plans for locating the filer and fuel pressure regulator in the back.  It seems that I have a ton more space and choices.  Sometimes too much choice is a bad thing.

Tom     

On a Spyder, a long bolt and a spacer through the beam mounting holes works very well to mount on the back side of the beam. Keep it low to stay away from tie-rods and steering box.

You can also mount the pump and pre-filter in front of the beam, unless you have a front swaybar. That can be snuck in there also if needed.

I think the front is best, as the hose from the tank can go over the beam and stay 100% away from the steering components.

In my Spyder, I have a custom anti-sway bar that I made. I have dual horns, and a filter and pump for the gas heater in front of the beam. Behind the beam is the pre-filter and EFI pump. The post-pump Subaru can filter is in front of the beam.

It can get pretty packed up there eventually. To start I had just the horns, pump, and filter.

I recommend a rotary self-regulated pump(3 to 3.5 psi) if using Webers or Dellorto carbs. No need for the extra complication and connections with a external regulator in the back.

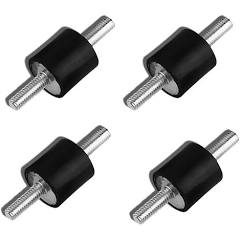
I mounted my fuel pump/pre-filter to the front side of the passenger footwell with these.
26397479-D4F0-46DE-A76F-405EDAF15524

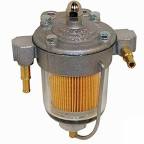
And mounted my Malpassi Filter King filter/regulator with SS cable clamps on the torsion tube on the inboard of the passenger side frame rail.  

52031BE9-AD0F-4956-BBC5-258380EB3F6C

If I had to do it all over again, I’d keep the fuel pump on the beam but use SS cable clamps instead of putting it on the footwell, only because it hums a bit (cause it doesn’t know the words) and the footwell kind of amplifies it. OTOH, it’s comforting to hear it run before I start the engine. It’s inaudible with the engine running.

AC6AD395-5CC7-45EE-8C48-C771362C18FE

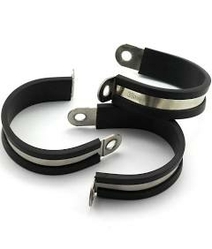
FWIW-CAP Hardware sells these rubber covered Stainless Steel cable clamps in just about every size. IMO, they’re one of the handiest things around for building our clown cars.

Attachments

Images (3)
  • 26397479-D4F0-46DE-A76F-405EDAF15524
  • 52031BE9-AD0F-4956-BBC5-258380EB3F6C
  • AC6AD395-5CC7-45EE-8C48-C771362C18FE
Last edited by dlearl476

This is great stuff, thanks for all your contributions.  I was wondering where to get those sweet rubber covered clamps. 

Danny, that front end has a lot of stuff going on up there.  I'm guessing that didn't happen over night.  I put the pre filter and pump right behind the center plate that is part of the front beam.  I stayed away from the moving parts.   

Carlos, if you look at RS-60 Mark's car on BAT, there are some chassis pictures. He used a regular front beam, but mounted the factory-style bar on TOP of the bottom trailing arm instead of under like the factory. Looks like it would clear the frame on a Vintage/Seduction frame.

Tom, yeah, the amount of stuff up there creeps up on you. I usually do a lot of looking and thinking about where EVERYTHING is going to fit and how it will work together. I spend way more time thinking and then the doing doesn't take that long.

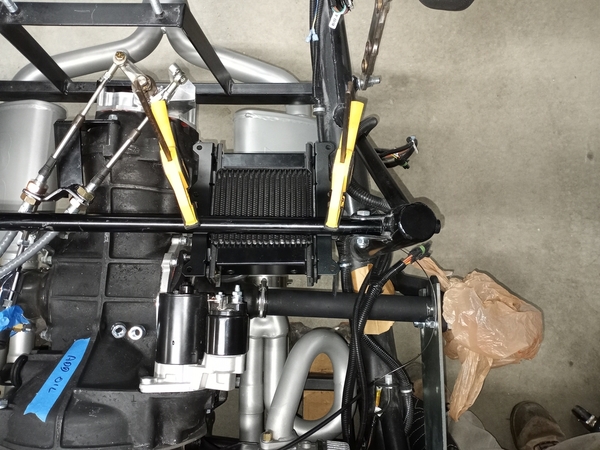
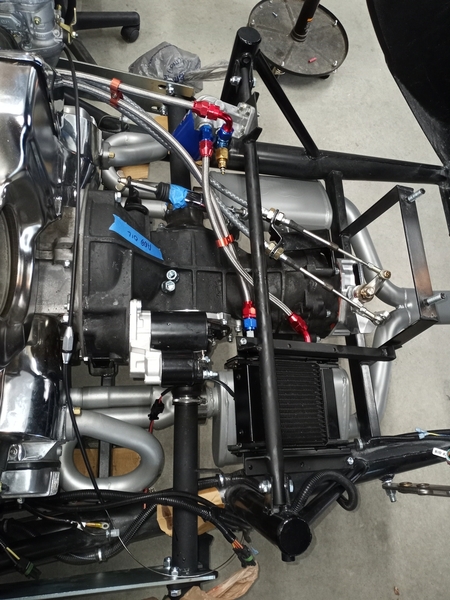
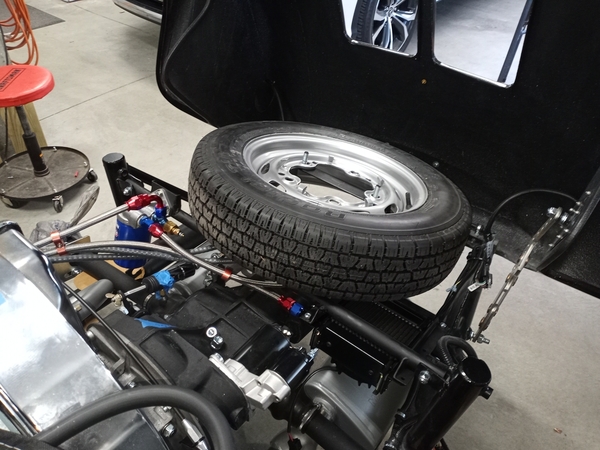
I need some help finding a home for my Oil Cooler.  The guys at Special Editions tell me that they put it on the divers side near the shock tower and cross member. I'm not finding a comfortable position above or in front of the cross member.  My current thought is to locate the cooler below the cross member on a slight angle to avoid the spare tire.  To secure the cooler in place I would weld a couple of angles across the member.  The angles would be coped to fit the diameter of the member and hold the cooler about 1/2" below the member.

My concern about this position is that it places the fan about 4" away from the muffler.

Looking forward to hearing from you,

20210416_16261020210416_162622Thanks 

Attachments

Images (2)
  • 20210416_162610
  • 20210416_162622
@DannyP posted:

Carlos, if you look at RS-60 Mark's car on BAT, there are some chassis pictures. He used a regular front beam, but mounted the factory-style bar on TOP of the bottom trailing arm instead of under like the factory. Looks like it would clear the frame on a Vintage/Seduction frame.

@Carlos G posted:

Danny, I saw that and it got me thinking. It'd be so simple too. Now to find a 5/8"ish stock bar. That clam mechanism is also cool a hell!

Yes, that’s very interesting. I’m going to take a hard look at whether I could snake a bar in though the side access in my Spyder. I’ve still got the access panel under my tank/MC/and rear of the beam so I might be able to do it.

I wish I had the mad fab skills like Danny to make an adjustable one, but I asked a local machine shop I work with and they told me it would be about $1K to duplicate what Danny did.

I had no idea I saved that much money. I don't even have $100 in my bar, unless you count the $400 I spent on a new welder!

Tom, that will work fine. The fan might run a bit longer because of exhaust proximity, but I wouldn't lose sleep over it. My fan blows down, but Ed proved that air comes OUT of the grilles so there's that.

I appreciate the solid input.  I will take a look at locating the cooler further back like the Vintage location.  My cooler lit says the fan pulls through the core, so my plan was to have the air blow down towards the muffler.  At first I want the heat to be blown up towards the vents but then I saw I was closer to the engine fan inlet than the vents.  If I end up with the cooler further back, I'll flip the cooler so the fan is on top and the air blows up.

It appears to me that if you slide the cooler back a little you could weld a couple tabs on that shock crossbar. It wouldn't take much to support the other end off the spare mount. Possibly an "L" shape from the spare mount over to the main frame rail. It would still clear the spare tire.

I absolutely LOVE the clamshell holder, Carey gave me one of the first. Probably the only Vintage Spyder with one LOL!

Keep working Tom.

Danny has a good point on the design of the fan blade strongly favoring flow in one direction.  It has also been my experience that fans prefer to pull through a resistance and exhaust into free air.  I took a look at the Vintage position and found that the spare tire makes that area tight.   I don't know how often I'll carry the spare, but I want to leave that capability in place.

On the topic of Cars and Coffee.  I am really looking forward to doing more of them down here.  The Audrain museum in Newport has them every couple of weeks through the summer.  I went to one in 2019, it was their Tour de Elegance, we had a great time.  in 2020 they kept the attendance down to 250 and they were booked up in minutes.  First one this year is at Fort Adams on May 2nd.  Registration starts April 26th.   I'll check into it and get back to you.   

With encouragement from the group I finalized my oil cooler installation.  I like it, it's tucked out of the way and firmly mounted.  Danny suggested extending one of the angles to pick up the spare tire mount for a third point of support.  Worked great.

I had hoped to get the rear brakes on this week but had a setback when the wrong bearing caps showed up.  I'm sure I'll find something to do on the car until the right ones arrive.

20210420_10500120210420_105157

Attachments

Images (2)
  • 20210420_105001
  • 20210420_105157

My bearing caps finally came in on Friday.  They were holding up the installation of the rear brakes.  Raining day today , I wrapped up the installation of the rear brakes.  Getting it to roll is a nice milestone.  without a spare engine, transmission and set of tires hanging around my garage is started to have some open space.

I can use your20210425_153900 input on the setup the the emergency brake cables.  I thought I was being cleaver to remember to re-install the spring and washers that came with the EMPI kit before crimping the stop on the brake end of the cable.  Now it looks like the collapsed height of the spring is too long, prevents the E-brake from its full range of motion.  Do your E-brake cable setups have a spring around the cable at the brake end between the cable housing end and brake lever?     

Attachments

Images (1)
  • 20210425_153900
Post Content
×
×
×
×
Link copied to your clipboard.
×
×