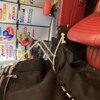
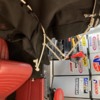
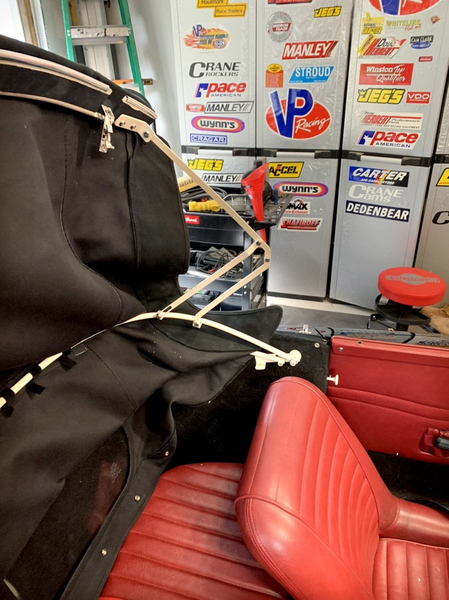
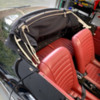
OK So that big tongue of canvas that flops down over the back seat area just looked horrible. And I can’t be bothered with the 1/4 tonneau, so I needed to make it look better with the top down. And that basically means a scissor frame. So after reading all the topics, gathering a million photos, and absorbing it all, I used mangosmoothies detailed thread to get started. Mock-ups, broken welds, faulty geometry (all my own fault) and 4 elapsed weeks later, I can call it done. The primary goal was to get it looking ok when folded, and of course to make sure it would still function as a roof as well. I didn’t take in-progress shots mainly because they wouldn’t be as good or informative as mangosmoothie’s, but here it is - folded 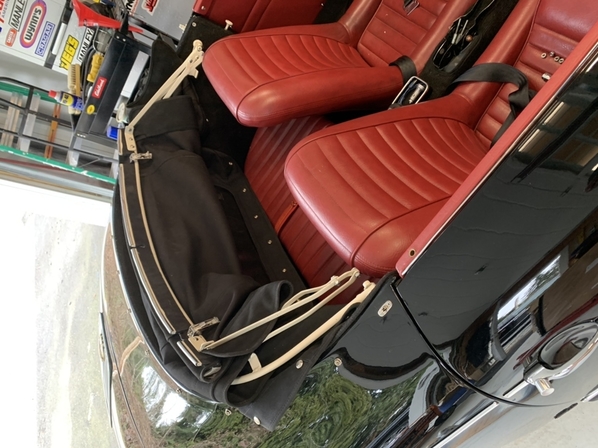 and half-folded.
Replies sorted oldest to newest
Tony, here ya go:
Great job! The stock top, without a frame, can be a chore to fold up neatly.
Many of us end up using the full tonneau, which can serve other functions - like covering luggage in the back seat while traveling and making the car a little more secure when parked on the street.
Any pics of how the top looks when up?
Attachments
Thanks! No pics of it up right now, but it looks the same as they all do..
Tonyvan posted:Thanks! No pics of it up right now, but it looks the same as they all do..
Except it’ll be yours and that makes it different. Lol.
Impressive work!
Really nice! What does the slotted end of the flat bar do?
Ah - good question... i discovered that if you’re a fraction out with any of the geometry, then it will bind when in operation. The addition of the slot rather than a fixed hole compensates, and the arm will just slide up or down a little and stop it from binding. It was a lot easier than redoing it all, and doesn’t affect operation, so that’s good enough for me!
Tonyvan posted:Ah - good question... i discovered that if you’re a fraction out with any of the geometry, then it will bind when in operation. The addition of the slot rather than a fixed hole compensates, and the arm will just slide up or down a little and stop it from binding. It was a lot easier than redoing it all, and doesn’t affect operation, so that’s good enough for me!
Interesting conclusion, not to mention that some cars, let's say all cars are hand built and some have some slight human errors ![]()
Tonyvan posted:Ah - good question... i discovered that if you’re a fraction out with any of the geometry, then it will bind when in operation. The addition of the slot rather than a fixed hole compensates, and the arm will just slide up or down a little and stop it from binding. It was a lot easier than redoing it all, and doesn’t affect operation, so that’s good enough for me!
After seeing mangosmoothie’s top frame (great job) I was enticed to build one and contacted him to see if he had drawings, alas, he did not. I spent a day or two making cardboard models of the linkage trying to get it to fold down correctly and finally moved on to something else. If you only have photos of parts with a ruler in the picture it's hard to get the fine details worked out.
It's all about the angle of the dangle.
Your frame has re-fired me about top frame. When I get back to it I'll have detailed drawings to post for the group.
You guys are just smarter than me. I need a drawing.
Did you use the standard kit top bows or bend new ones?
By the way; Is that lightening holes in your hand brake? Are you sure they're large enough? We got some folks on this that have a hole fetish. Inquiring minds will want to know.
I used the top bows that came with the car - I assume they’re standard VS. The good thing is that they’re pretty sturdy, and they can take a weld without blowing through. I went through all the cardboard models etc as well. For me, it was the addition of those slots that made it all work - it meant that I didn’t have to be millimeter perfect!
and yes - my handbrake is at least 1/16oz lighter than stock. That’s worth 1/32 of a second round the Nurburgring.


