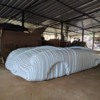
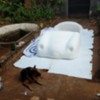
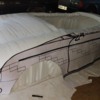
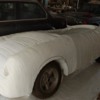
Hi guys, glad to be a part of the group, I was out on facebook looking for info on a chassis design and a member suggest I look here.

Here in India the whole kit car scene is non existent, import duties are high, registering something like this is nearly impossible and parts for classic cars are hard to come by.

I'm 25 now and have been into german youngtimers since I had a license, I drive my dads W123 stationwagon on weekends and I'm building an m20 swapped E30 as well.

Last year I thought of building myself a replica car, i thought I'd go for a scratch build since it would be a nice challenge and since I was into basic 3d modelling and had played with fiberglass in college I thought, whats the worst that could happen?

A speedster was perfect as it had only 1 window to worry about and beetle drivetrains are available here.

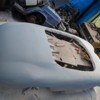
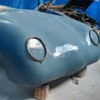
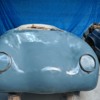
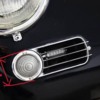
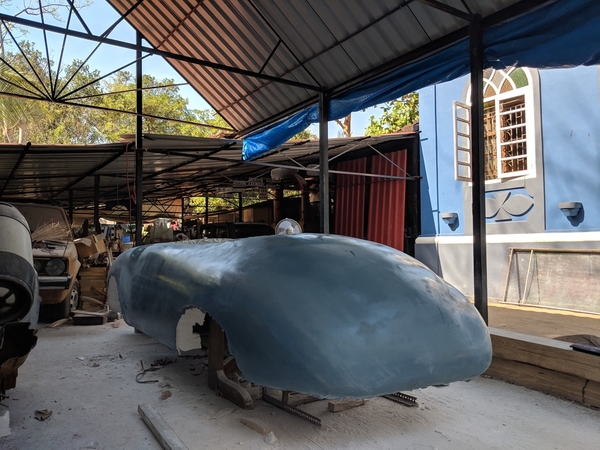
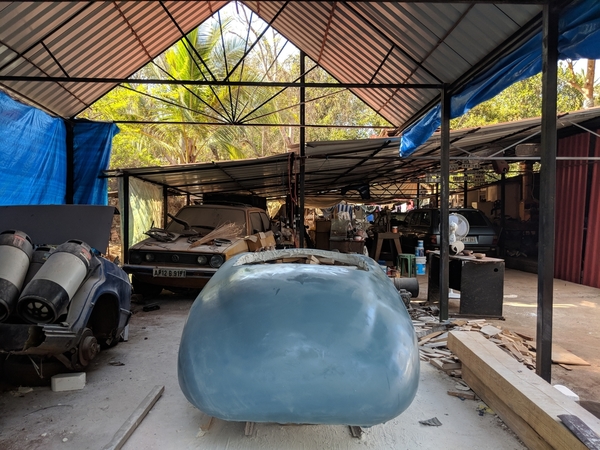
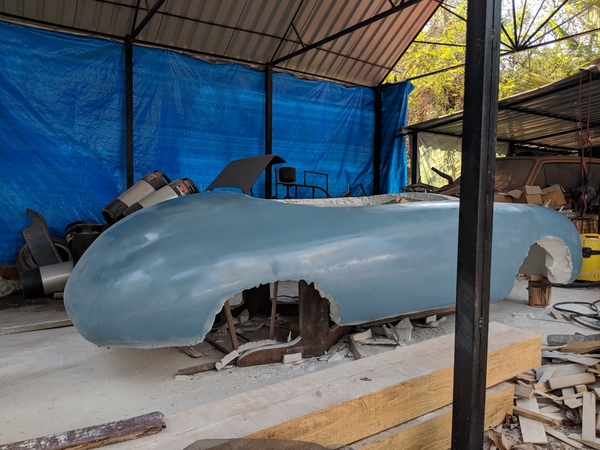
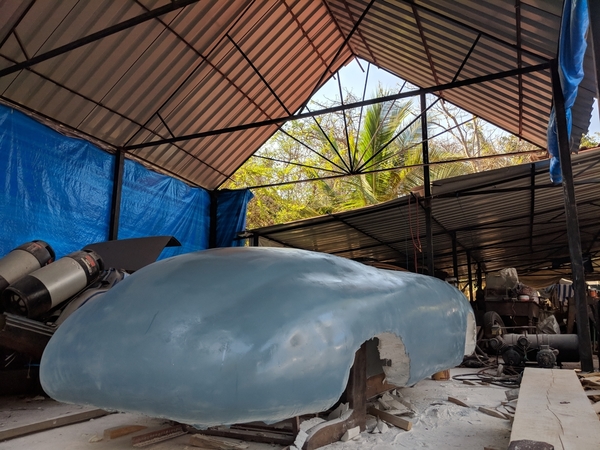
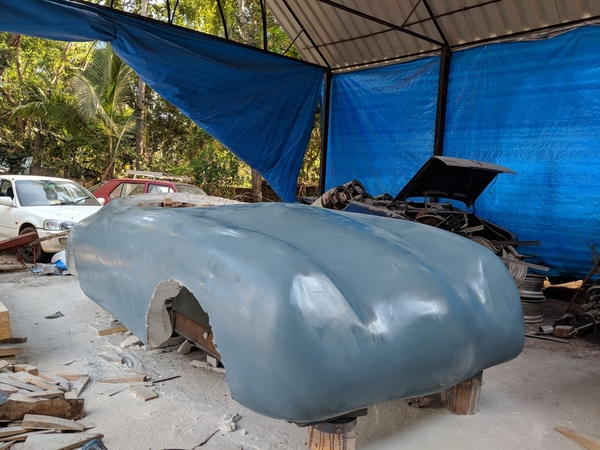
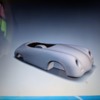
I started with a 3D model, sectioned it into 1, 2 and 4 inch thick layers, had those cut on a computer controlled polystyrene cutter.

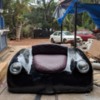
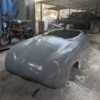
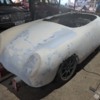
I then aligned those layers and glued them together, sanded them down and I'm now filling plaster and sanding it down.

I should be ready to make a mould in a couple of months.

I'd appreciate any inputs, note that it isn't going to be anywhere as accurate as the kits you guys are using but it'll look like a 356 A speedster to regular car enthusiasts.

And I'm interested in building this on a tubular chassis, can someone help me out with drawings?(I've searched the forums with no luck, too many pages, I'd be grateful if someone could help this newbie out)

Attachments

Images (7)
  • 1
  • 2
  • 3
  • 4
  • 5
  • 6
  • 7
Original Post

Replies sorted oldest to newest

Now, THAT is an ambitious project!  Very much like building a Rutan kit airplane with the process you are using.   The CAD tools you are using are pretty advanced for most of us on here and more in line with professional metal workers and fiberglassers.  

Those tools are more like what is used by the guys at Proshaper.com use for developing "bucks" for shaping metal - the same concept works well as you have used it to cut the styrofoam much like wooden bucks to get the end shape that you want.  Should be interesting to see the molds happen, too!

We don't have, to my knowledge, many people building tubular frames from scratch - most home builders just use an old VW pan/chassis because of the jigs needed to weld up a frame and keep it straight - that's done by only four or five companies and they are all professional builders.  I don't know of anyone selling tubular Speedster frames these days.  I would suggest that you contact Carey Hines @chines1 at Beck Speedsters to see if he has any info he might add (  carey@beckspeedster.com )   While making the body is ambitious, making a frame from scratch is even more so.

Keep posting progress on here and I'm sure you'll get a lot of help!

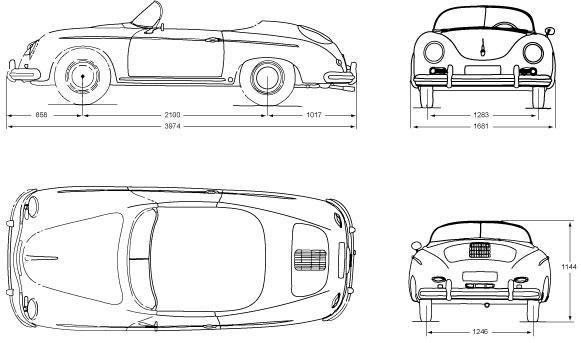
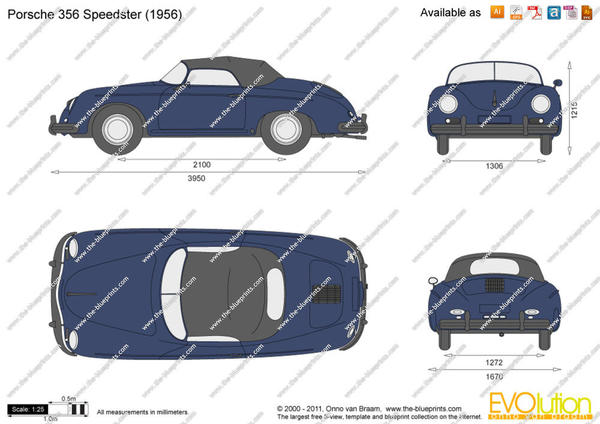
That's quite an ambitious project, (insert first name here). You've already come a long way. I've seen a couple of pics of tubular chassis that people have used over the years, but don't remember any with dimensions. What about first fitting it to a shortened Beetle pan and then constructing a chassis from that? I don't know if you've seen these pics of car dimensions- 

Speedster- dimensionsSpeedster dimensions


The blue car is a bigger file so it might be more helpful. Note the way the body gets narrower as you go back there's 3/4" or more difference between the front and the back of the rear wheel openings on each side- if you pull the backs of out a little you'll have many more tire/wheel width choices. This is something that limits all of us replica owners, especially those with '68 and newer swingaxle and irs suspensions. Good luck with your project and Welcome To The Madness! Al

Attachments

Images (2)
  • Speedster- dimensions
  • Speedster dimensions

Thank you! Everyone thought I was crazy when I mentioned the idea but I've been getting a lot of support once I started.

@Gordon Nichols It's actually simpler than it seems, I used a software by AutoCAD that just required the correct scale(I've forgotten the name, will post pictures if I find them), exported to coreldraw and segmented the pieces to fit into the machine(1m x 1m). It's been a great learning experience. After seeing Hoopty I'm thinking of making mine something like that. I had tried a different method with interlocking sections earlier and gaps in between like a body buck but it wasn't suitable for fiberglass so I cut my loses and started again.

@ALB, Beetles are rare in India, maybe around 400 left in the country so it's hard to come by a donor. I found a really bad donor variant chassis and I may just shorten that and reinforce it. I was keen on a tubular chassis as then I'd be able to reproduce more of them with the parts being possible to import. Thanks for the drawings, I've used similar ones to scale the 3d model. I think I'll go with the idea you mentioned, shorten and build up.

@Tom Blankinship I would love to make something like Hoopty, @Cory Drake could you tell me the guage of the pipes? I should be able to manage with the pictures available of Hoopty.

I'm trying to finish it this year as I co-organize an annual VW meet where owners come in from around India, that's in September, I know, very ambitious! Fingers crossed I manage. I'll keep you guys updated.


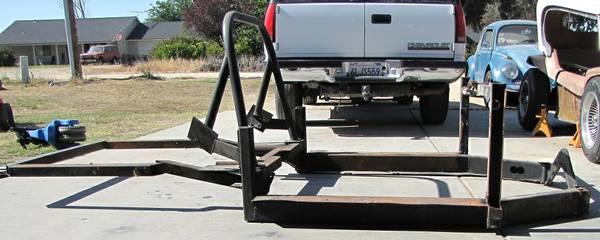
Here's photo's of the sub-frame (2x2" and 2x4" steel tubing) that CMC/FF (IM, VW, JPS) use on their cars.  It gets epoxied and pop riveted to the fiberglass body then bolted to the VW pan.  It is key for mounting doors and engine/trunk lids plus it also supports the front and rear fiberglass over hangs. RustyTubs in Nevada mkes and sell this subframe.  With some mods - the subframe could be used with other suspensions.  In US the VW pan is often used to use the already valid VW VIN (chassis number) for titling and registration.

bare frameCMC chassis 3

Attachments

Images (2)
  • bare frame
  • CMC chassis 3
Last edited by WOLFGANG

Rusty Nut, kudos for what you've done so far. I like the cut of your jib.

So chassis 101: use drawn-over-mandrel (usually called DOM) tubing, not "pipe." You should be able to import DOM if you can't source it locally. India makes plenty of steel.

I hope Cory Drake chimes in here. He mostly stays of Facebook though. The thing about his car is it started life as a pan-based kit. His chassis builder (who worked for a time at Acme), had a lot to go by. 

Doing what your doing is, as other have said, very ambitious.

This is by far the friendliest automotive forum I've encountered! There's so much to learn but it'll take me forever to go through enough here.

@WOLFGANG interesting, I may need to go custom for the suspension, I'm still deciding, I've got a month or 2 to think about it. I'm actually building this for a few others too and they'd like it to use beetle components.

@edsnova I believe its what we call seamless pipes here. After seeing Hoopty yesterday I know that's what I want! It would actually be easier for me to make as I wouldn't need to make the luggage compartment, rear inner seating area, etc. I think I'll work from the Variant chassis toward what he has built. I'm actually afraid to show you guy the Variant chassis as everything needs to be replaced or rebuilt, not much to choose from here.

@Stan Galat Thank you! Dheep Caldeira, The Rusty Cashew is the name I uses for YouTube, Instagram and the Blog.(I'll only be sharing my build here though)

@Alan Merklin I see A lot of Hoopty in here, thank you! I could work from chassis towards this.

@WOLFGANG that's another reason I decided to do a 356, I could try to pass it as a modified Beetle, although modifications to cars is illegal here, let's see what happens when I get there. 

The_Rusty_Cashew posted:

This is by far the friendliest automotive forum I've encountered! There's so much to learn but it'll take me forever to go through enough here.

@WOLFGANG interesting, I may need to go custom for the suspension, I'm still deciding, I've got a month or 2 to think about it. I'm actually building this for a few others too and they'd like it to use beetle components.

@edsnova I believe its what we call seamless pipes here. After seeing Hoopty yesterday I know that's what I want! It would actually be easier for me to make as I wouldn't need to make the luggage compartment, rear inner seating area, etc. I think I'll work from the Variant chassis toward what he has built. I'm actually afraid to show you guy the Variant chassis as everything needs to be replaced or rebuilt, not much to choose from here.

@Stan Galat Thank you! Dheep Caldeira, The Rusty Cashew is the name I uses for YouTube, Instagram and the Blog.(I'll only be sharing my build here though)

@Alan Merklin I see A lot of Hoopty in here, thank you! I could work from chassis towards this.

@WOLFGANG that's another reason I decided to do a 356, I could try to pass it as a modified Beetle, although modifications to cars is illegal here, let's see what happens when I get there. 

I told you that this was the place :-)

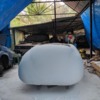
Been working on the buck more often than I used to, this forum really gave me that boost I needed.

I had some major waves in the body that needed to be filled but before I could do that I needed to lift the buck to work on the lower areas. It was already more than 50KGs, as I lifted it I could hear parts it the plaster cracking, it was frightening as I didn't want any major repairs but luckily nothing I couldnt fix.

Did a lot of sanding and filling this week, still a bit more before I get some primer and fine tune the body.

Attachments

Images (5)
  • IMG_20180303_182146
  • IMG_20180303_182153
  • IMG_20180303_182203
  • IMG_20180303_182231
  • IMG_20180303_182057

@WOLFGANG building it like Hoopty is the idea, it'll mean I don't have to make the frunk compartment, area where the rear seat would be, it would be the easiest to construct considering I'm working from scratch. And not to forget it'll be really cool! I plan to build 2 for myself, one just like Hoopty with a beetle drive train and another using a donor car I have. A friend is building his using a turbo Subaru engine. Tatas are horribly unreliable, my first car was one, they may have improved since then.


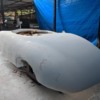
So after plenty of sanding, filling and feeling the defects I decided I needed some paint. There was only some much that I could do by looking at the end and feeling by hand.  The paint let me observe the reflection and let my eyes see the edges and curves better.

I plan to make a mould next week, make 1-2 pieces and cut the shell into the required parts. Doors, frunk, engine lid, front, rear and side will all be separate. Then make a new mould for all these parts.

Attachments

Images (5)
  • IMG_20180320_182116
  • IMG-20180321-WA0031
  • IMG-20180320-WA0048
  • IMG-20180320-WA0046
  • IMG-20180321-WA0033

Having a bit of a problem with the upload feature. It isn't accepting the images of the mould. 

I've finished the mould for the 1 piece shell, will make it and get it professionally finished, cut the panels out and make a fresh mould.

Here's a test piece using only the front end, paint and filler is needed, the lights are wrong too, oval headlights are hard to get here.

Attachments

Images (1)
  • PicsArt_05-21-12.30.09

It's been a year since things have progressed on my speedster.

around a month back I partnered with a fiberglass specialist who also works with carbon fiber.

we sanded the rough mould, waxed it up and made a shell, we discarded of the old shell, gutted the donor and started building a chassis.

in a week we expect to have a rolling chassis, we'll then move to the body, have functional doors, the rear and front will flip up and there will be no conventional engine lid and frunk. 

we're using a d15b honda engine for this, will be widening the fenders a bit.

for wheels 15in watanabes or widened steelies

Attachments

Images (7)
  • IMG_20190303_081542
  • IMG_20190303_081631
  • IMG_20190313_172240
  • IMG_20190313_180345
  • IMG_20190314_174840
  • IMG_20190314_175347
  • IMG_20190314_175049
edsnova posted:

The madness is strong with this one.

I love the Honda drive train, but I'll really love seeing what you fab up to allow for scheduled preventative maintenance on that engine, nestled as it will be amidships and (presumably?) with its dipstick, oil fill, alternator and thermostat hard against the firewall. 

Go man, go!

He posted that the front and rear clip will pivot forward; just like Cory's Hoopty.  Or is it Hooptie?

Add Reply

Post Content
×
×
×
×
Link copied to your clipboard.
×
×