You could try a hex coupling nut and a socket. I believe a 1/2" coupling nut is 5/8" hex which will fit 17mm.
Here's entire used shroud with flaps and the tin for the dog house cooler for $100 in CO.
Thanks Wolfgang. I’ll check it out.
Autozone had the 17mm hex, $9. And a lot of other tools. I usually shop at O’Reillys, so now I know Autozone is another place to check.
With the right tool that plug came right on out!
@sherco_chris posted:You could try a hex coupling nut and a socket. I believe a 1/2" coupling nut is 5/8" hex which will fit 17mm.
That would not be a good fit at all, and might screw up the hex plug.
Always use the right tool.
@TreyG posted:I looked at Lowe’s today, no luck. However I google searched and it looks like my local Autozone has one in stock. I’m going to run there in the morning and see if it is indeed in stock!
Sorry you struck out at Lowes. Were you looking for an Allen Wrench or a socket? They recently reorganized the tool section in my Lowes and all the separate sockets went from hanging on peg board hooks to being in drawers. It took me a minute to find the Allen sockets, but they did have them in almost every common size, including 17mm.
Our Lowe’s is a wreck. They are reorganizing the whole place. When they finish I’ll refamiliarize myself with their layout and see what they have!
@TreyG posted:Our Lowe’s is a wreck. They are reorganizing the whole place. When they finish I’ll refamiliarize myself with their layout and see what they have!
What a drag. I'm guessing the socket you needed was stuck in a bin somewhere awaiting the drawers to be installed. Sorry for the wasted trip.
FWIW, like many of us I suppose, I've been a Craftsman guy all my life. Other than a few SnapOn bits I've found at pawnshops and a few Proto, KD, or other specialty tools, I've always had Craftsman.
Since the demise of Sears, I've really been pleased with the quality and availability of Lowe's Kolbalt line.
something like that i go to my True Value,, good sized store and they have everything I have looked for, those old farts working in there know everything about anything..
True Value is my go-to for taps and dies.
"those old farts working in there know everything about anything."
Watch it - Most of us are getting to be "old farts"!
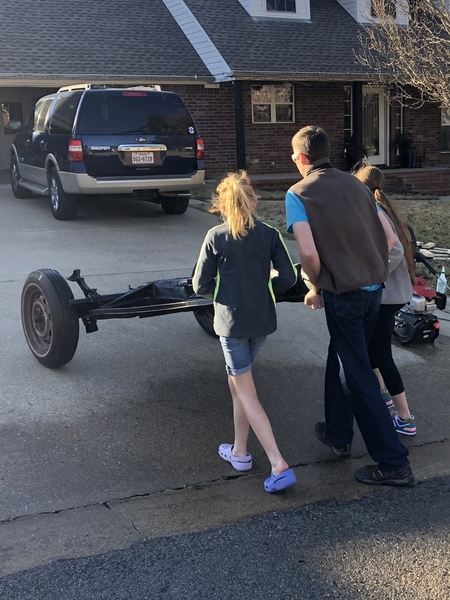
Me and the girls got the transaxle pulled today and some other miscellaneous stuff done. We are trying to get the pan disassembled to a point that we can power wash it real good, fabricate seat brackets as necessary, and then touch up paint to start reassembling as we get new parts. We are going to focus on brakes first.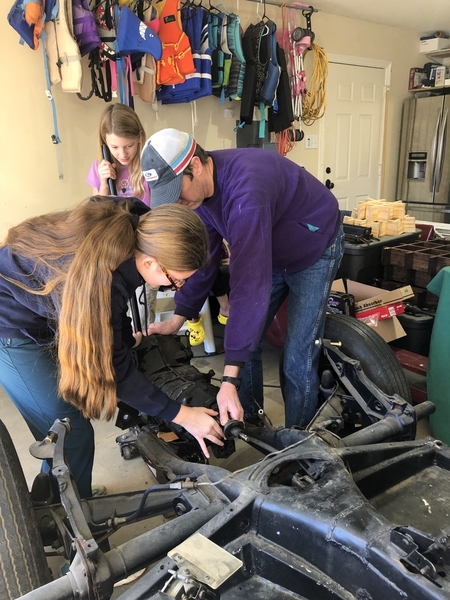
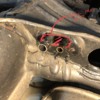
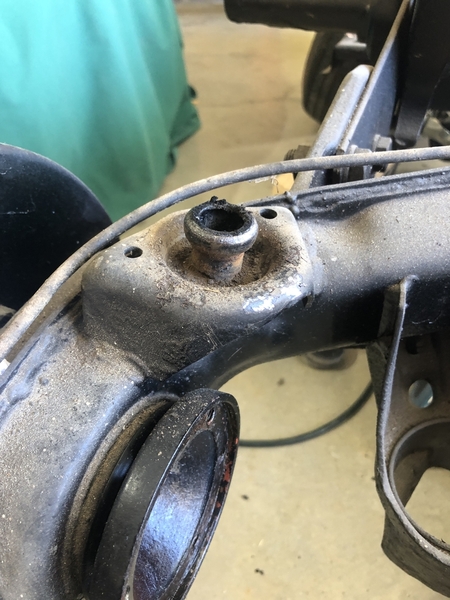
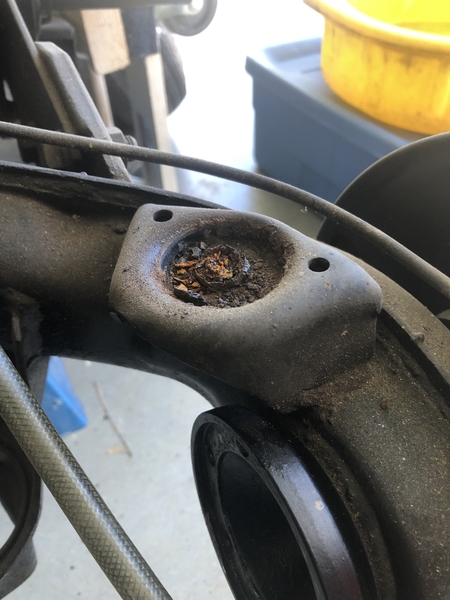
Question 1: While removing the old, rock-hard rear IRS snubbers, the little mounting point was rusted through and came off with the passenger side snubber, see pics of good one and broken one. Any thoughts on how to repair this to mount a new snubber? I think I could fabricate one out 2 different diameter pipes to recreate that “mushroom”, or maybe there is a style mounted to a plate that I could screw to those two holes in the IRS arm?
Question 2: Anyone know what part number the seal is for the clutch and accelerator tubes where they exit the pan (see pic)? I found one on jBugs.com that looked correct, but it says its goes only goes through 1971 (https://www.jbugs.com/product/113-293D.html)
Attachments
Good job; this is a link for the clutch tube one; looks like they’re separate on later models:
https://www.wolfsburgwest.com/...ist.cfm?ID=311721363
The one for the accelerator cable:
There are different seals depending on the year of the pan. If yours don’t look like Impala’s versions, then compare what’cha got to these which are ‘68 - ‘79.
111301289B Is the seal at the front end of the transaxle.
https://socalautoparts.com/pro...-3-nose-cone-to-pan/
and this is what you need for the cable exit next to it
In my first order of stuff, I got the 2 that impala had links for. I was thinking that these were from the 2 flexible Bowden tubes to the steel tubes coming out of the pan?
The second one that Gordon has a link to looks like it might work where the steel tubes exit the pan. I’ll add that to my list and try it out.
What about the snubber? Any ideas there?
According to Wolfsburg West it looks like for cars after 1971 the single boot doesn’t work but rather each one; the clutch and accelerator tubes each has their own individual seal. That’s my understanding. I will check on the snubber issue. There might be a solution other than finding a replacement arm.
I seem to recall a thread about a similar snubber issue a while ago. It is worth a search.
Mine were mostly rusted away but hadn't broken off. I filled them with epoxy.
Looks like you need a couple of these:
https://socalautoparts.com/pro...p-stop-rear-stock-2/
I think that should fit the mushroom on the “good” side if I picked the right one.
For the other side, the one that the mushroom rusted off of, you have several options and remember that the only force that snubber will ever see is compression from the top.
OK, so given that the compression force will never pull the snubber away from the seat, I would clean up the seat really well; wire brush tip on a drill, whatever it takes, just clean the heck out of it. Maybe even use some rust preventative on it. Then, go to NAPA and get a tube of 3M weatherstrip adhesive and use it to goop up the seat and just stick the snubber right onto the seat (watch out for adhesive coming out the bottom). Let it set up for a couple of days and I bet you’ll have to use dynamite to remove it.
Maybe @Alan Merklin has some ideas, too.
BTW, I never installed the rear snubbers on my IRS car and even though it’s lowered (a lot), the suspension never compresses enough for anything to hit.
@Impala posted:According to Wolfsburg West it looks like for cars after 1971 the single boot doesn’t work but rather each one; the clutch and accelerator tubes each has their own individual seal. That’s my understanding. I will check on the snubber issue. There might be a solution other than finding a replacement arm.
Thanks Impala. I haven’t tried the ones I have, I should try those on first and see how they work out.
Gordon, you have good points about the compression, as well as that the suspension probably doesn’t ever get close to hitting it. I’ll try cleaning it up and epoxing the snubber on there.
Maybe something like this would work:
@Michael McKelvey posted:Maybe something like this would work:
That could work! Thanks Michael!
That looks like it could be made to work.
FWIW, I've used these bump-stops I bought from Auto-Zone (click the blue font-- it's a link) for sliding freezer door stops. They'd work.
$14.99 for a pair, and right up the street from everywhere.
I finished disassembly of the pan today so ready for power washing. I took apart that super beetle front beam adaptor so I could clean and repaint all that too.
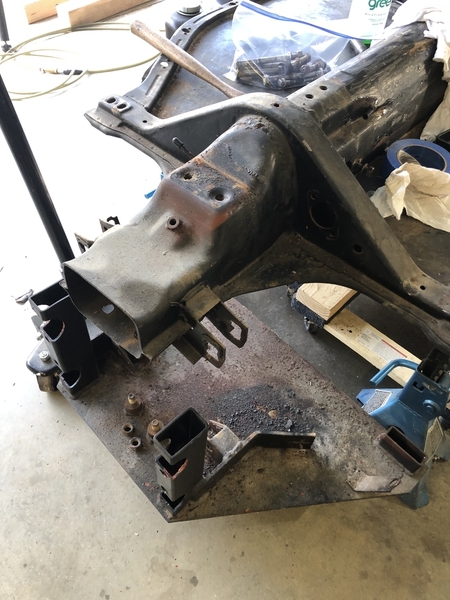
I also did a little investigation of the rear snubbers and I think that style y’all suggested with the bolt in the bottom is the going to be the way to go. I will cut off/grind smooth the original mount that isn’t rusted off and clean up the other side to. Drill the appropriate hole in them and bolt the new snubber on. Should be easy!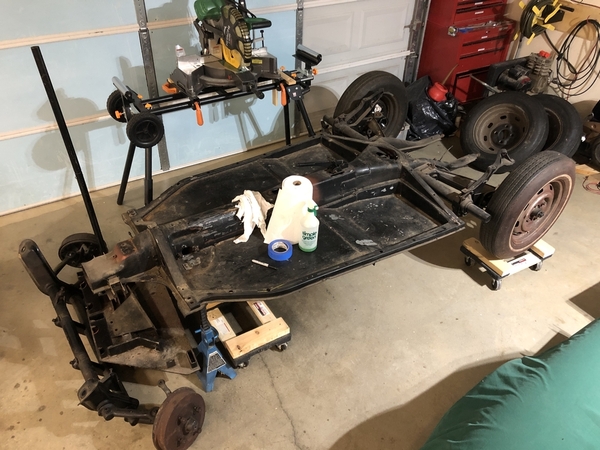
Attachments
That is looking solid; I believe it’s going to come out real nice!
I removed the emergency brake handle and the cables tonight. The cables and the flexible tube that goes from the pan to the drum look pretty bad so I will replace them.
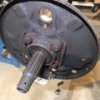
My rear brake backing plates are in good shape but need a good cleaning and repainting. My Haynes manual doesn’t give a description of how to remove them, it just says something like “remove diagonal arm and take to your local VW dealer to have all the special bearings pressed out .....”
See the attached photo, it appears to me that I can remove the 4 bolts I have circled in red and the backing plate should come off. Can y’all confirm this or tell me the proper way to remove the backing plate?
Attachments
Yes; start by removing those and that metal cover with the seal in it comes out. There’s an order so you might like to look at your service manual and take photos as you take it apart.
Get a Bentley manual for your year VW pan. I prefer the 66-69 Beetle manual, it covers both link-pin and ball joint front ends, and swing axle and IRS rear. I think it's usually available for $30 or so. GREAT pictures, procedures, and diagrams.
Thanks Danny, I'll look for a Bentley too. I found that I still have one of those John Muir How to Keep your Volkswagen Alive books from when I restored my Beetle in high school, but it doesn't have a lot of pictures or illustrations, so not as helpful.
Found a good used Bentley on Amazon for $30 bucks. Its on the way!
X2 ^^ on the Bentley's manual
Can anyone see Lane Anderson's reply? I have an email alert that he posted a comment and picture, but I don't see it here....
I deleted it, Trey. It was a warning about the swing-axle seals you'd have to replace after removal and replacement pf the backing plate. After posting I decided to go back and look at the picture which showed that your car has IRS, rendering my reply not applicable. In a swing-axle car it is not always easy to get those seals to work properly and you risk fouling your brakes with transaxle grease - potentially with disastrous effect as I found out.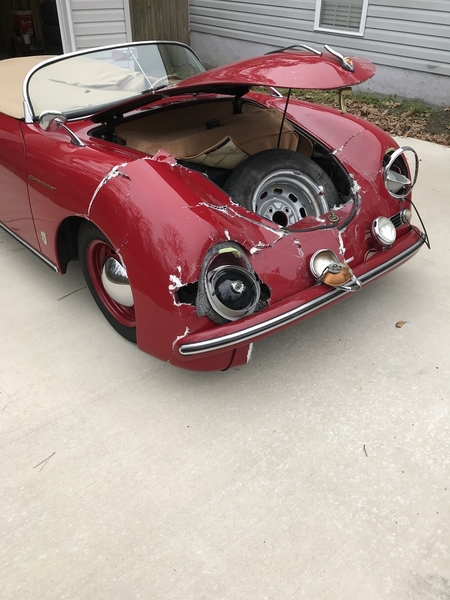
Attachments
That explains it! Thanks Lane. And I recently read through your thread about your accident as I was researching seat belts. That was a helpful thread, despite the calamity that caused it.
Sounds like IRS axle stub seals will be much easier to deal with.
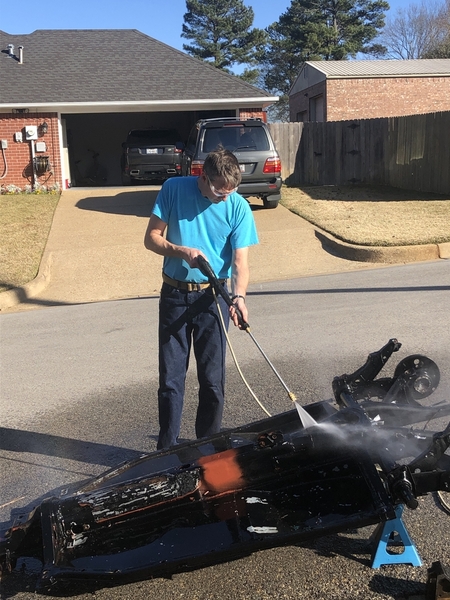
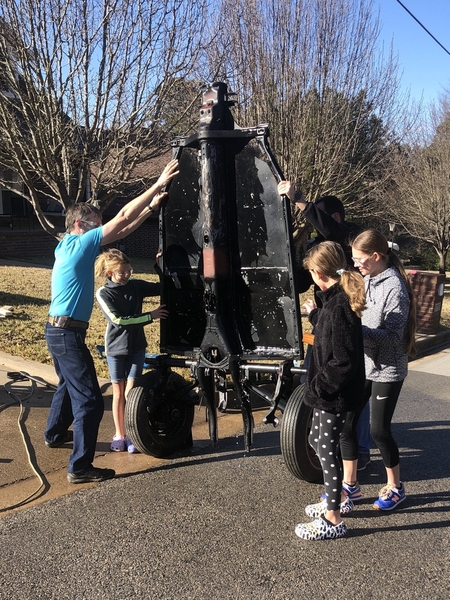
Got the pan and the front beam and adaptor power washed today. My Bentley manual should be here in the next week. When it gets here I am going to remove those rear backing plates and get them cleaned up.
Next will be to flip the pan over and take a good look at how the previous owner replace/reinforced the pan. Also, I will be positioning the seats and making sure I have reinforcement for the seat mounts and the seat belts.
Power washing
Flipping the pan over
Wheeling the pan back in.
Attachments
I fastened my outer seatbelts horizontally through the subframe and the inner seatbelts through the side of the tunnel where it is spliced and is double thickness.


