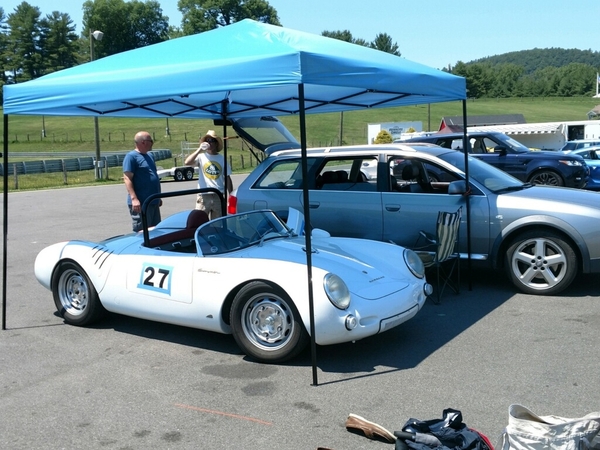
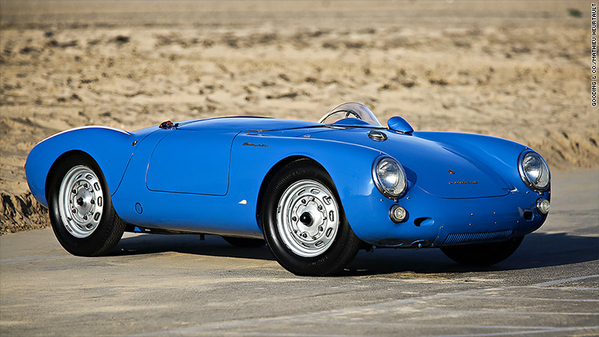
"Dietrich was the librarian for Meadowlawn School in Sandusky for many years and wrote a racing column for the Sandusky Register and for a monthly publication titled the Northern Ohio Region of the Sports Car Club of America, for which she served as secretary." (From her obit).

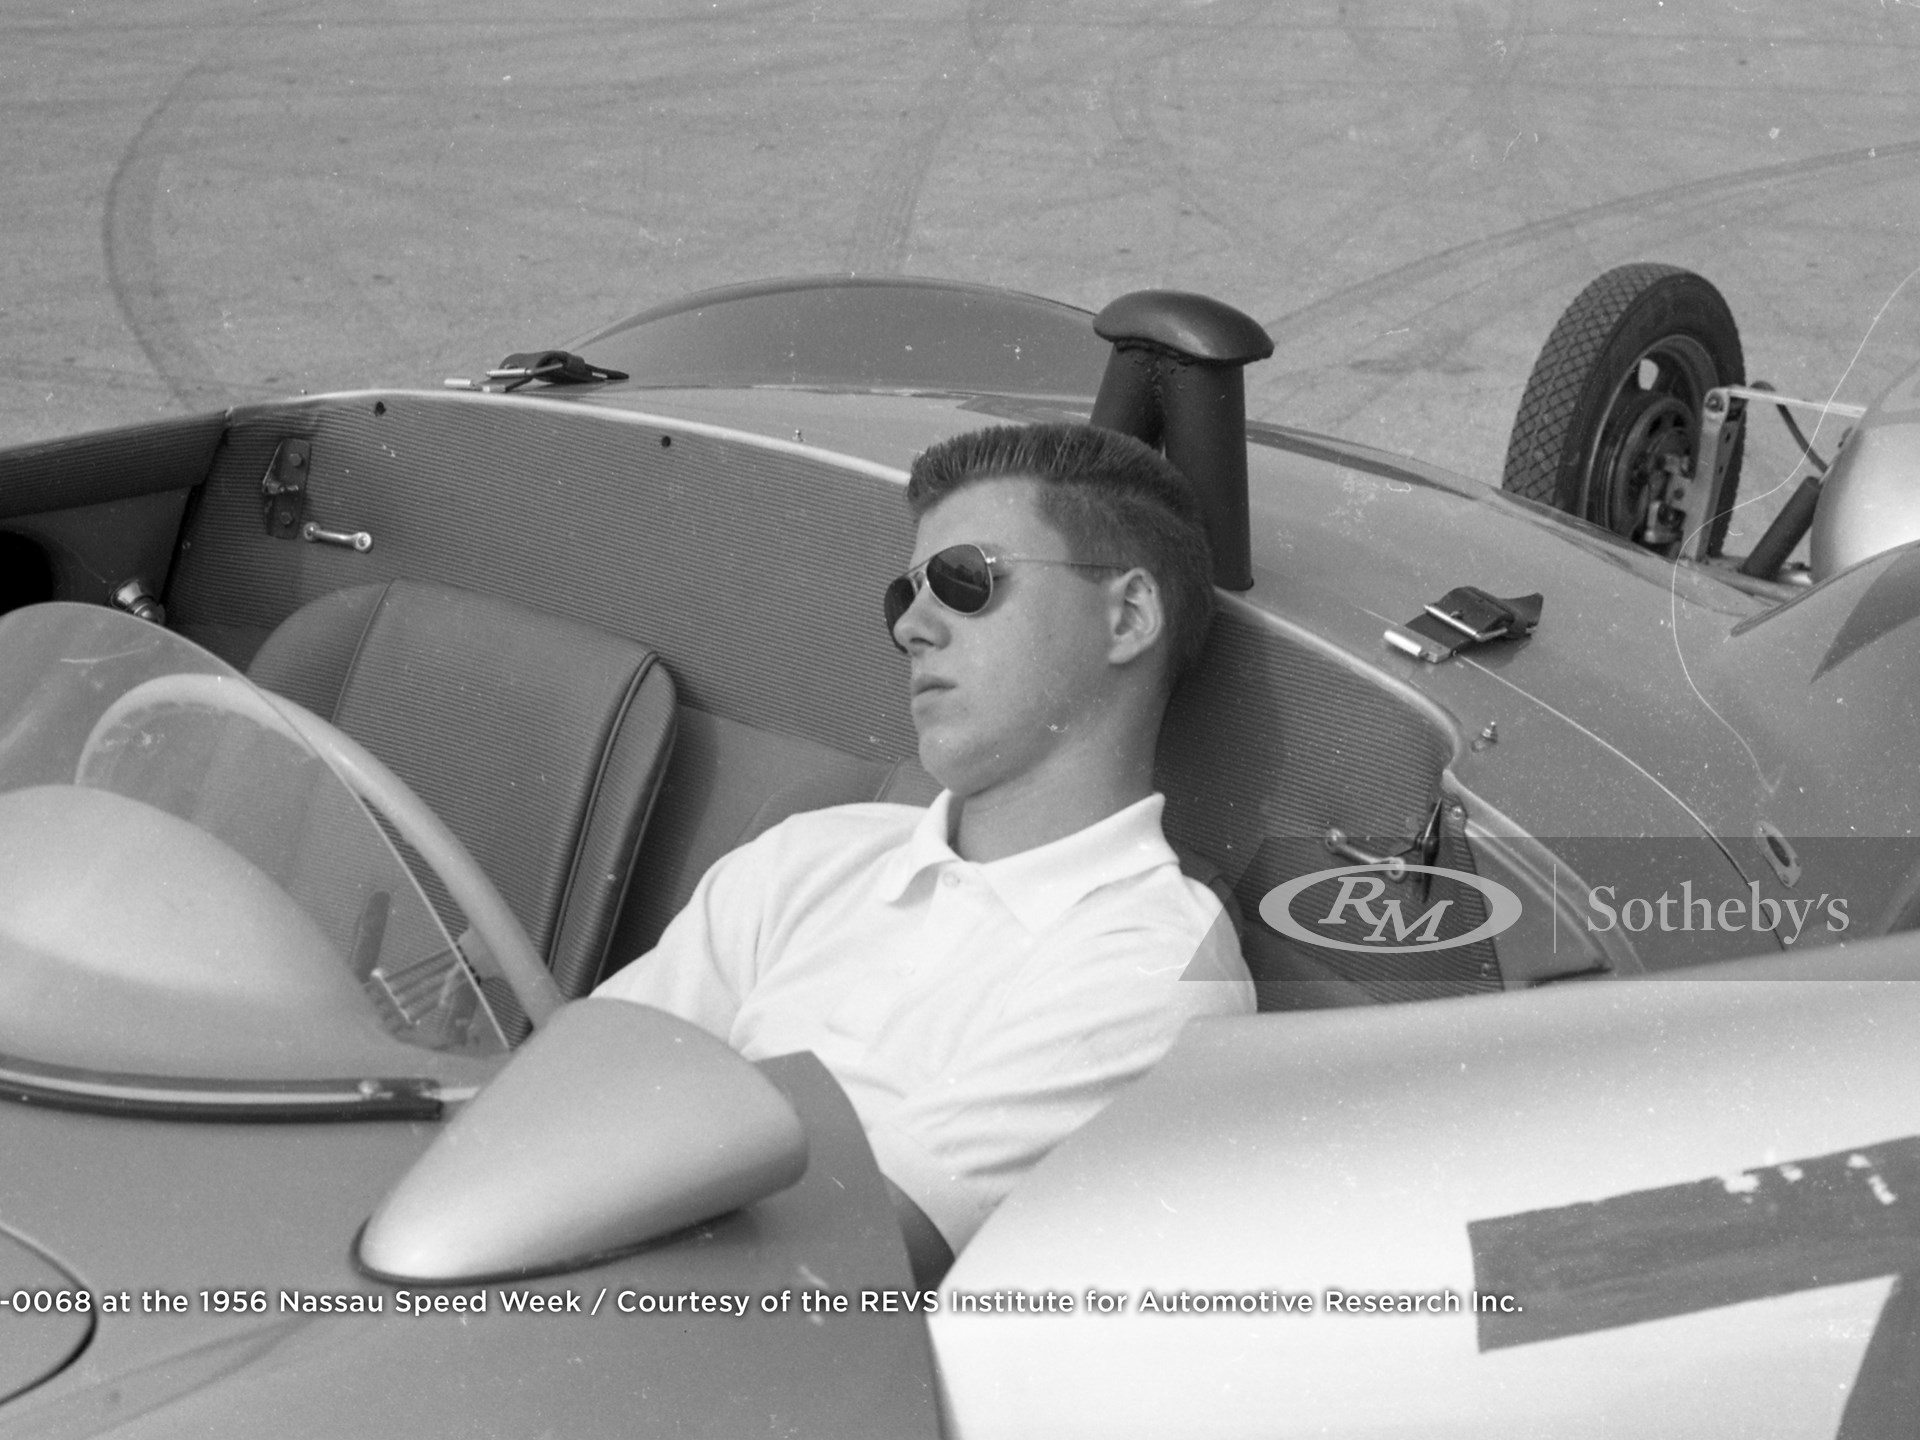
She (and basically anyone else you ever saw pictured in a 550 Spyder in-period) started in an MG TC—

—though very few looked as good doing so.

Last edited by edsnova

Wasn't planning to meatball it but maybe? I just happen to have a few colorforms style 68s laying around the shop!

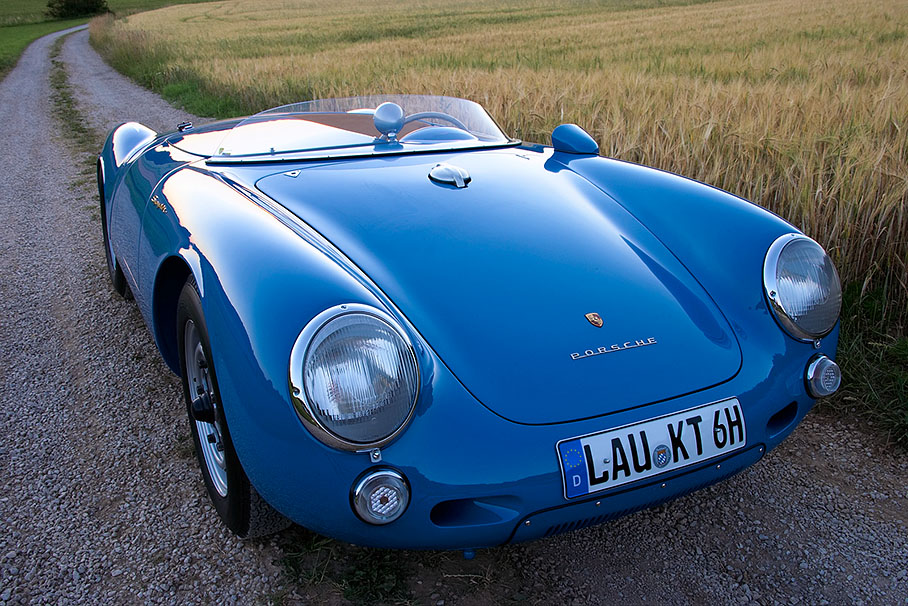
@Chris MacDonald I'll leave it to others to do a perfect copy of 550-0055. This one's for the connoisseur who'd be more apt to ask if this was in tribute to the one Sir Stirling drove Down Under (0056) or if it's a copy of the Jean Behra car (0067) or maybe Seinfeld's (0060).

I did toy with painting the fan shroud like

but quickly set that idea aside. 

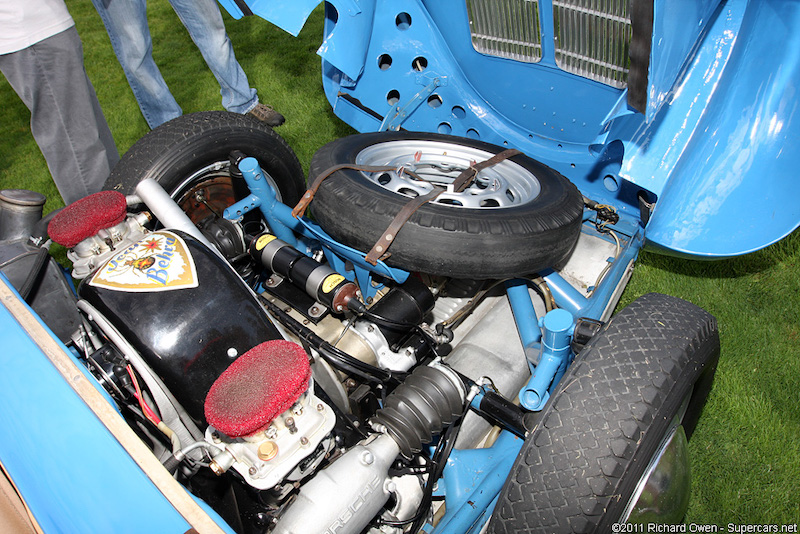
I tried to get my quirky details from 550-0051, mainly because, when I started the build, there were a lot of really large, nicely detailed pics on the web featuring both the finished car and the rebuild from many years ago. That car is French blue and, like mine, has the full-width perspex screen, ten screws holding the the front grill on, Autopulse fuel pumps, banjo steering wheel, metric gauges and full upholstery, plus the five-bolt Knecht air cleaners and the black painted frame tubes under the clam. Its rear-view mirror is a Raydyot, which I bought one of but which would not fit on the dash with the windscreen in, so it's in a box. Dang!

It's also got the Sonauto badge on the back deck and the copy of that's like $230 euros so the next guy can spring for that if he's crazier than me.

And it's a high rail frame car and I decided replicating that was too much of too much.

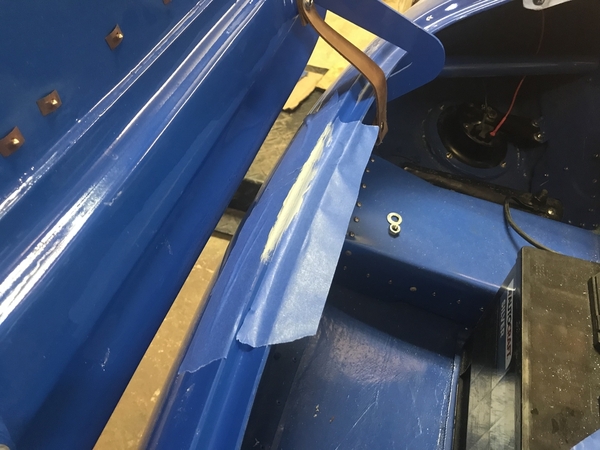
But I did do one very insane, subtle detail in its tribute.

vs.

IMG_5280

Attachments

Images (1)
  • IMG_5280
Last edited by edsnova

Like Chris, I abhor any and all reference to Dean with respect to the Spyder. One of the many reasons my car is NOT silver. An actor of some talent, but not here long enough to care for me, he passed 9 years before my birth. He owned a Spyder for 2 weeks, oh wait, two WHOLE weeks! 

Ed, I applaud your choice for recreation/homage. Cheers!

Update.

Talked to my source at MVA and he guesses (pure wild guess) there might be some openings in a couple weeks. So finders crossed I'll be able to start the titling odyssey then.

Chasing oil drips. 

Changed the valve cover gasket on the driver's side today and backed the car out to see if that solved it. It didn't. Try again tomorrow.

While the car was idling in the driveway the neighbors mobbed it. This guy was driving to his girl's house in his dune buggy when he saw the garage door open and stopped. 

IMG_5328

Gotta start paint touch-up processes now and gathering the last few nuts and bolts.

The rear underpan is fixed. Got the seams nice and tight. So that will be going on the car as soon as the oil drips are defeated.

Attachments

Images (1)
  • IMG_5328
@Sacto Mitch posted:


Thanks, Danny.

Problem with Macs is that they haven't had serial ports since the Eisenhower administration. (OK, I wax hyperbolic.)

So, if there's no USB option, Macs are out, I guess. There may still be some kind of hardware solution for Mac that emulates a serial connection via USB, but I haven't heard of such a thing in years. Next question is does CBP supply software that will load on a Mac? Anyone? Bueller?

And, again, can you run the Black Box at all without some kind of vacuum feed? If so, does it seriously compromise performance to do so? In other words, if you get the box, should you assume you'll need to hook up a vacuum feed, too?


I had a whole dissertation typed up about this and I went to scour the Internet for some pics and it vanished. Long story short, you can buy a Dell D630 with an actual serial port, loaded with XP Pro on eBay for ~$80. I have a fuel injected motorcycle and I could never get usb/PC card to serial adapters to work consistently. Now I have a laptop for running the Walbro software and my Mercedes SDS exclusively. Bulletproof. 

Also, be aware that all "009s" are not created equally. There's a ton of info on thesamba.com about distributors. The best are the German ones, followed by the Brazillian ones. The Mexican ones are better than the Chinese ones (the only ones still in production) but not by much.  Easy to tell, the Mexican and Chinese ones aren't labeled. 

I lucked out. One of the two best Bosch guys in the country lives in SLC and he had a German 009 in his scrap heap that he sold to me for the cost of the refurb. and I'm going to use it for an optical trigger on the XR700 electronic ignition I'm about ready to install. 

Attachments

Images (2)
  • image: German 009
  • image: Brazillian 009
Last edited by dlearl476
@edsnova posted:

Thanks. By now you'd be forgiven for waiting for the audio book.

Hey Ed, a couple of thoughts on your temp gauge/sender/cold running issues:

Does Jake's DTM setup include a thermostat?

Do you have an oil thermostat installed?

10W/30?


I ask because my Beck did the same thing when I bought it. It would barely lift the needle after a half hour of city driving. The only time it reached "operating temperature" was after 10-15 of 3-3500rpm highway driving. Then, ironically, if I pulled a long grade, it would almost overheat. Like you, I suspected a faulty sender of an ohm must-match between the 356 gauge and the VW sender  

After a lot of reading in the Samba, I ditched the cheap Chinese shroud which, of course, the builder had omitted the thermostat. Last year I ditched all that and installed a Thing shroud, with thermostat, a Type IV oil cooler, and switched to 30 weight Rotella T2.

Oil is a can of worms and, like the old joke, everyone has an opinion and everybody elses's stinks. Before my mods running several types of multi-weight, my oil pressure light would flicker at 900rpm. After a bunch of reading, I accepted the rational that multi-weight oil wasn't around until the very end of the air cooled vw's life. I know BP is a good oil, I ran Motul 300v 15w-50, which us too. My motor sounded like a box of rocks. With the Rotella, it's smooth as butter. 

Best of all, after my mods, my engine warms up twice as fast and the gauge rarely varies from "12o'clock high."

Interesting observations, @dlearl476. FAIK the Raby DTM has no thermostat nor provisions for same. In my case I've not yet been able to run the engine over the road, so I can't say yet if it behaves similarly to yours—but it's a strong possibility. The gauge and (original) sender that came with it were supposedly matched and calibrated by the good folks at North Hollywood Speedometer, and I have no cause to doubt their work. 

As for oil: Brad Penn "Green" 20-50 is specified (very adamantly, I might add) by the engine's builder. I see no reason to vary that, given his dire warnings.

So the plan right now is to get the car registered and legal & see how she does underway. I'll revisit the issue then, though I do plan to invest in an infrared thermometer in the meantime to spot-check head temps and such.

@edsnova posted:

Interesting observations, @dlearl476. FAIK the Raby DTM has no thermostat nor provisions for same. In my case I've not yet been able to run the engine over the road, so I can't say yet if it behaves similarly to yours—but it's a strong possibility. The gauge and (original) sender that came with it were supposedly matched and calibrated by the good folks at North Hollywood Speedometer, and I have no cause to doubt their work. 

As for oil: Brad Penn "Green" 20-50 is specified (very adamantly, I might add) by the engine's builder. I see no reason to vary that, given his dire warnings.

So the plan right now is to get the car registered and legal & see how she does underway. I'll revisit the issue then, though I do plan to invest in an infrared thermometer in the meantime to spot-check head temps and such.

Yeah, I get that BP thing. Brad's devotees are, shall we say, religious in their fervor. 

FWIW, I'm the same way about Motul, but the straight weight Motul Classic is $12/L vs $8.95/gal for the Rotella. A real shame, as I can get the 300V for free. But like I said, the motor sounds awful with it.  

How about the oil thermostat?  If you don't have that, cold oil will circulate through the cooler and further impede warming up. 

PSS: What type of nutserts did you use on your windshield?

When I bought mine, it had the lexan screen on it. Luckily, I bought it about 25 miles from Bremen so I immediately drove over and had Carey go through the car before I drove back to NYC. One of the things I had them do was install the Speedster screen but, as Carey warned me, the top frame is right in my line of sight, so I want to go back to the lexan screen. 

I used these long throw nutserts for my gas tank, as I figure regular nutserts would just crack the fiberglass. Until I read your blog, I was considering enlisting a helper and just using stainless sheet metal screws and speed clips, but I like your idea better. 

 image

Attachments

Images (1)
  • image
Last edited by dlearl476
@edsnova posted:

I just bought aluminum 6-32 nut certs from McMaster Carr. The wide ones are made for thicker material and have ribbed edges to grip the fiberglass. The skinny ones are shorter pull and I used those mostly in the aluminum bits under the back of the car.

So you didn't use the slotted ones like I posted that flair out into an "X" like a hollow wall anchor?

i also thought about using well nuts by I figured the rubber head would be enough to cause a leak in the leather gasket.  

Which reminds me, I assume you got yours sorted. I was going to post (before I saw that the thread list was a couple of years old) that I'm going to use several slatherings of mink oil waterproof shoe dressing before I install it. I figure that will be waterproof enough for a convert with no top or windshield wipers.

Last edited by dlearl476

Short update: Still waiting for MVA to open.

I got the engine tins fettled up with riv-nuts and such so pretty much all the air going through the cooling fins will be forced down and under the car, below the aluminum belly. Set up the leading edge of the belly pan with like 3/16-inch gap to scoop air in ahead of the louvers. It won't be the lowest part of the car, but it's still just under my target 5-inch clearance. I may yet adjust the rear wheels to lift the car up a quarter inch or so before I set her free. 

Discovered the rear brake calipers were going to interfere with the inner fender wells, so I trimmed them. Quite a bit. Glad I noticed before taking a spirited run over some speed humps.

IMG_5392

Popped on the registration rearview mirror. Will pull this off and put the plexi on asap with a short stem mirror.

IMG_5403

(And yes, I know I remain unspeakably handsome despite these Unprecedented Times.)

Today I went and put the last emblems on the car. Pretty psyched I could use the pins and push nuts.

IMG_5414IMG_5415

They look almost as nice from the front.

IMG_5409IMG_5412

Attachments

Images (6)
  • IMG_5414
  • IMG_5415
  • IMG_5403
  • IMG_5392
  • IMG_5409
  • IMG_5412

Did anybody notice in the Modified section of the virtual car show (pic #55) the 911 engine with the velocity stacks and what appears to be pieces of lexan mounted just above the stacks.

Is that to keep residue from coming down into the filters, to funnel air to the stacks or just to express how cool the car is, or, any combination of the above?

Ed, building that car is a terrific achievement!

I think it's a mostly cosmetic interpretation of a debris filter like what's on a 917 engine. I've never seen it on a factory car, road or race. (But I could be mistaken)

I've seen a few cars with the simple screens over the velocity stacks (even considered doing the same on my dellortos) but that's the only car I've ever seen with the lexan bits. 

image

image


Attachments

Images (2)
  • image
  • image
Last edited by dlearl476

We're into touch-up paint now. Coming along OK

IMG_5427IMG_5429

I got ot the 600-1000-1500-2000 grit as well and wet sanded some runs out of the rear passenger fender well as a test for getting the ones under the dashboard. That seems to be going well too: the runs are all but invisible pending compound application and there's no blue on the paper so far. 

Taking my time with this...

Attachments

Images (2)
  • IMG_5427
  • IMG_5429

So I did a few things the last few days including making an appointment at that MVA on Tuesday to title the car.

This may or may not actually happen as the state trooper who I understand has to sign off on this only works Tuesdays from 8 through noon, and the earliest (only) appointment I could make was 3:45. So I'll try him Monday and see if this can work. If it can't it'll be at least another two weeks. And so begins the Final Stage.

I bought a heavy duty bathroom scale and weighed each wheel today in turn while sliding plywood under the other tires to keep the car level: 1483 lbs total.

356                                   334


378                                  415

I'm not at all convinced these numbers are spot-on. Left rear is especially suspect as I jacked the car up on that corner to spin the adjuster screws a turn and lift, and did not then drive or roll the car to "settle" it. But they seem ballpark.

And I've been sanding the lower leading edge of the hood with 120 grit.

Funny story there. When Tommy got done with the paint he said something like "the hood's a little tight I can sand it if you want" and I was like NO! WHY THE HELL WOULD YOU SAND NEW PAINT?

So obviously I should've said HELL YES YOU FIEND MAKE THE GODDAMN THING RIGHT! but also Tommy might have done better to say, instead of "a little tight," "it's gon' scrape" or better yet said nothing and just did it.

But that's not the story.

The story is, I've been cranking on the leading edge of the hood with 120 grit for a while. Lots and lots of white dust falling away. Sanding and testing the closure, sanding, testing, sanding, more dust. As one does.

This is the leading edge of the hood which I am sanding with the hood open meaning the edge is down and basically invisible to me.

I mean SANDING that mother. Again, with 120 grit.

So today I'm fixing to remove the hood so I can hit it with some 600 and tape it off for primer so I can then repaint that thin edge I've buggered up awful with all that sanding.

And I squat down real low.

And I tilt my head to look at it.

And the dang thing is STILL BLUE.

As in: painted.

I look at my 120 grit. A little blue there. Not much.

And I understand what has happened.

Turns out Tommy hung the hood to paint it, and the clear coat I gave him, formulated for long pot life at 85+ degrees F, ran down to the leading edge and lengthened it. I did not screw up my body prep; the panel gaps were good. 

Anyway, these are the sorts of things you learn.

I broke out the 2k primer/filler for the body edge that's damaged. 

IMG_5434

IMG_5433

This'll get cut down tomorrow with the 600 grit, re-masked and then sprayed with the Voodoo Blue x 3 and then the clear x 2 or 3, before a final blend with the high number wet paper and maybe the compound.

Attachments

Images (2)
  • IMG_5433
  • IMG_5434
@IaM-Ray posted:

DannyP says that he is bringing the scales to Carlisle for a "weigh a ton" so I guess we can see who the biggest loser is, I vote for Holy Al.  

It's the Yoda in me- he keeps on saying "this the way the path to eternal lightness is".  Sometimes I can't get him out of my head! 

On the other side of the coin, I've never denied I hear voices. My moral dilemma- once in a while one of them comes up with a really good idea. Is it ok if I take the credit?  Please help me out here, as I'm really at a crossroad... 

Last edited by ALB
@edsnova posted:

Interesting observations, @dlearl476. FAIK the Raby DTM has no thermostat nor provisions for same. In my case I've not yet been able to run the engine over the road, so I can't say yet if it behaves similarly to yours—but it's a strong possibility. The gauge and (original) sender that came with it were supposedly matched and calibrated by the good folks at North Hollywood Speedometer, and I have no cause to doubt their work. 

As for oil: Brad Penn "Green" 20-50 is specified (very adamantly, I might add) by the engine's builder. I see no reason to vary that, given his dire warnings.

So the plan right now is to get the car registered and legal & see how she does underway. I'll revisit the issue then, though I do plan to invest in an infrared thermometer in the meantime to spot-check head temps and such.

Just so you know- what's important is combustion chamber temps, hence the reason for the head temp sensor being under a spark plug (bolted to the fuel injection boss, which is close, isn't close enough to give the same information or in real time). An infared thermometer will really only tell you if all the cylinders are firing.

Last edited by ALB


@edsnova posted:
 

...good enough so you're eyes won't hang on it...


I think that's the key to real-world paint touch-up.

My ivory car was primered in black. The tiniest rock chip is visible from outer space.

And I get rock chips on, like, every third drive.

I could spend three days fixing each chip - filling, sanding, buffing (assuming I actually knew how to do that) - but I've chosen a more realistic approach.

I dab on some touch-up paint, try not to spread it over an area twice as large as the original chip, and move on. If you stare at the chip, you can still see it, but if you don't know where it is, it's invisible. Again, these are supposed to be 70-year-old cars. Paint defects are part of the whole gestalt. 

Besides, these cars gives us lots of other things to obsess about. Was it really idling smoother yesterday, or do we just imagine that?


The Spyder is registered and I'm into test-drives and adjustments now.

IMG_5502

Starts easy, idles a little low when cold, and the brake pedal is a bit low for my tastes. One pad may be rubbing just a tad as well, so I'll need to find that and re-shim the caliper, probably, and the brake line on the driver's rear caliper it taking paint off the inner fender, so I'm going to have to re-route it. E-brake also needs tightening. The car tracks and stops straight.

IMG_5495

Gears are all there and I'm going to leave them be a while and see if the shifter gets smoother or not. 

Left turn signal does not cancel. Dang. I'm not interested in pulling the wheel again to correct that, given the fiasco with the horn button. But I'll probably do it, all the same.

IMG_5498

Need to aim the headlights lower. Will do that after the ride height is set and settled.

Gonna try to fit the cloth top before swapping out the glass windscreen for the proper plastic screen.

IMG_5501

May yet have the slightest oil drip out of the passenger side valve cover. Need to make sure it's not a pushrod tube.

IMG_5504

Once that's squared away the aluminum underpan goes back on.

Also I'll be making a towbar system for it. 


Last edited by edsnova

The Spyder is registered and I'm into test-drives and adjustments now.

IMG_5502

Starts easy, idles a little low when cold, and the brake pedal is a bit low for my tastes. One pad may be rubbing just a tad as well, so I'll need to find that and re-shim the caliper, probably, and the brake line on the driver's rear caliper it taking paint off the inner fender, so I'm going to have to re-route it. E-brake also needs tightening. The car tracks and stops straight.

IMG_5495

Gears are all there and I'm going to leave them be a while and see if the shifter gets smoother or not. 

Left turn signal does not cancel. Dang. I'm not interested in pulling the wheel again to correct that, given the fiasco with the horn button. But I'll probably do it, all the same.

IMG_5498

Need to aim the headlights lower. Will do that after the ride height is set and settled.

Gonna try to fit the cloth top before swapping out the glass windscreen for the proper plastic screen.

IMG_5501

May yet have the slightest oil drip out of the passenger side valve cover. Need to make sure it's not a pushrod tube.

IMG_5504

Once that's squared away the aluminum underpan goes back on.

Also I'll be making a towbar system for it. 


Attachments

Images (2)
  • IMG_5502
  • IMG_5495
@aircooled posted:
Any ideas on how or where you will attach the roll bar ?......Bruce

This is how Greg did mine, and the PCA okayed this at LRP. There are two forward diagonals just below the door tops that bolt onto plates in front of the bulkhead. It isn't pretty, but it comes out for street duty. I'm the fat guy and my friend Mike is wearing the Lotus shirt. It was 95 and humid that day, summer DE 2018. Car ran very well, rings were tired. Lot of blue smoke on throttle off. Did a full top end, pistons, barrels and heads last summer. She runs strong now.imagejpeg_0

Attachments

Images (1)
  • imagejpeg_0
Last edited by DannyP

I have two big bolts that go through the bottom of the pan ahead of the little "hump" and go through and screw into nuts welded on the top of my frame extensions to which I attached my jack points. I CADded this out already. Plan to cut and drill some square or c bar and bolt it on there, then bring it up past the jack points and terminate under the grill with horizontal pivot points to which I can attach a Bug bar which I'll cut the ends off of and box for the pivots. 

I'll probably end up tying the two bits together with some small square tube to keep the lateral stress off the jack points, but really it shouldn't matter as they're solid 1-inch round bar welded to 3/16" plate. 

Anyway on this I'll have a real welder after I tack for fit-up. 

A couple big Clevis pins should take it from there.


Continued sorting. Ordered some brake flare adaptors today. Just got done opening up the inner fenders for brake caliper clearance. Tightened the axle boots because they leaked like hell after that first trip around the block. Still dialing in the ride height. Fronts seem pretty good but the left side is 1/4-3/8 lower than the right and so: Gotta drop the rear passenger side about 3/8 of an inch and raise the driver's side 1/8 or so. 

Details.

IMG_5517IMG_5522IMG_5528IMG_5531IMG_5534IMG_5546

Attachments

Images (6)
  • IMG_5517
  • IMG_5522
  • IMG_5528
  • IMG_5531
  • IMG_5534
  • IMG_5546
Post Content
×
×
×
×
Link copied to your clipboard.
×
×