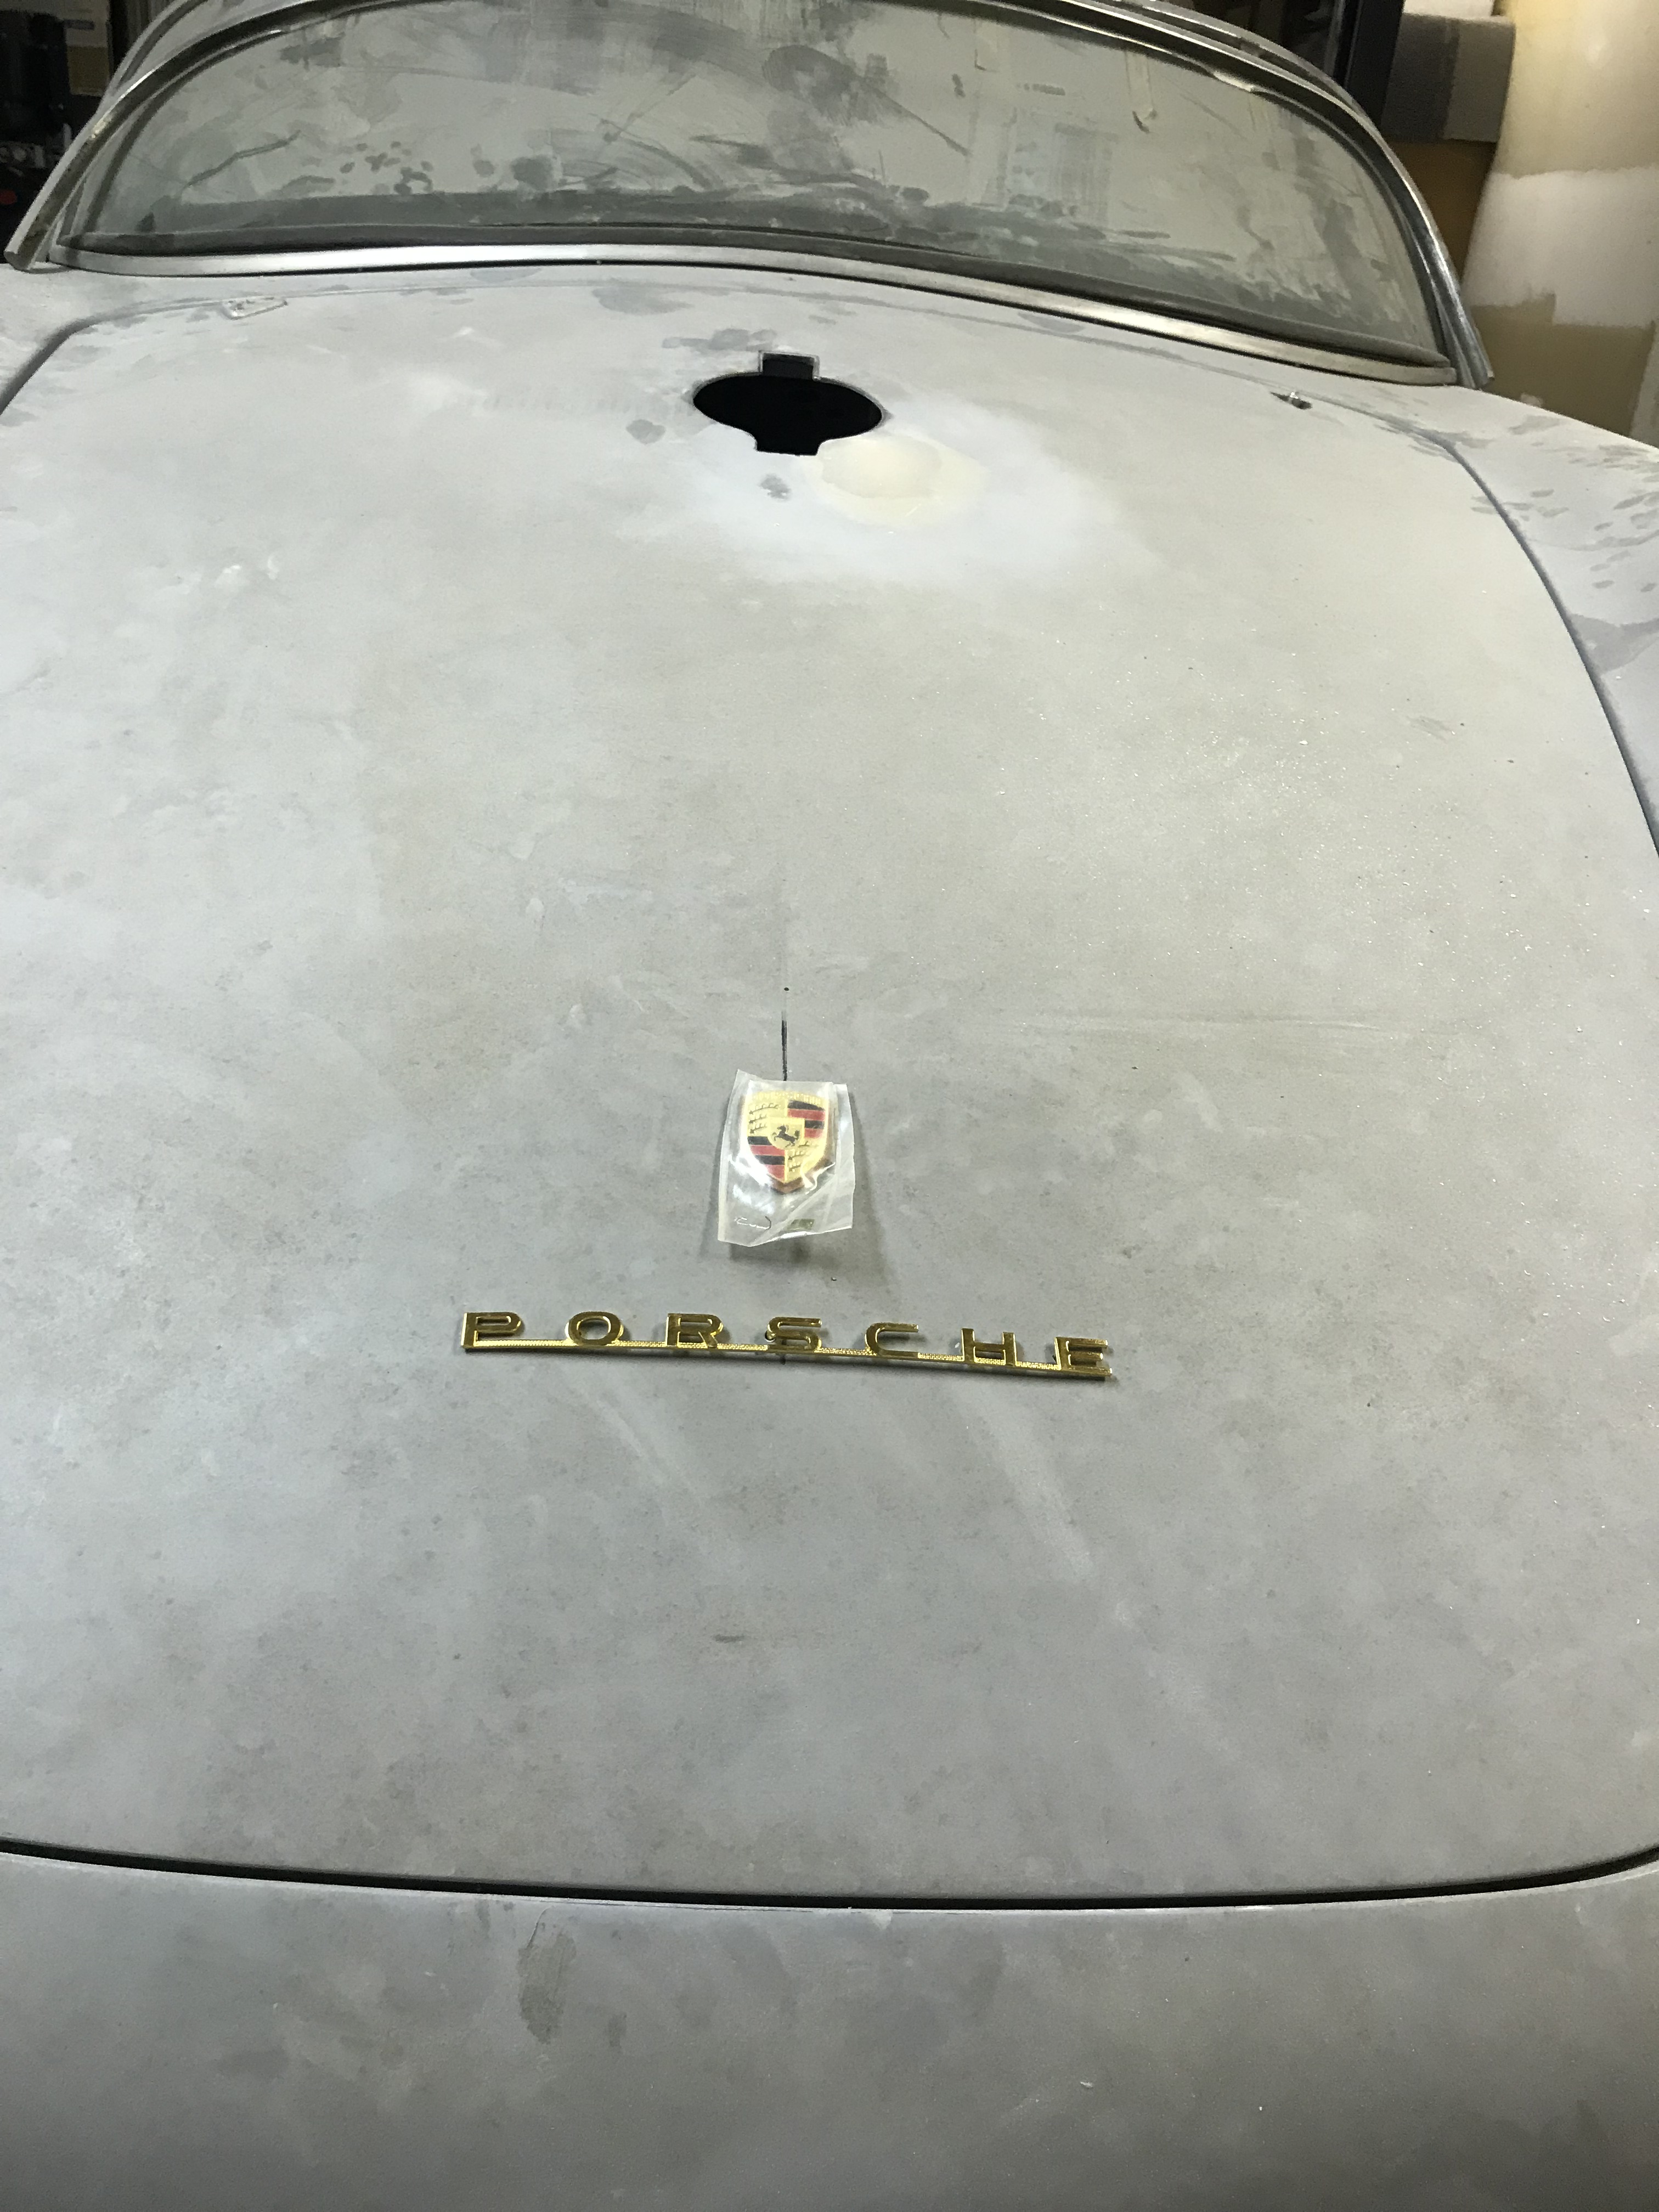
Windshield came today from Fibersteel. Very nice. I test-fit it and it looks like it'll cinch down very easily with the supplied leather gasket and almost (not quite) cover the end holes I drilled for the Speedster screen. I'll plug those up with something you can't see that will be none the less easily removable. Maybe a wine cork.
 So, question: should I use a sealant on this gasket or no? I'm leaning toward yes but eager to hear from anyone with experience.
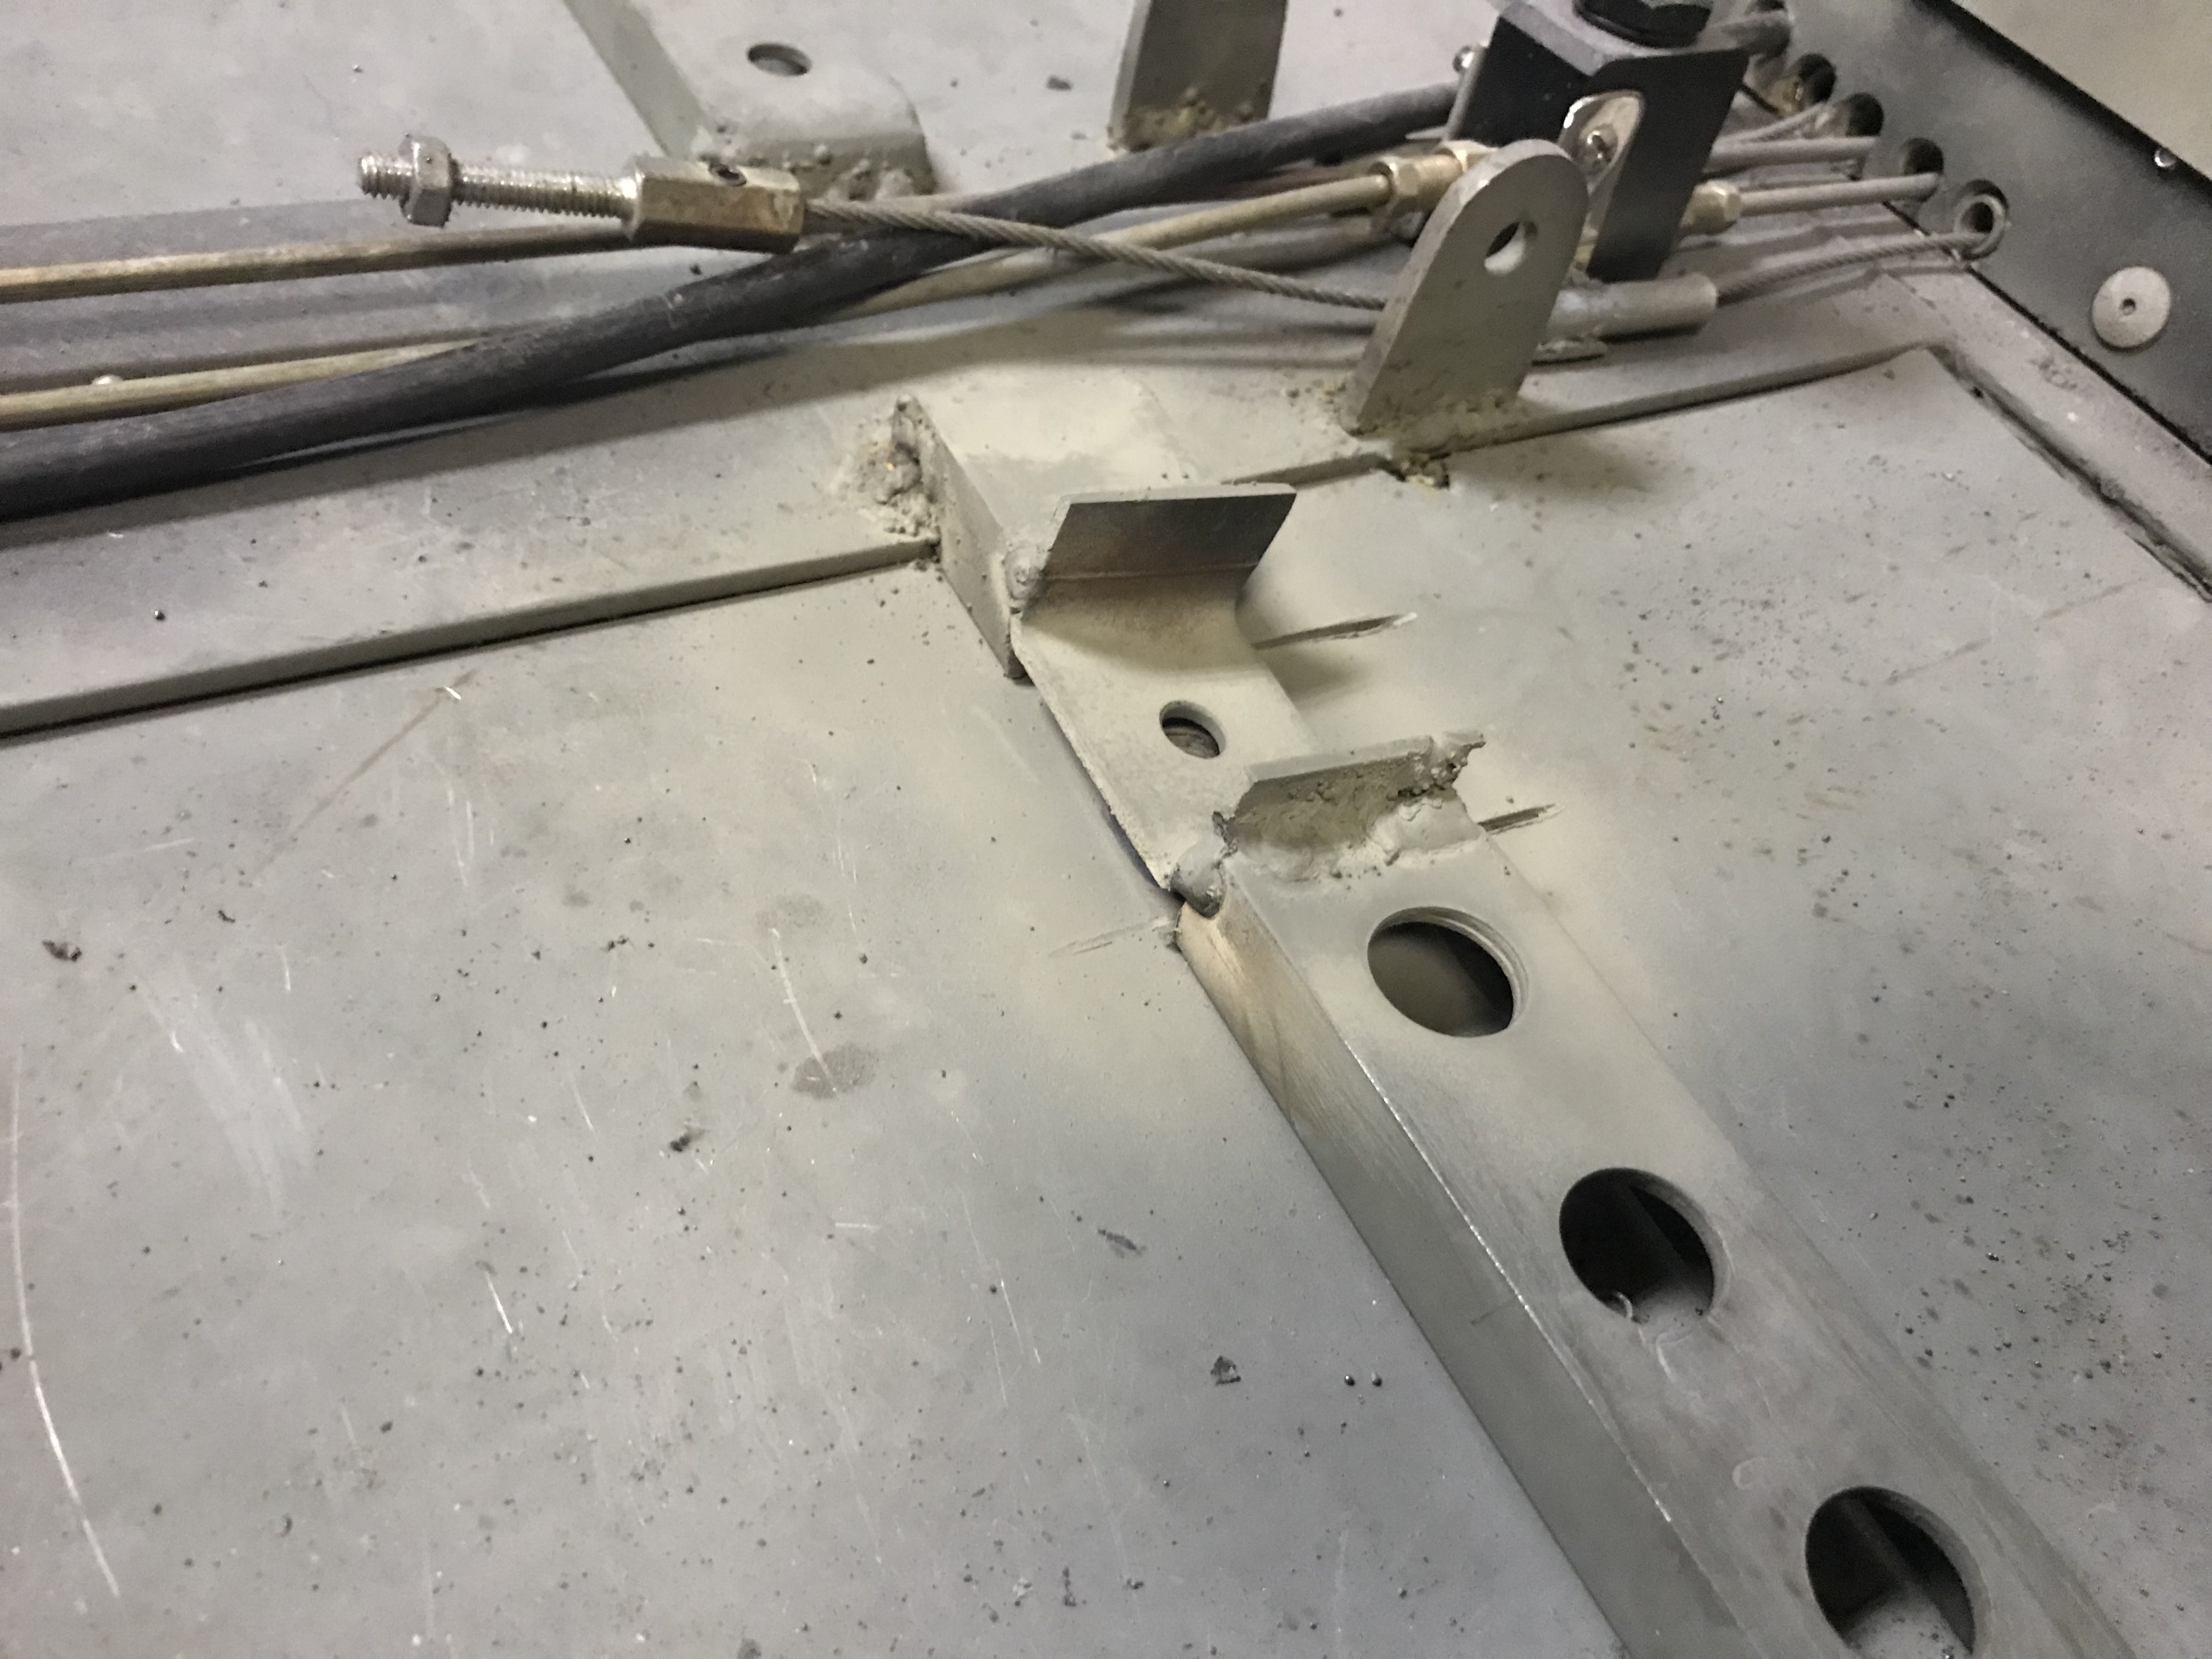
Also pictured: Fibersteel Spyder jack. I've not yet tested it on the car (it's parked on the lift) but I did rough install it, which took some fabbing.
The piece comes complete with a leather hold-down strap and this handy tie down for the strap to run through.

It's a good likeness of the stock Porsche item, which rivets into the floor just outside the passenger frame tube. Installed in 0051 it looks like

Not all Spyders have. Here's 0056, with its strap just directly screwed into the floor:

Anyway, trouble with my car (and yours) is there's no room to stow the jack right on the floor there; replicas are made with a sweeping curve along the outside, and the jack is just a little wider than the space between the frame tube and the outside wall.
If you rivet the bracket directly to that curved bit of floor, the included strap won't reach the jack tube.
So I made a bracket to lift up the bracket...


That brings the strap up high enough to use the holes and buckle it.
Next I had to re-mod my bulkhead to make the proper small hole for the included grommet to hold the jack handle still. Fortunately I still had the plugs I made when I cut the holes for the front parking lights, and...


A bit of resin, then some kitty hair on the back side, and they were in.


Spent the balance of today dry-blocking the car with 180. Got about 2/3 done before I'd had enough. The good news? Hardly any spots remaining that need filler.