@edsnova

Regarding holsesaw wobble:

If you're having trouble, drill the pilot hole first (without the holsesaw on the arbor). Put the holesaw on the arbor, and spin the drill backwards. Once you've made it through the gelcoat and into the glass about 1/8" or so, reverse the drill to run forward. DON'T PUSH ON THE DRILL very much at all-- let the bit do the work. you'll get a little breakout on the back, but you won't chew up the front surface, and the saw won't "walk".

El Frazoo posted:

Oh, dem fu#!ing hole saws.  Ask Drake about those . . .

There has to be a better way.

There is. Regarding my good friend Cory's toy holesaw-- the holes he drilled look like a beaver chewed them because he bought the world's cheapest holesaw with a single knife orbiting the pilot like a sputnik satellite. The ones on Ed's bench are Lennox, which are pretty close to the best in the business. Morse is OK, and I've used some diamond-impregnated bits for drilling ceramic/porcelain tile, but that's not the appropriate tool for the job. Getting the right tool for the job is the key to doing a good job.

Last edited by Stan Galat

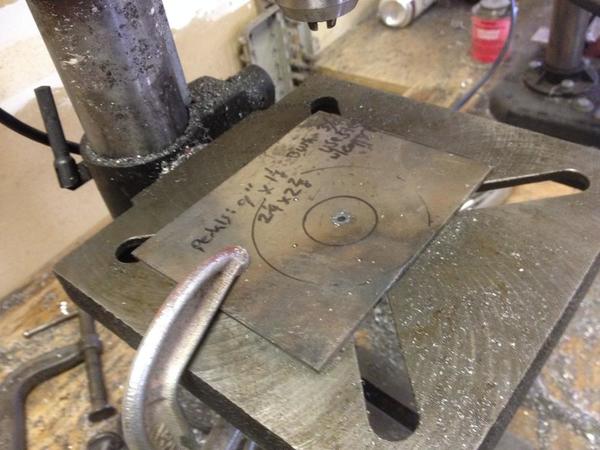
fwiw, @Stan Galat, the 4-inch saw seems to be ovaled slightly. It's not "walking." And my issue so far is getting clean and accurate holes in this 24(ish) gauge aluminum sheet, not the 'glass. Still, good tips. Hole saws require more finesse than I at first realized.

The way forward, I think, is for me abandon the scrap pile and crack the wallet for some thin aluminum plate, as the job requires.

Ed:  I had a set of hole saws from Lowe's/Kobalt that had that off-center arbor, too.  took them back and complained mightily to the store manager of the day about how much time they wasted me and he gave me an equivalent exchange set of Rigid saws (which go for more $$$).  Those are great.  Usually I'm cheap-ish on tools, but all of those I paid dearly for are still with me.

I have found that hole saw wobble can be significantly reduced by drilling the pilot hole first and separately. Then installing a piece of 1/4 inch drill rod (or almost any plain steel 1/4" steel rod) in the hole saw. There are chip removal flutes that are on a regular hole saw pilot bit. Those chip removal flutes are what cuts the pilot hole larger as you are drilling due to side thrust. There's a lot of that on a large hole saw ! Even then, I think you still get a crude, rough hole, so I always go one size smaller and finish with a half round fine file or a cylindrical drum sander. Especially when the finished product is a show piece. I have pretty much found that hole saws always give you a larger hole that what the size is  that's stamped on it ..............Bruce

Bruce: Exactly!

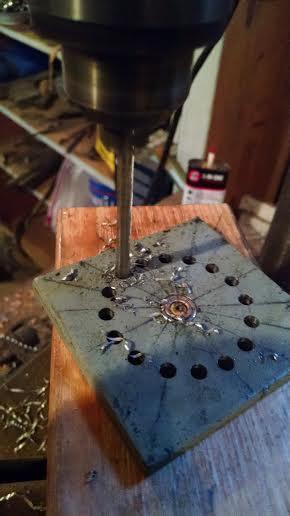
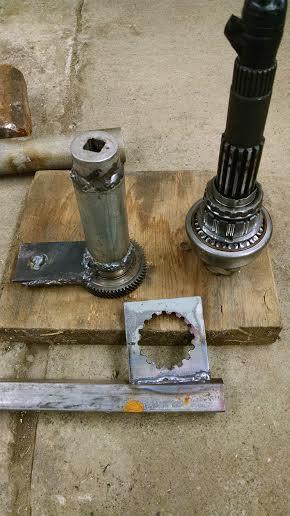
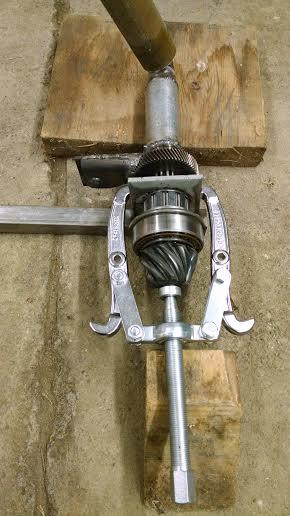
A few years ago, I made a pinion nut wrench for rebuilding my transmission. It is like a sprocket, it has 16 teeth and 16 low spots the same width as the teeth. Inside diameter was metric, but close to 1 7/8". I cut the tool by drilling 16 holes in a circle(homemade circle jig), then cutting out the center with a 1 3/4" bit, as the wobble makes a bigger hole. Ended up hand filing the teeth to get it to fit, after lathing the inside diameter to the correct size.DrillingHomemadeIn use

Attachments

Images (3)
  • Drilling
  • Homemade
  • In use

Ed, if you had not told me, how would I know?  A millimeter here, a millimeter there, who's going to get all over that??  Looks like a good job to me.  As to hole saws, there are hole saws and then there are bi-metal hole saws, so I learned just the other day. Bi-metal teeth seem to work much better.  Also, using a new one is the ticket too.  Had to drill a 4-1/8 in. hole through a double 2x10 band plate to vent a dryer.  Use new saw, drill pilot first, go slow.  Let the tool do the work.  All will be good.

More rivets. The interior aluminum is now done. Also dry-fit the pedals one last time to make sure it all fits. Propped up the Empi gas pedal as a possible dead pedal but I don't think so. The dipper switch works good.

IMG_0630

All the bulkhead-to-frame tube plates are done now, including those in the footwells. Rivets on rivets, but they look cool. Unlike that Empi gas pedal/footrest.

IMG_0634

Yesterday I spent time fiddling with the fuel filler.
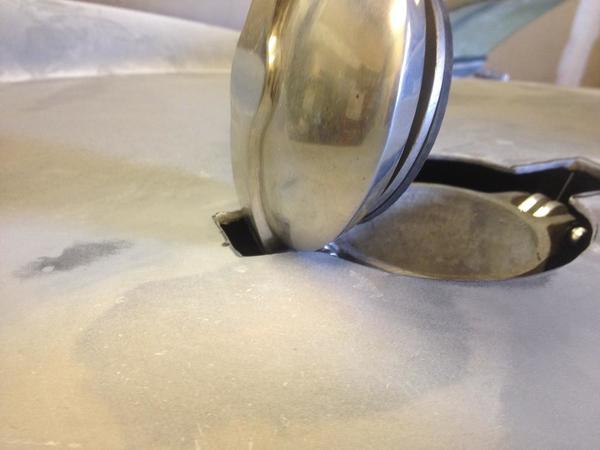
IMG_0615

Sits a little low so I shimmed up the whole tank. But I didn't like that so I made a 3/16th steel flange for my buddy to weld to the top of the tank over the sheet metal he spent a lot of time welding earlier.
IMG_0617

Also test fit the headlight buckets. I'll be damned! They fit nice. IMG_0611

Ordered some H4 halogens to fit in them.

Also today I got my rear latch cover plates:IMG_0635

One I locate those I'll be all-but-done with the drilling of the holes on this car. After these it's down to the license light, switches and emblems.

Speaking of switches...
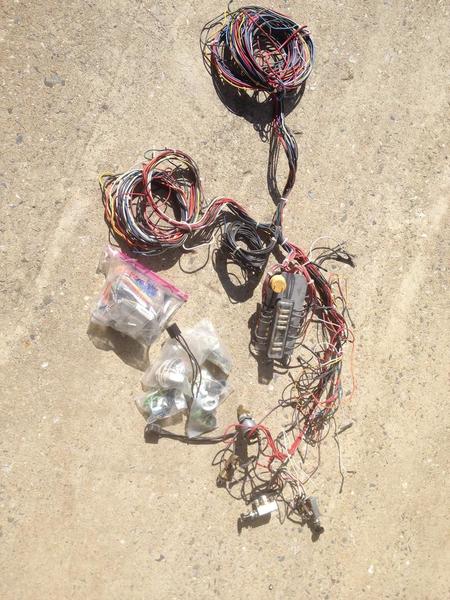
IMG_0613

This is next. The car's pre-wired but two of those already-wired switches are marked "lights." An adventure, this is.

Attachments

Images (7)
  • IMG_0630
  • IMG_0615
  • IMG_0617
  • IMG_0634
  • IMG_0611
  • IMG_0635
  • IMG_0613

I totally agree with Gandalf.  Home Brew something cool.

Bruce, that's a very clever design.  Simple and totally does the job.

I see Ed doing something more in the "Steam Punk" vein - Something that will take, surprisingly, HOURS to complete.  Kind of like my hand-tooled, polished Stainless Steel, driving light brackets that took about a day each:

New Bracket

Attachments

Images (1)
  • New Bracket
Last edited by Gordon Nichols

Didn't work on her the last couple days. Power outage Friday afternoon lasted until noon today, and had to do some maintenance on the wife's DD.

Did get the fuel tank back to the welder with instructions on how to get the flange on it. Also roughed-in those rear latch covers.

Guys, I'm looking for the door striker bolts now. I don't seem to have any in my boxes of parts & still not exactly sure where the correct part is from. Seems to be a single bolt, about 1/2-inch thick, with washer. Any help appreciated.

Post Content
×
×
×
×
Link copied to your clipboard.
×
×